
Deep relief engraving and channel engraving are popular techniques that add depth, texture, and dimension to metal designs. Using the Magic E7 engraving machine, you can achieve precise and professional results ideal for jewellery, decorative pieces, and custom metalwork. This step-by-step guide will walk you through the entire process—from preparing your metal sheet and creating a circular channel design to selecting the correct tool path and executing the engraving. Follow along to master these techniques and elevate your engraving projects.
Step 1
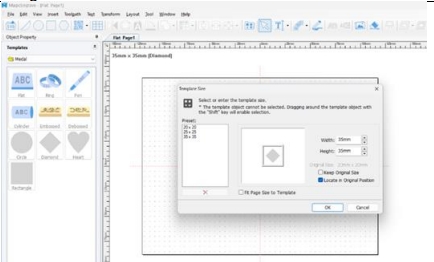
First, measure your metal blank using digital verniers and create a square template on the system. Select ‘Rectangle’ from the templates on the left and input the correct measurements. Press ‘ok’ to continue.
Step 2
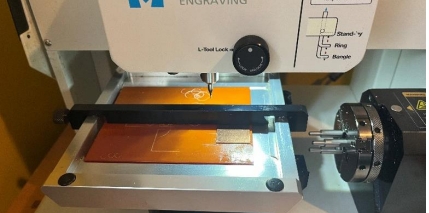
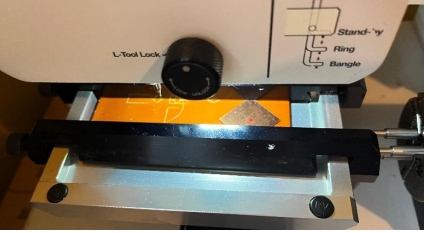
Next, secure the metal sheet in the cutting vice and secure cutting vice into the main vice. Take the 25mm square sheet and check it is secured firmly and sitting flush to the floor of the cutting vice. Make sure the cutting vice is properly secured in the flat lay vice.
Step 3
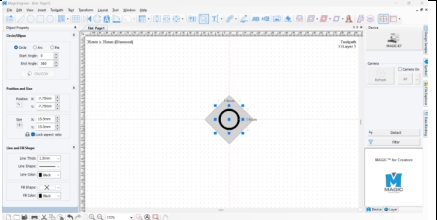
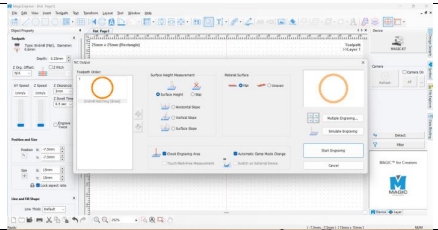
To create a circular channel, select ‘circle’ and adjust the size and line thickness to your preferred style. Then centre the design to make sure its in the middle.

Step 4
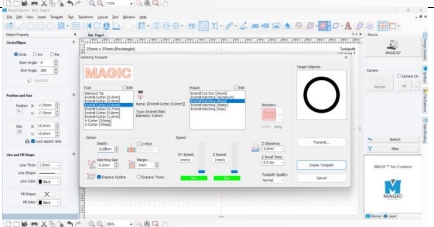
To create the tool path, enter the engraving details, including cutting depth and tool size – for channeling or deep relief engraving anything from 0.20mm to 0.50mm can give a good finish. Select the circle design from templates and select ‘hatching’ tool path.
Step 5
Now, send the engraving to the machine from the computer. To do this, select your tool path, click ‘Magic-E7’ and click ‘start engraving.
Step 6
Check the how boundary mode by using the arrows on the front of machine to adjust and see the boundary area, its likely a good adjustment will be needed when cutting out. Next, apply a generoud amount of oil or WD-40 to ensure a smooth cutting process. Press the ‘play’ button on the
machine, the probe will then drop down to start the cutting process.
Step 7
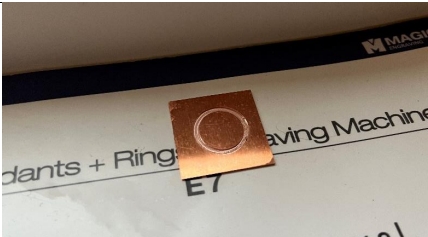
Lastly, remove your metal sheet from the vice and the engraving should now be displayed!
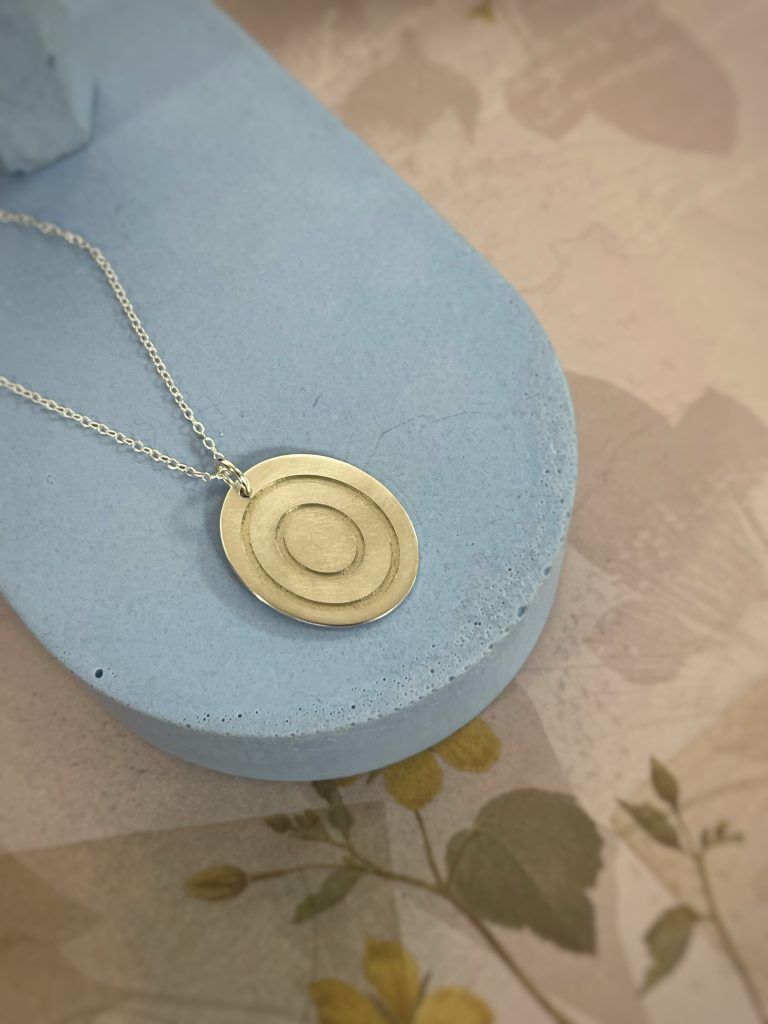
With these steps, you can confidently perform deep relief engraving or channel engraving on the E7 machine, achieving clean lines and striking depth in your designs. By focusing on precision, proper tool selection, and correct cutting depths, you can create professional-grade engravings with ease. As you become more comfortable with the process, experiment with different depths and patterns to develop unique and intricate designs. The possibilities are endless once you’ve mastered the essentials!

Abby Blest
Abigail Yvette Blest is a jewellery designer and maker who trained in the historical Jewellery Quarter, she has a particular interest in traditional bench skills. In the past Abigail has explored mixed media in her jewellery practice, such as wood, ceramics and enamel.