Casting resin using different colours, moulds, and objects is a creative way of producing interesting jewellery pieces without having to invest in lots of supplies. In fact, it’s a great way to get started in jewellery making and other forms of crafting too, as the objects you can create with resin really are endless!
Casting resin from start to finish
In this guide we’ll help you:
- Discover which casting resin supplies you should invest in
- Learn how to mix resin accurately
- Understand how to cast resin for the best results
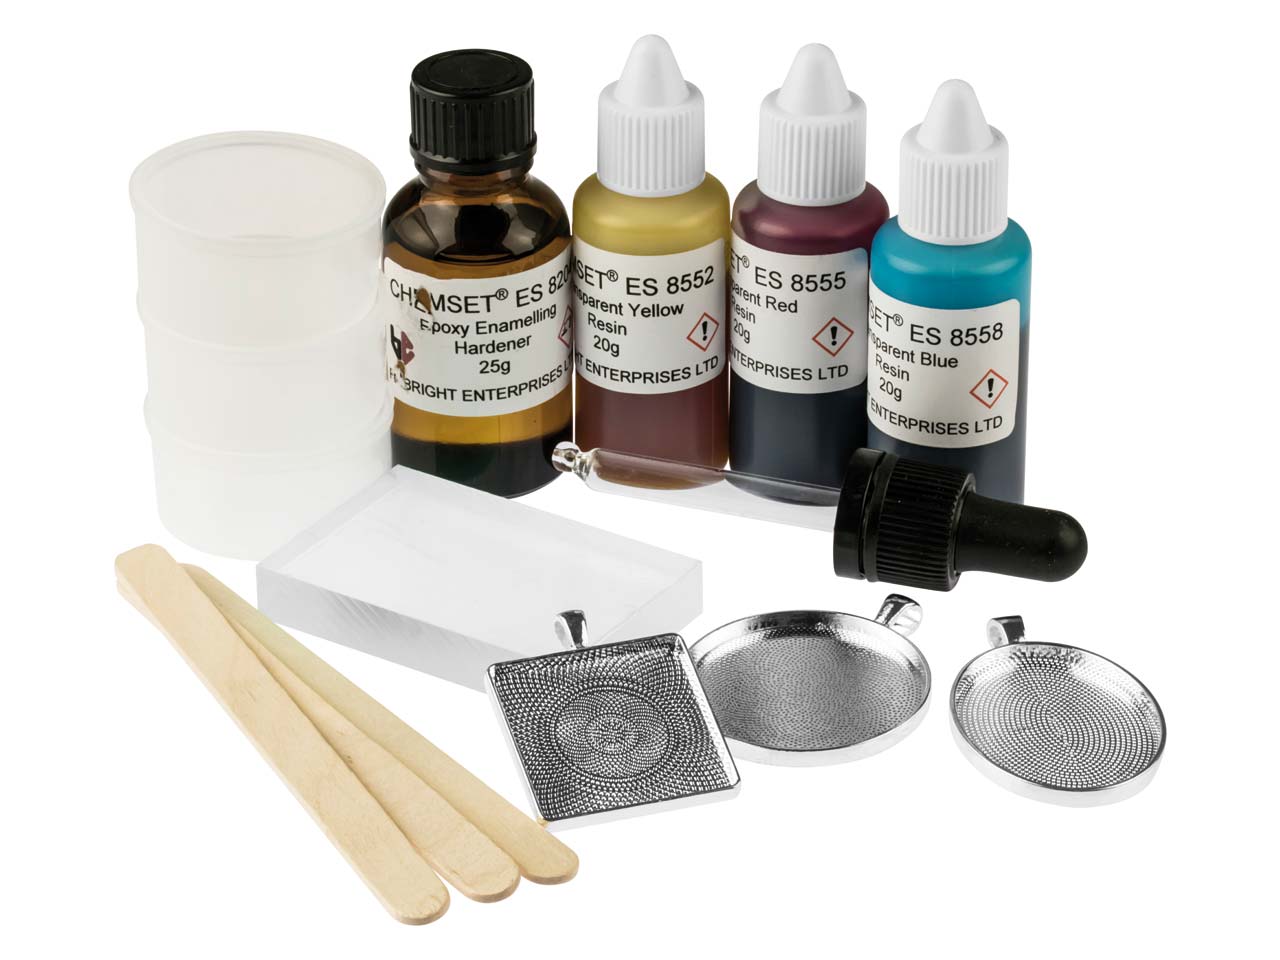
Resin casting supplies you’ll need:
- Clear casting resin
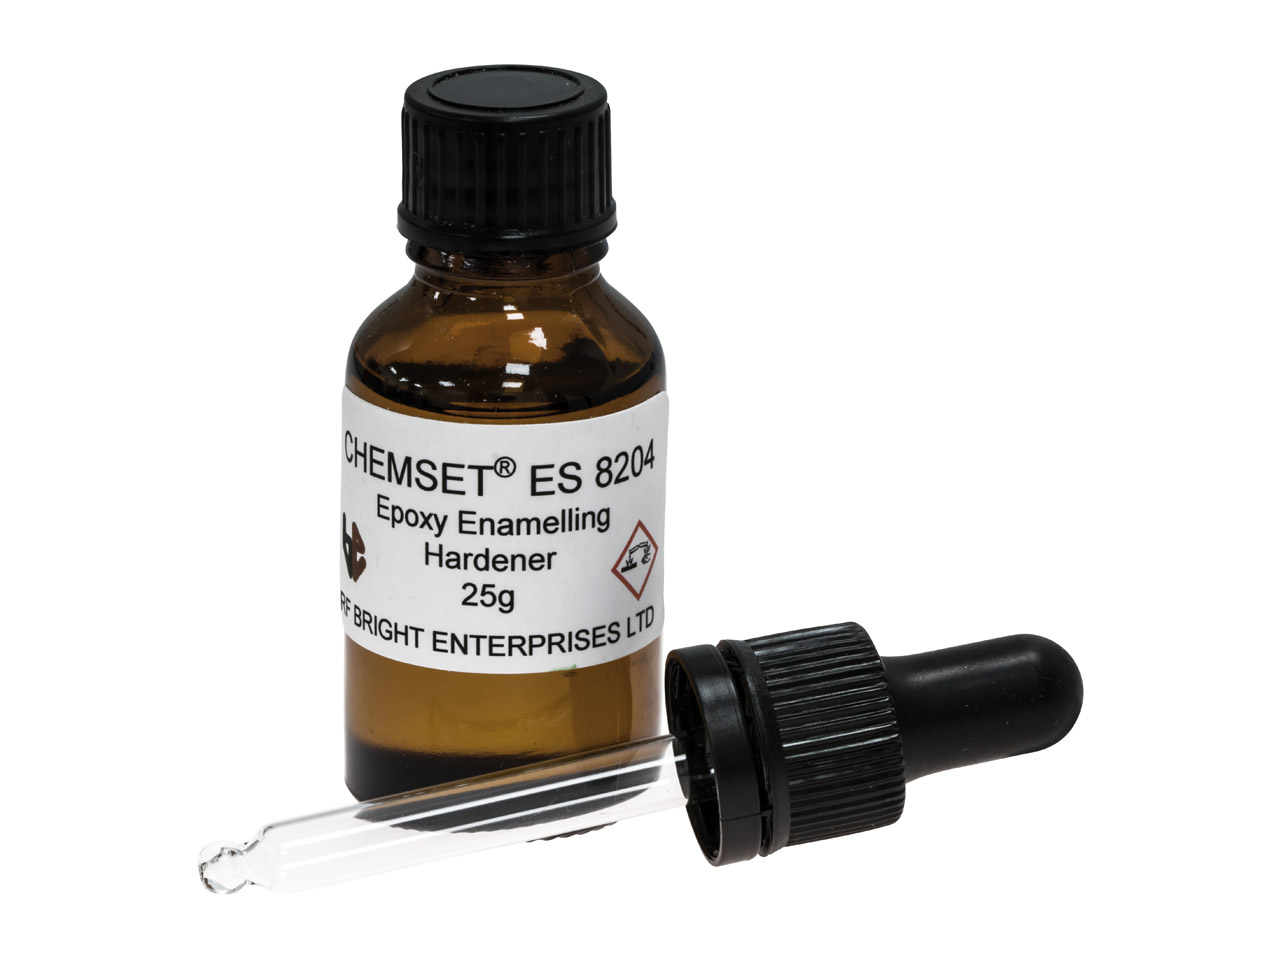
- Casting resin hardener
- Nitrile gloves (don’t use latex gloves)
- Your chosen blanks for casting and your chosen object to cast
- Plastic cups or containers (medicine cups can be handy as they already have measurements to work with)
- Mixing sticks (clean, wooden lollipop sticks are ideal)
How to mix resin
Before you start mixing resin and hardener together make sure you’re working in a well-ventilated space and you’re wearing your nitrile gloves. Latex gloves can interfere with the chemical reaction that takes place when mixing resin, so nitrile gloves are recommended.
Calculating quantities
The key thing to remember when learning how to mix resin accurately is to make sure you calculate the correct amount of resin and hardener. The measurement you need for each element can change depending on which type of resin you buy. Whichever one you invest in, make sure you carefully follow the instructions.
The most important thing to remember when casting resin is that if your measurements are inaccurate, your resin may not set correctly. Always remember to measure out your resin and hardener separately so you can be as accurate as possible, taking away or adding to as needed.
A good point to note is that warming the resin beforehand can help with measuring and removing bubbles. Warm the bottle on a radiator or use a bowl with warm water.
Get mixing
Once you have the correct quantities of resin and hardener in their individual cups, take the hardener and start pouring into the cup filled with resin. As you do, start mixing with your mixing stick. Stir in a steady motion. If you whip up the mixture this can leave bubbles behind that will later set in your mould. The key to stirring resin is to be as thorough as possible without rushing. To keep that level of accuracy you need with your measurements, make sure you scrape out every last drop of the hardener from your plastic cup.
How long should you stir the mixture? This depends on the cure time of the hardener that you’re working with. Up to two minutes of stirring is ideal but if you’re working with a fast cure time you may want to speed this up a little. Happy with your mixture? To make sure you’ve thoroughly mixed all the hardener through, take your mixing stick and scrape it around the side of your cup so that there are no traces of hardener that are lost.
How to cast resin
If you’re just getting to grips with resin casting materials, a good starting point when it comes to casting resin is to use some blanks. Once you’ve gotten used to the method of mixing and casting resin you can then move onto using more intricate silicone moulds that will give you more detailed or raised domes.
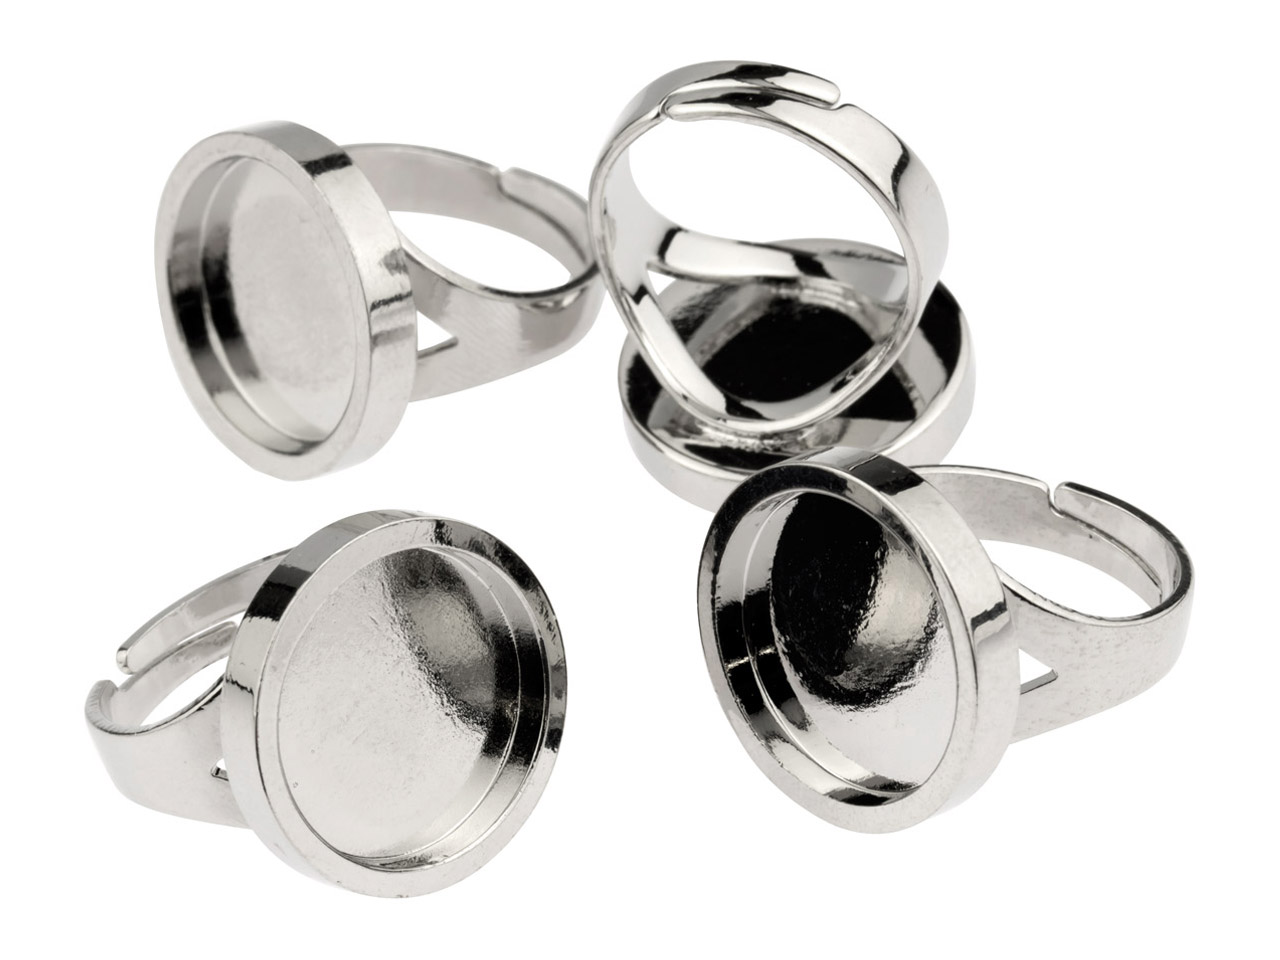
Do you have your chosen setting blanks to hand? Here are the steps you’ll need to make your DIY resin casting:
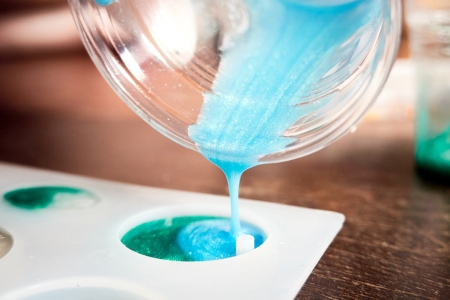
- After thoroughly mixing your two part casting resin together you can slowly pour the mixture into your chosen setting.
- Make sure you pour slowly and steadily. This will stop any spillover from ruining the finish of your piece and will reduce the amount of bubbles that are created as you pour.
- If some bubbles have appeared in your piece, the trick is to get rid of them as quickly as possible. Use a toothpick or pin to pop the bubbles as soon as they appear. This will give you a more professional finish. You can also gently heat the resin to eliminate bubbles. If you have one available, use a heat gun to gently heat the resin. The bubbles will rise to the top of the mixture and pop.
- Once you’ve filled your piece and you’ve gotten rid of any unwanted bubbles, you’ll need to leave your resin to cure or harden. Make sure you check the recommended time to leave your resin to cure as this can differ depending on which two part casting resin you’ve used. Try to leave your moulds on a flat surface, if you don’t do this then the resin will cure with a slope.
- Thinking about casting paper, flowers, or other objects into your resin? If this is your final goal, you’ll need to think about how porous the object you’ll be using is. For example, you may need to seal paper before you place it into your mould for casting. To do this you’ll need to coat your paper in a clear drying glue on both sides to make sure that the resin will not leave any water stains on it once it’s cast.
Now that you know how to cast resin, the opportunities to build on your jewellery making repertoire are limitless. Start experimenting with different colours, moulds and designs as you perfect your resin casting technique and don’t forget to invest in some high quality resin casting kits for beginners to get started.

Cooksongold