Hard gold plating is a process that applies a thicker, more durable layer of gold to the surface of your jewellery using electroplating. The result is a longer-lasting, wear-resistant finish that’s ideal for items like rings and bracelets.
This guide outlines the full process using an electroplating unit. It covers the equipment required, how to prepare your jewellery and the correct procedure to ensure an even, high-quality result.
What You’ll Need
Set up your workspace with the following:
- Electroplating unit
- Hard gold plating solution
- Gold plating salts
- Degreasing solution
- Acid dip (such as sulphuric acid)
- Steel anode
- Platinised titanium anode
- Copper wire or plating jig
- Distilled water
- PPE: gloves, goggles, apron, ventilation
- Optional extractor and filtration unit for fumes
Make sure jewellery is clean and finished to the desired surface quality before starting.
The Plating Process
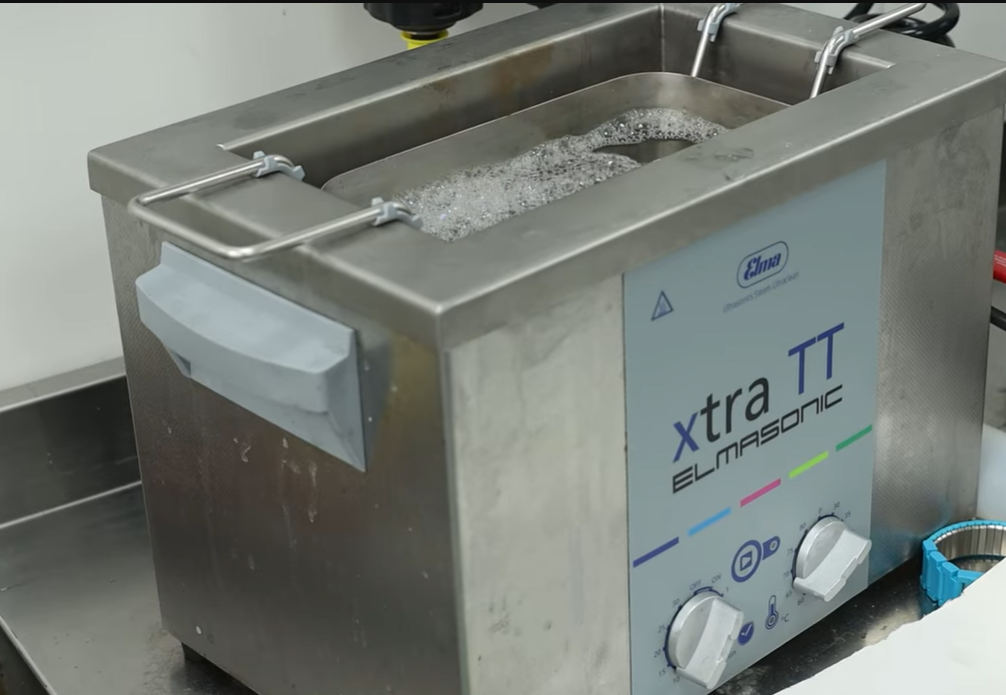
1. Pre-Clean
Use an ultrasonic cleaner or warm soapy water to remove any oil, polish residue or dirt. Rinse thoroughly with distilled water and dry. Clean surfaces are essential for good plating results.
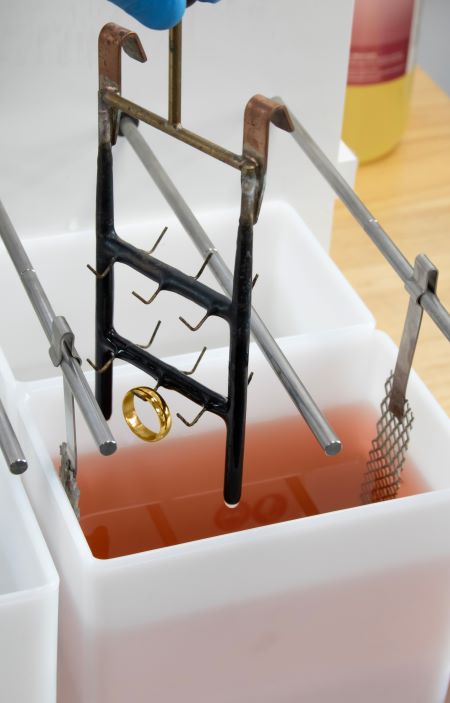
2. Setting Up the Plating Unit
You’ll need four containers:
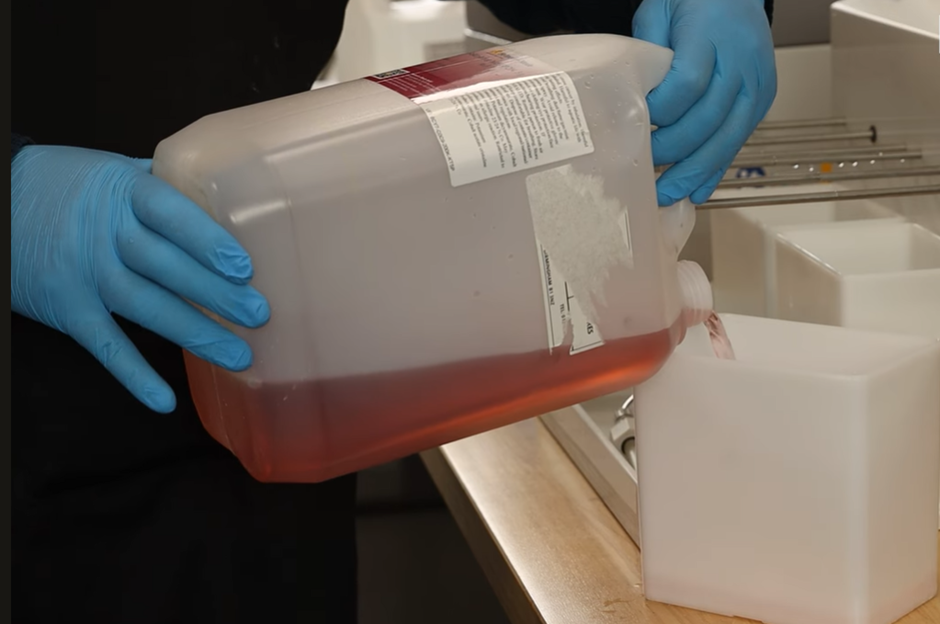
- Degreasing solution: dissolve up to 5 tablespoons of cleaning salts in distilled water
- Acid dip
- Gold plating solution: add the liquid solution to 900ml distilled water and stir well. Then mix in the gold plating salts until fully dissolved
- Distilled water
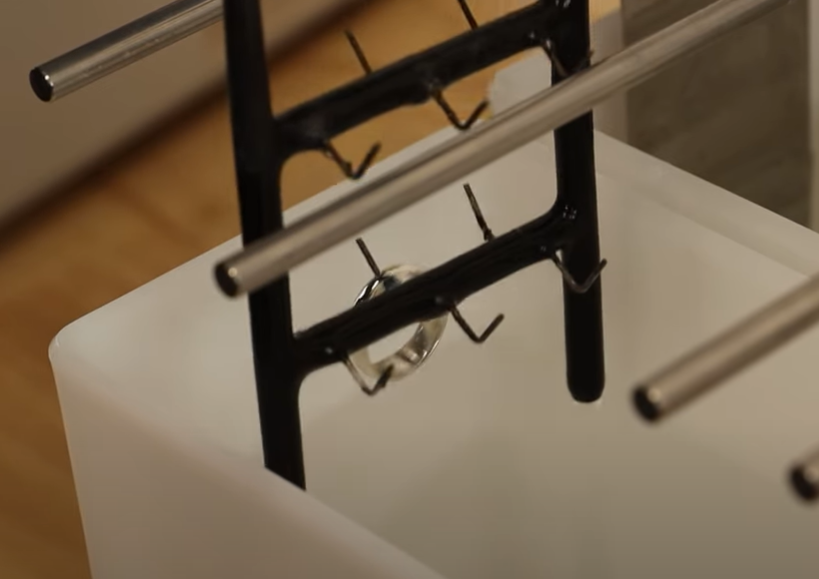
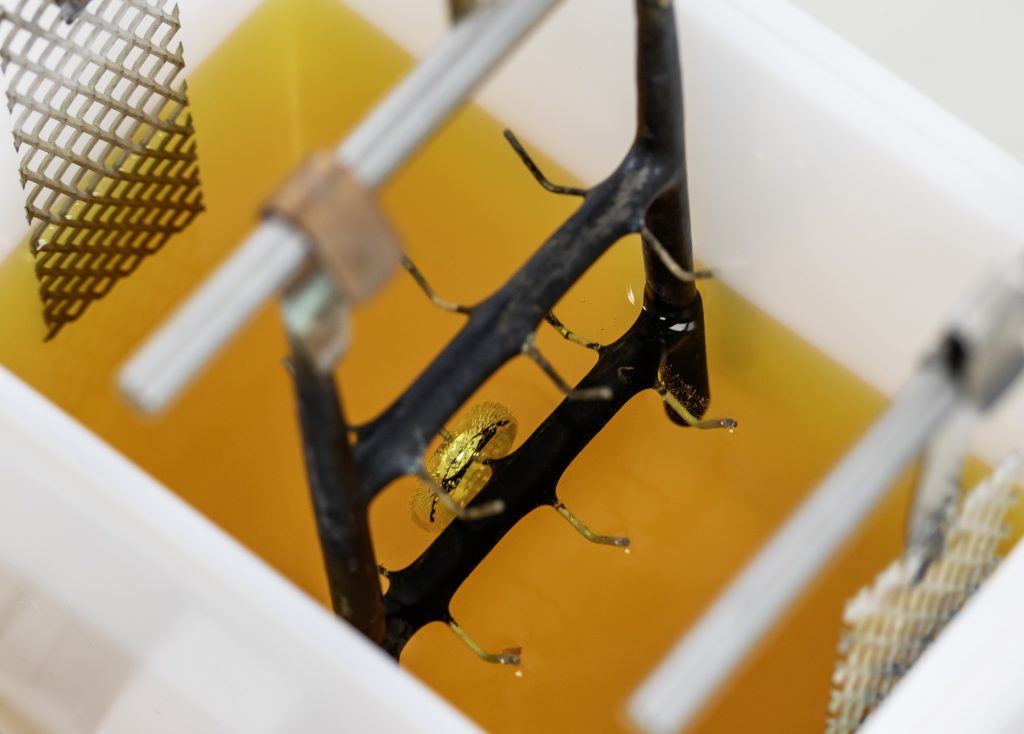
Insert the correct anodes into each solution. Secure the jewellery on a jig or copper wire.
3. Heat Solutions (If Required)
If the degreasing solution or gold plating solution needs heating, use the immersion heater and set the temperature using the thermostatic control. Check your product instructions for ideal temperature ranges.
4. Degreasing
Place the jewellery into the degreasing bath and apply a current. Set the temperature to between 20 and 30°C, with a voltage of 4 to 5 volts, and leave the item in the solution for 30 seconds. Once complete, rinse immediately in distilled water.
5. Acid Dip
Place the jewellery in the acid dip for 30 seconds to 1 minute to remove oxides and activate the surface. No power is usually required. Rinse thoroughly with distilled water.
6. Gold Plating
Lower the jewellery into the gold plating solution and connect it securely to the cathode (negative terminal) of the electroplating unit. Place the platinised titanium anode into the solution, ensuring it remains fully submerged but not in contact with the jewellery. Set the voltage to between 4 and 5 volts, depending on the requirements of your specific plating solution. For hard gold plating, allow approximately eight minutes per micron. Throughout the process, gently move the jewellery using the cathode rod to avoid bubbles and achieve an even, consistent finish.
7. Final Rinse and Inspection
After plating, place the jewellery into a distilled water bath for up to 20 minutes. Remove, dry, and check the surface. The finish should be smooth, consistent, and fully covered.
Tips for Better Results
- Handle jewellery with gloves after cleaning to prevent contamination
- Rinse thoroughly with distilled water between every step
- Keep solutions clean by using separate tweezers and holders
- Check that electrical contact between the wire/jig and jewellery is secure
- Monitor the voltage and current throughout using the LCD rectifier on the electroplating unit
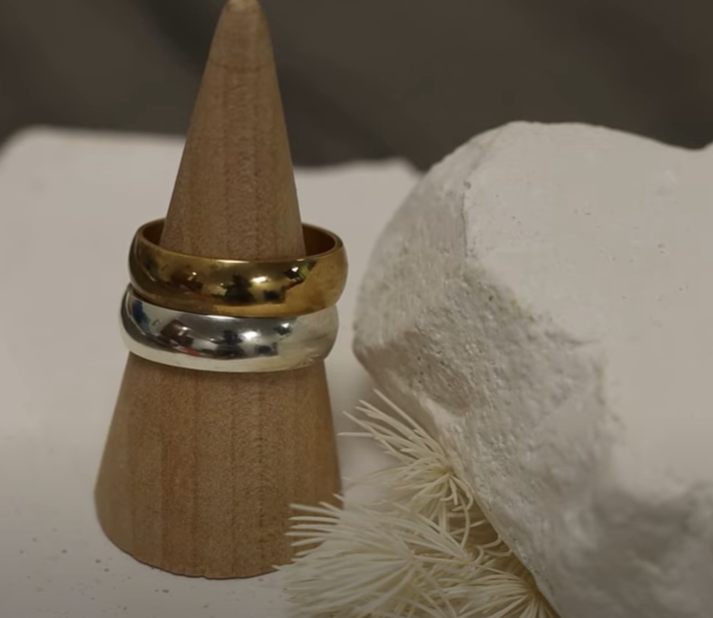
With the right setup, attention to detail, and careful handling at each stage, hard gold plating can deliver a durable, high-quality finish that enhances both the appearance and longevity of your jewellery.
For more information on our electroplating equipment and solutions click here

Sian Brown
Sian has been hand making her award winning jewellery in the West Midlands for over 12 years. Sian spent 10 years in Birmingham’s historic Jewellery Quarter before relocating to a quiet Worcestershire village.