The Orotig Canova 50 Laser Engraving Machine isn’t just designed for engraving, it’s also a powerful solution for precision cutting.
The Orotig Canova delivers clean, accurate results with ease. Unlike traditional cutting methods, it uses a high-speed 50-watt fibre laser, producing detailed cuts on precious metals with no burrs and no mess.
In this guide, we’ll walk through how to cut out a vector design step by step using the Orotig Canova or watch our step by step video below.
Step-by-Step: How to Cut a Vector Design
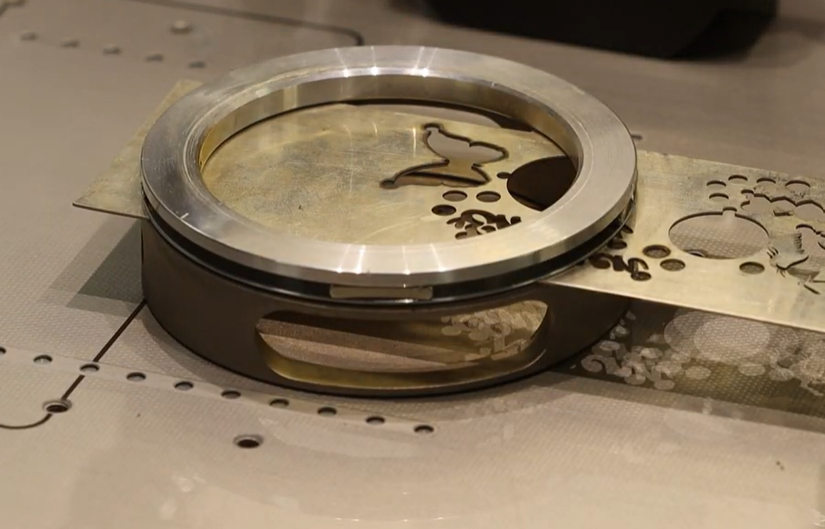
Step 1: Secure Your Metal
Start by using the magnetic ring attachment, which comes with the machine. This is designed to hold your metal sheet firmly in place. Insert your metal and secure it by placing the magnetic ring on top.
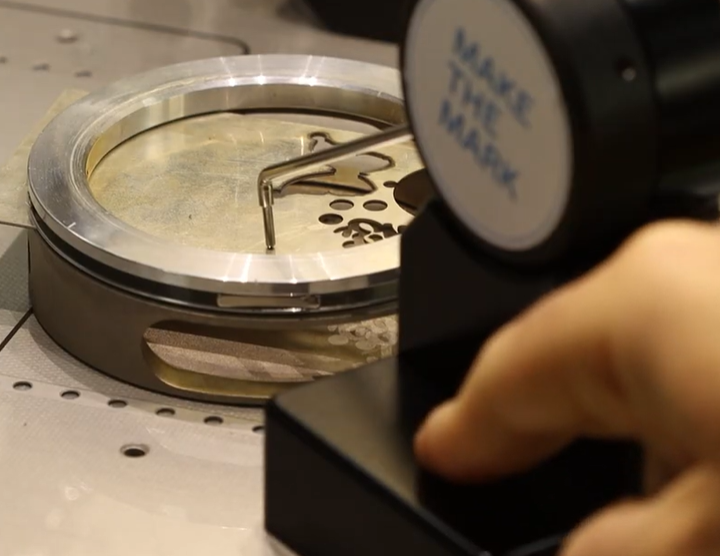
Step 2: Set the Laser Focus
Use the Touch Pro tool to automatically detect the correct height for the laser focus. This ensures accuracy before you begin cutting.
Step 3: Import Your Design
Open the Marko software, start a new project, give it a name, and import your vector design file directly from your desktop.
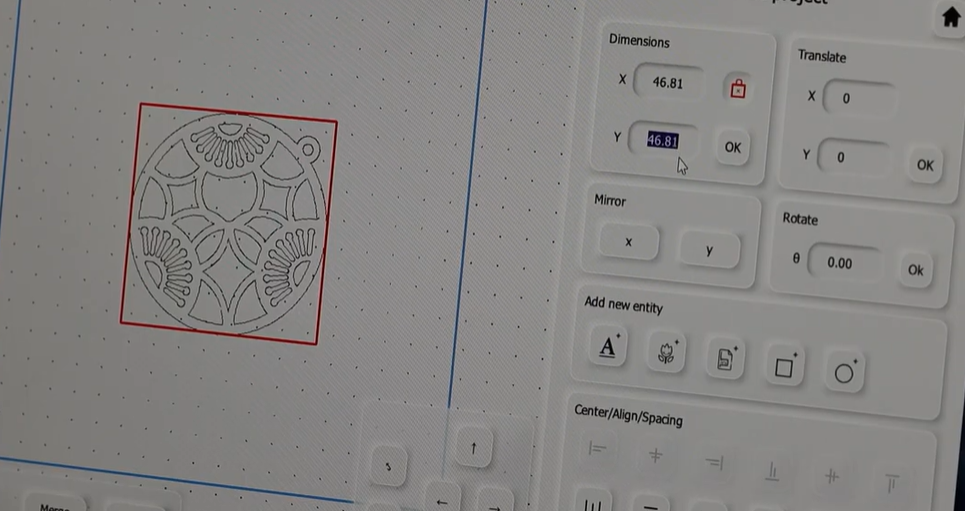
Step 4: Adjust the Size
Scale and adjust the design to your required dimensions, making sure it matches your intended final result.
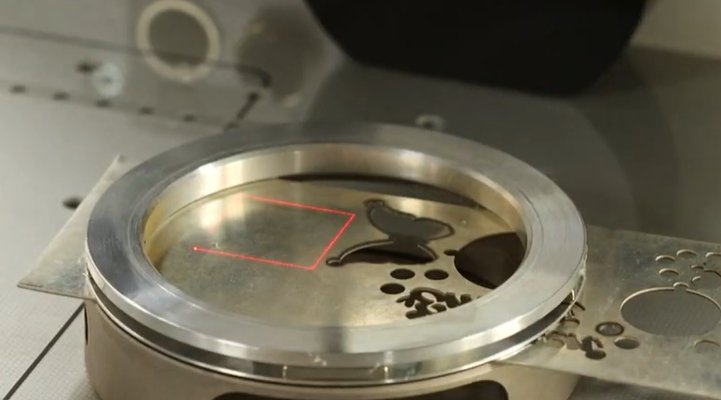
Step 5: Preview the Position
Click the Preview button. The Canova’s red laser guide will project the outline of your design directly onto the metal sheet, allowing you to check positioning before cutting.
Step 6: Select the Correct Mode
Make sure the ‘Cut’ option is selected, not ‘Mark’. This tells the machine to cut fully through the metal rather than engraving on the surface.
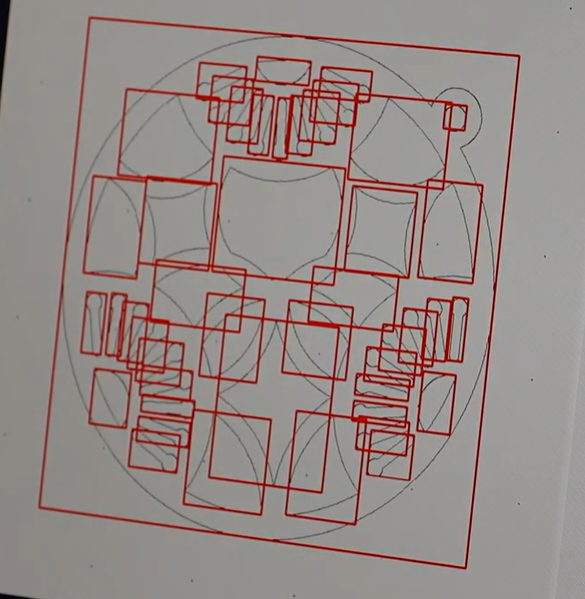
Step 7: Review External Cuts
In the highlighted red zone, you’ll see all the external lines that will be cut. These layers appear on the right-hand side, with the outer square set to cut last for clean separation.
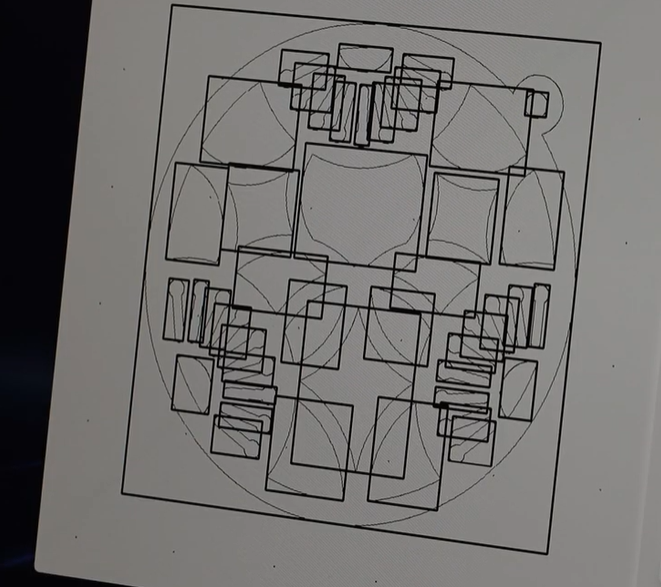
Step 8: Check Internal Cuts
Internal cuts, such as holes or inner cut-outs, appear in black. These are also listed on the right-hand side, ordered by layers in the cutting sequence.
Step 9: Final Accuracy Check
Check the outermost border one final time and run the preview again to ensure full accuracy before cutting begins.
Step 10: Prepare for Cutting
Position the dust extraction arms close to the work area to remove any metal dust or particles, then close the lid.

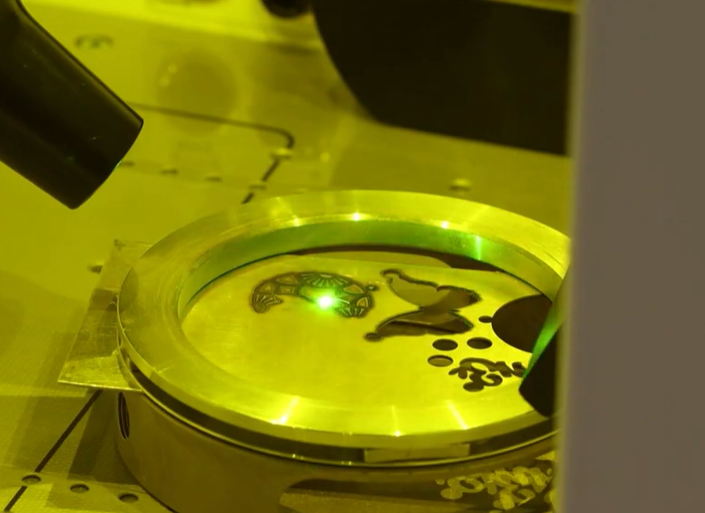
Step 11: Start the Cut
Once everything is set, press the blue ‘Engrave’ button to begin. Watch as the laser precisely cuts through the metal, following the design layer by layer.
Finished Results & Next Steps
Once complete, your finished item is ready to remove and inspect, clean and precise.
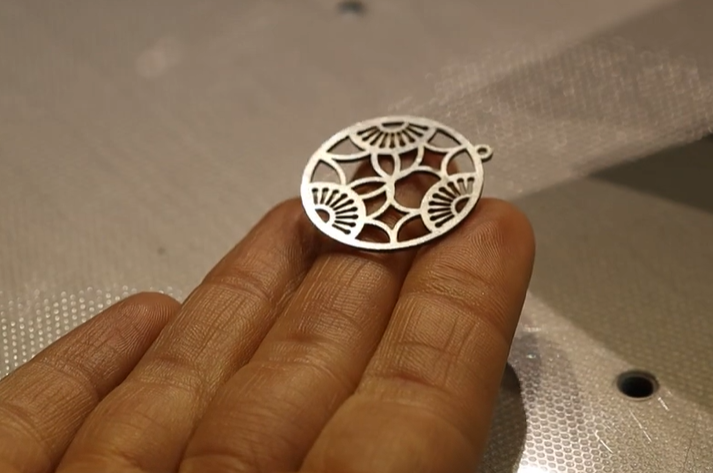
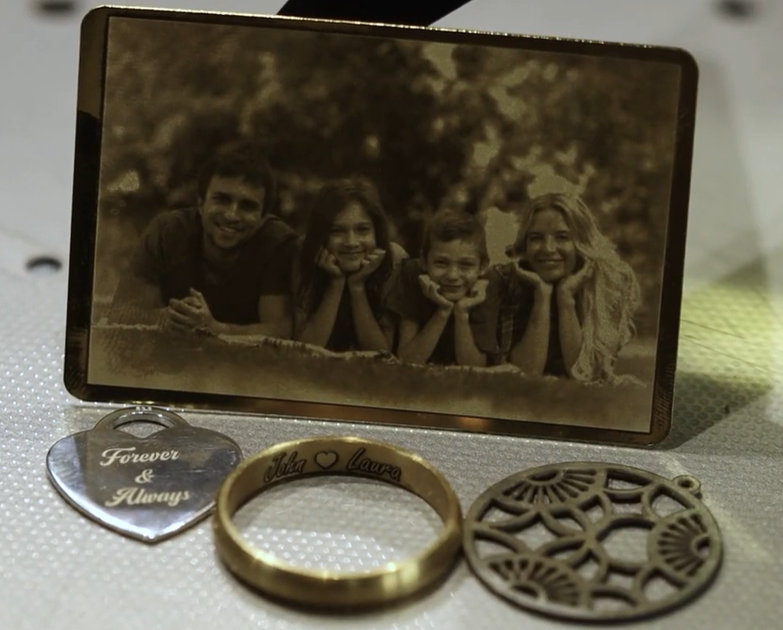
From engraving rings to cutting intricate charms, the Orotig Canova 50 brings versatility and accuracy together in one powerful machine.
Book a free demo here either online or visit us in-store to see the Canova in action and discover how it can transform your jewellery workspace.
Harvey Wedgbury