Photographing handmade jewellery can be a challenging yet rewarding task. With the intricate details and the need for perfect lighting, a light box becomes an essential tool. It provides a controlled environment that helps highlight the beauty of your pieces. Here are some top tips to make the most out of your light box when photographing your handmade jewellery.
1. Choose the Right Light Box Size
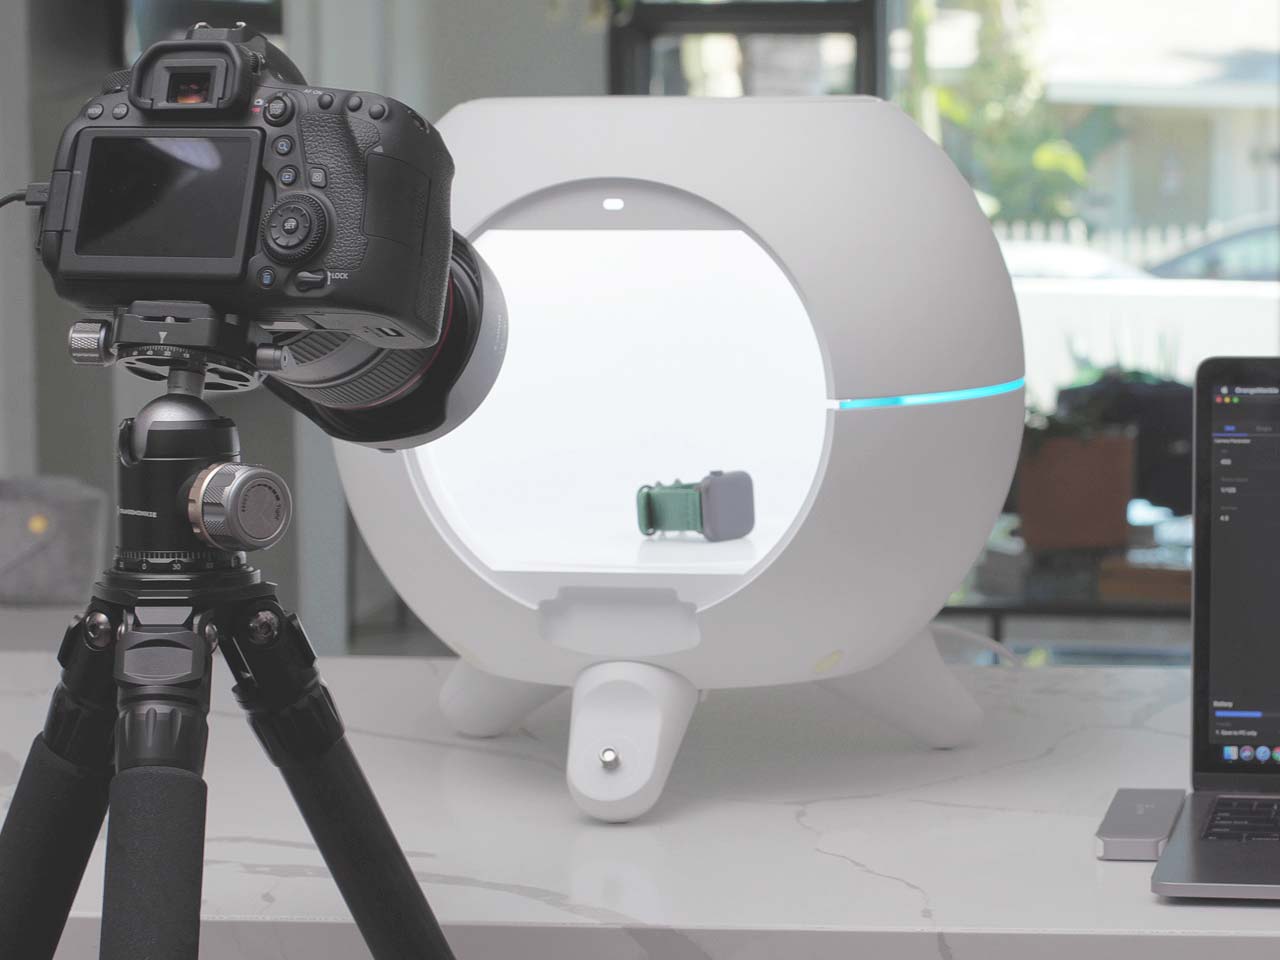
Selecting a light box that is appropriately sized for your jewellery is crucial. If the light box is too small, you’ll struggle with composition and might have uneven lighting. A larger light box, on the other hand, offers more flexibility and ensures that your jewellery is well-lit from all angles.
There are 3 Orangemonkie lightboxes to choose from:
Mini: 260mm x 260mm x 260mm
Small: 380mm x 380mm x 380mm
Large: 610mm x 584mm x 654mm
2. Set Up Proper Lighting
Most light boxes come with built-in LED lights, but you can also use external lights for better control like the Orangemonkie Foldio Halo Light Bar.

These magnetic lights can be attached securely to the base or to the side of your Studio Box (ensuring they are placed on the assigned magnetic spots) and provide a bright white, daylight 5700K light. Position your lights to avoid harsh shadows and ensure even lighting.
Supplied with a Y cable that connects directly into the dimmer switch provided with your Foldio3, they allow you to control the intensity and direction of the light and they are suitable to be used upright or on their side.
3. Use a Tripod
Stability is key in jewellery photography. Even the slightest movement can blur the image, especially in close-up shots. Using a tripod helps maintain stability, allowing you to capture sharp and clear images. Additionally, it frees your hands to adjust the jewellery and lighting as needed.
The Orangemonkie Foldable Tripod 50v, For Use With Orangemonkie Foldio Studios, is great to accommodate uneven terrain, awkward angles or low-level shooting. Tripod50V includes sliding locks on each leg to allow a convenient adjustment. This tripod is compatible with all devices including DSLR cameras, compact cameras and smartphones.
4. Choose the Right Background
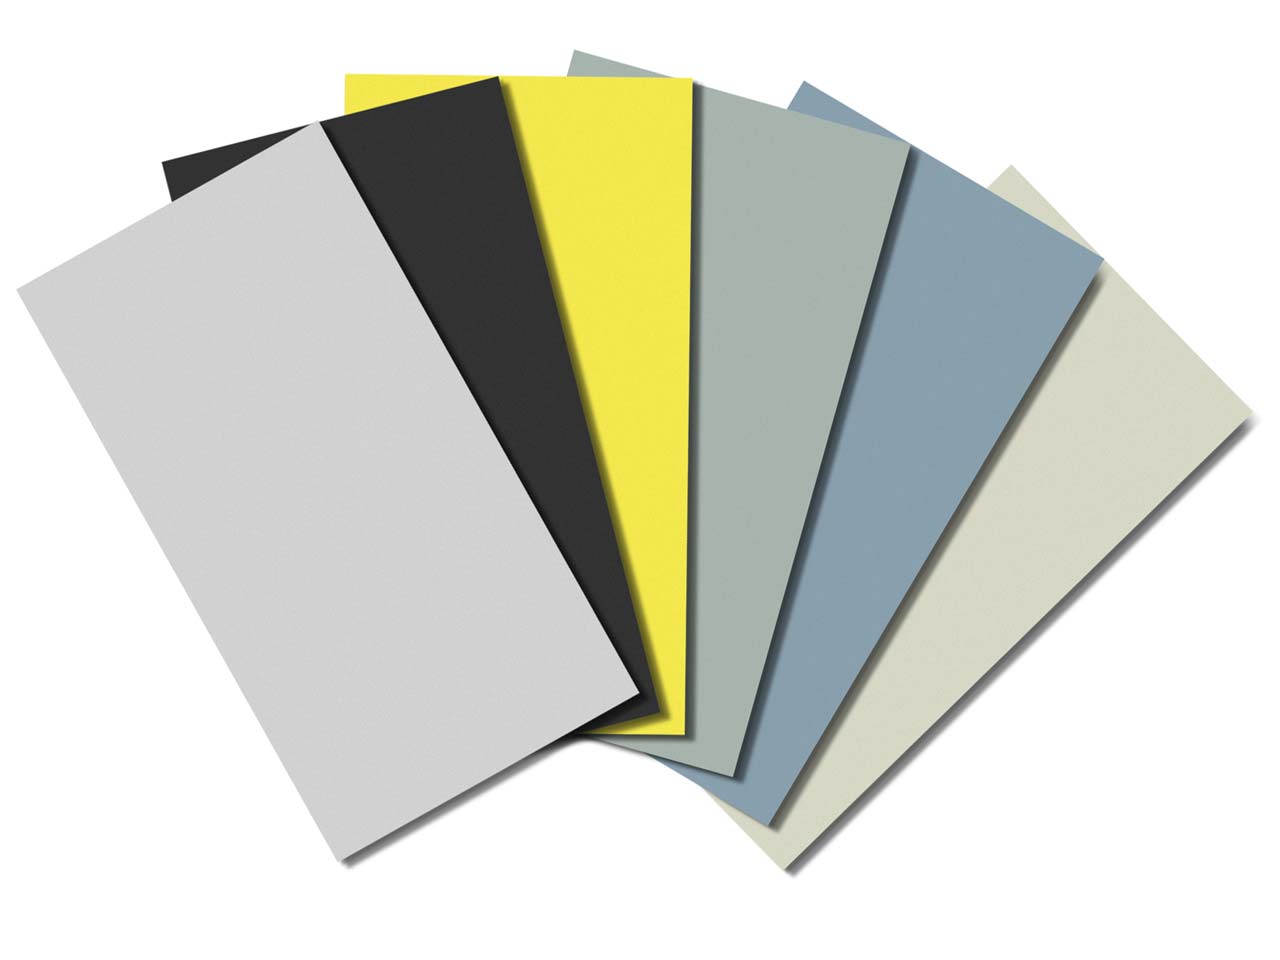
The background you choose for your jewellery can make a significant difference. All Orangemonkie light boxes come with interchangeable backgrounds in white and black. A white background is classic and helps focus attention on the jewellery, while a black background can create a dramatic effect. Ensure the background is clean and free from any wrinkles or dust.
Did you know that we also offer additional backgrounds?

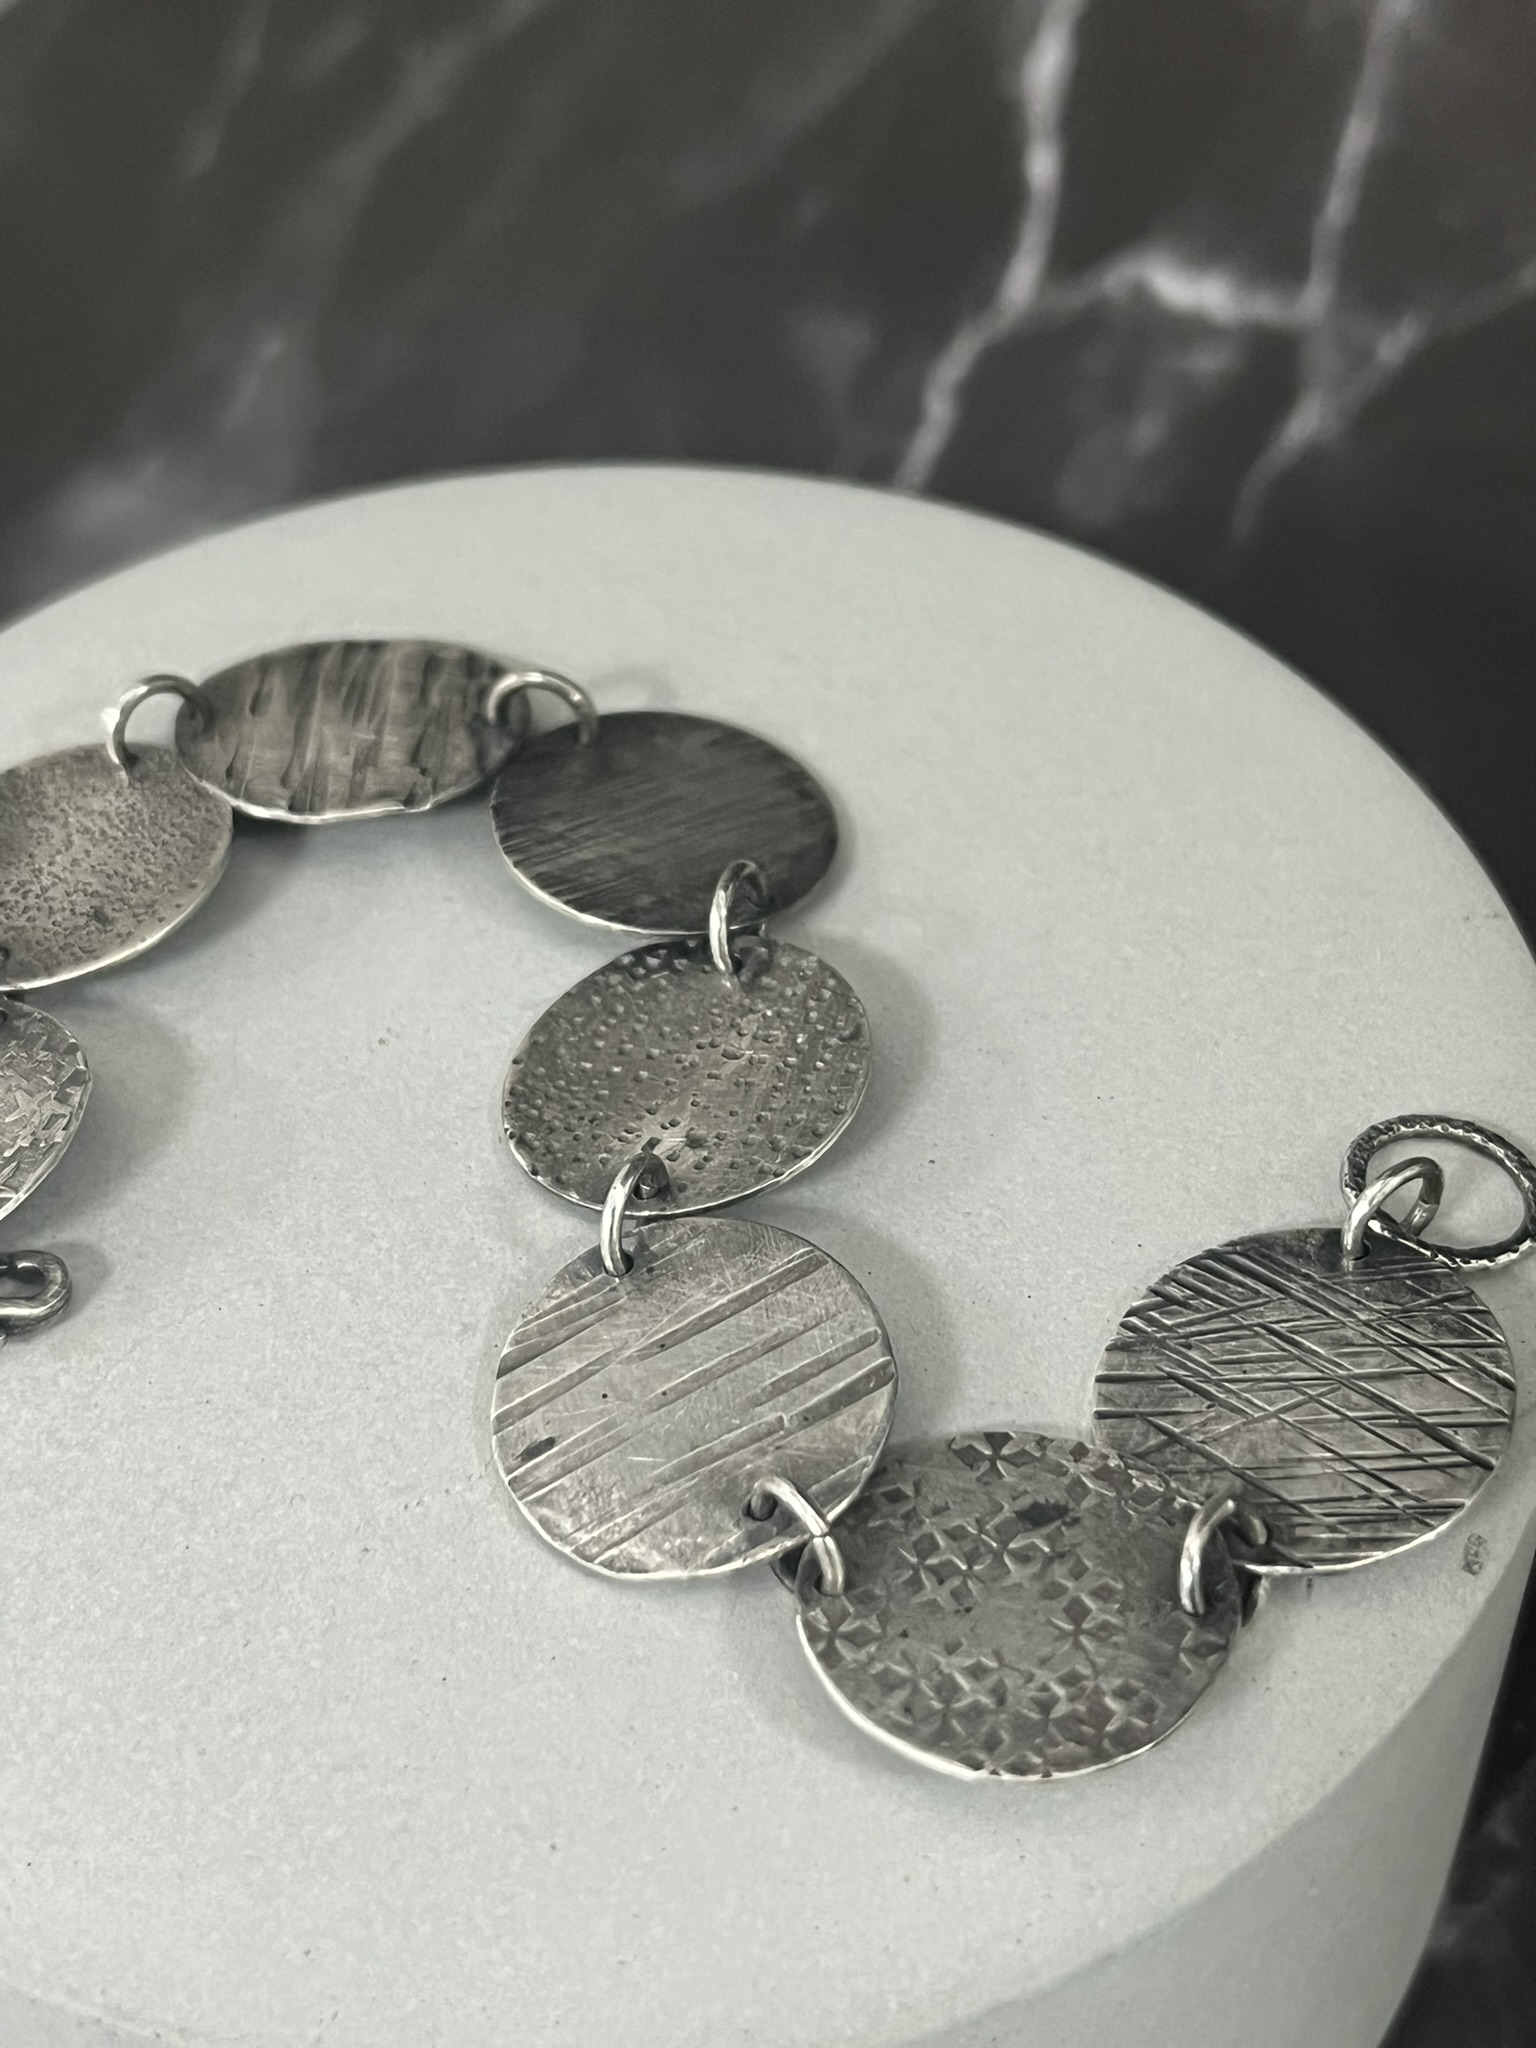
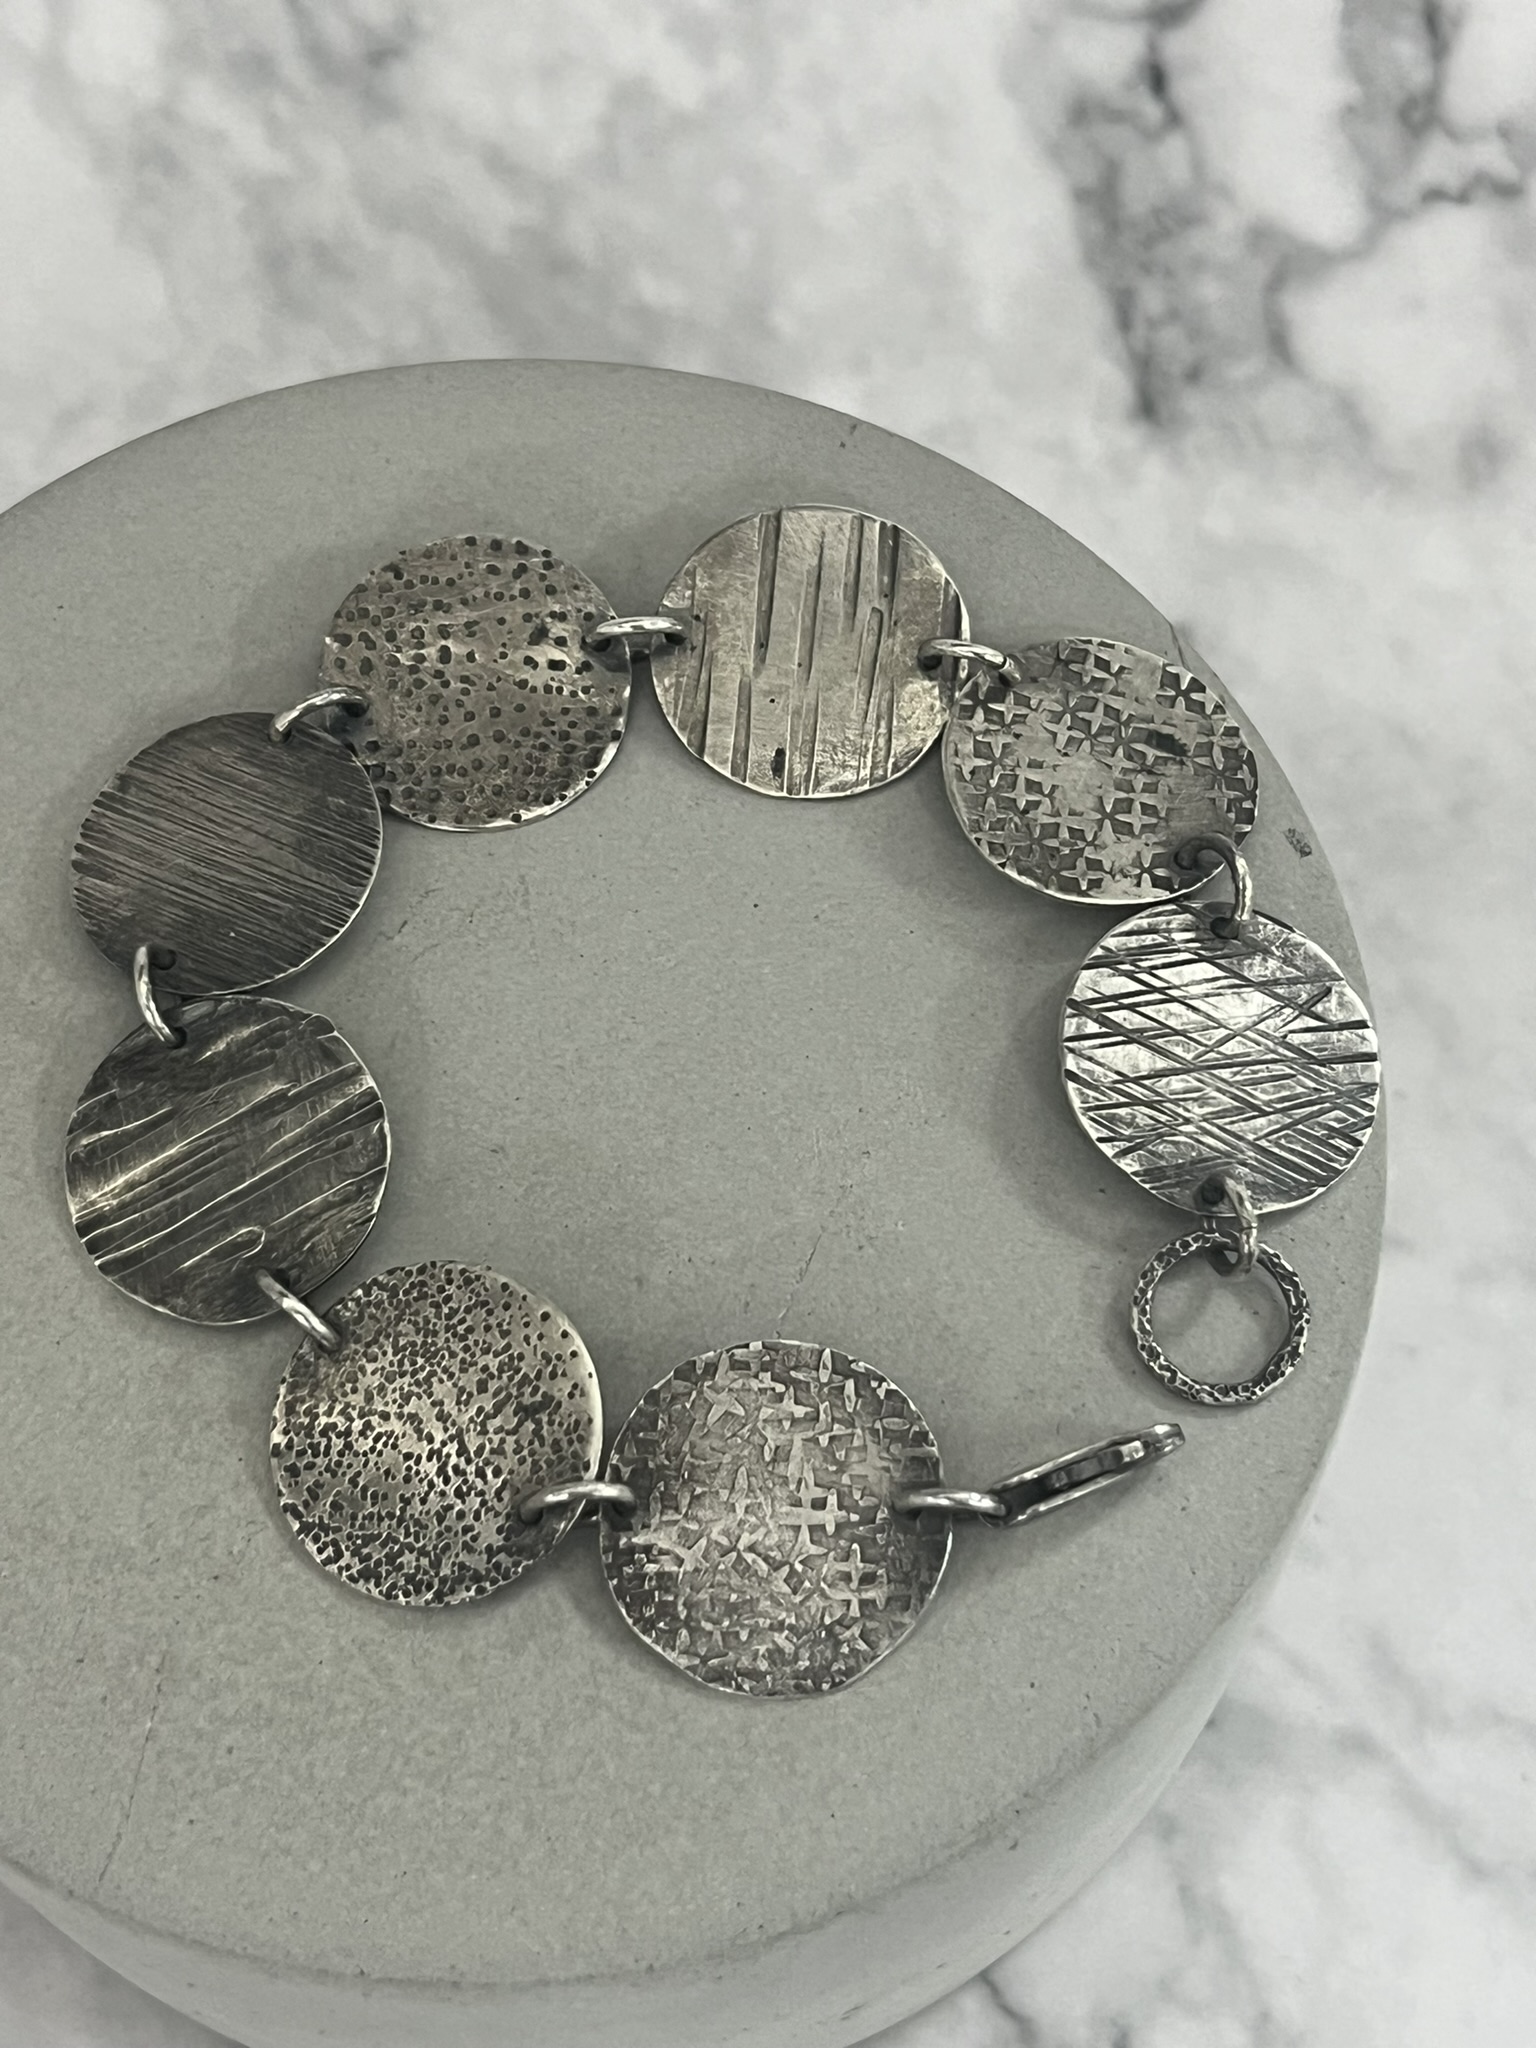
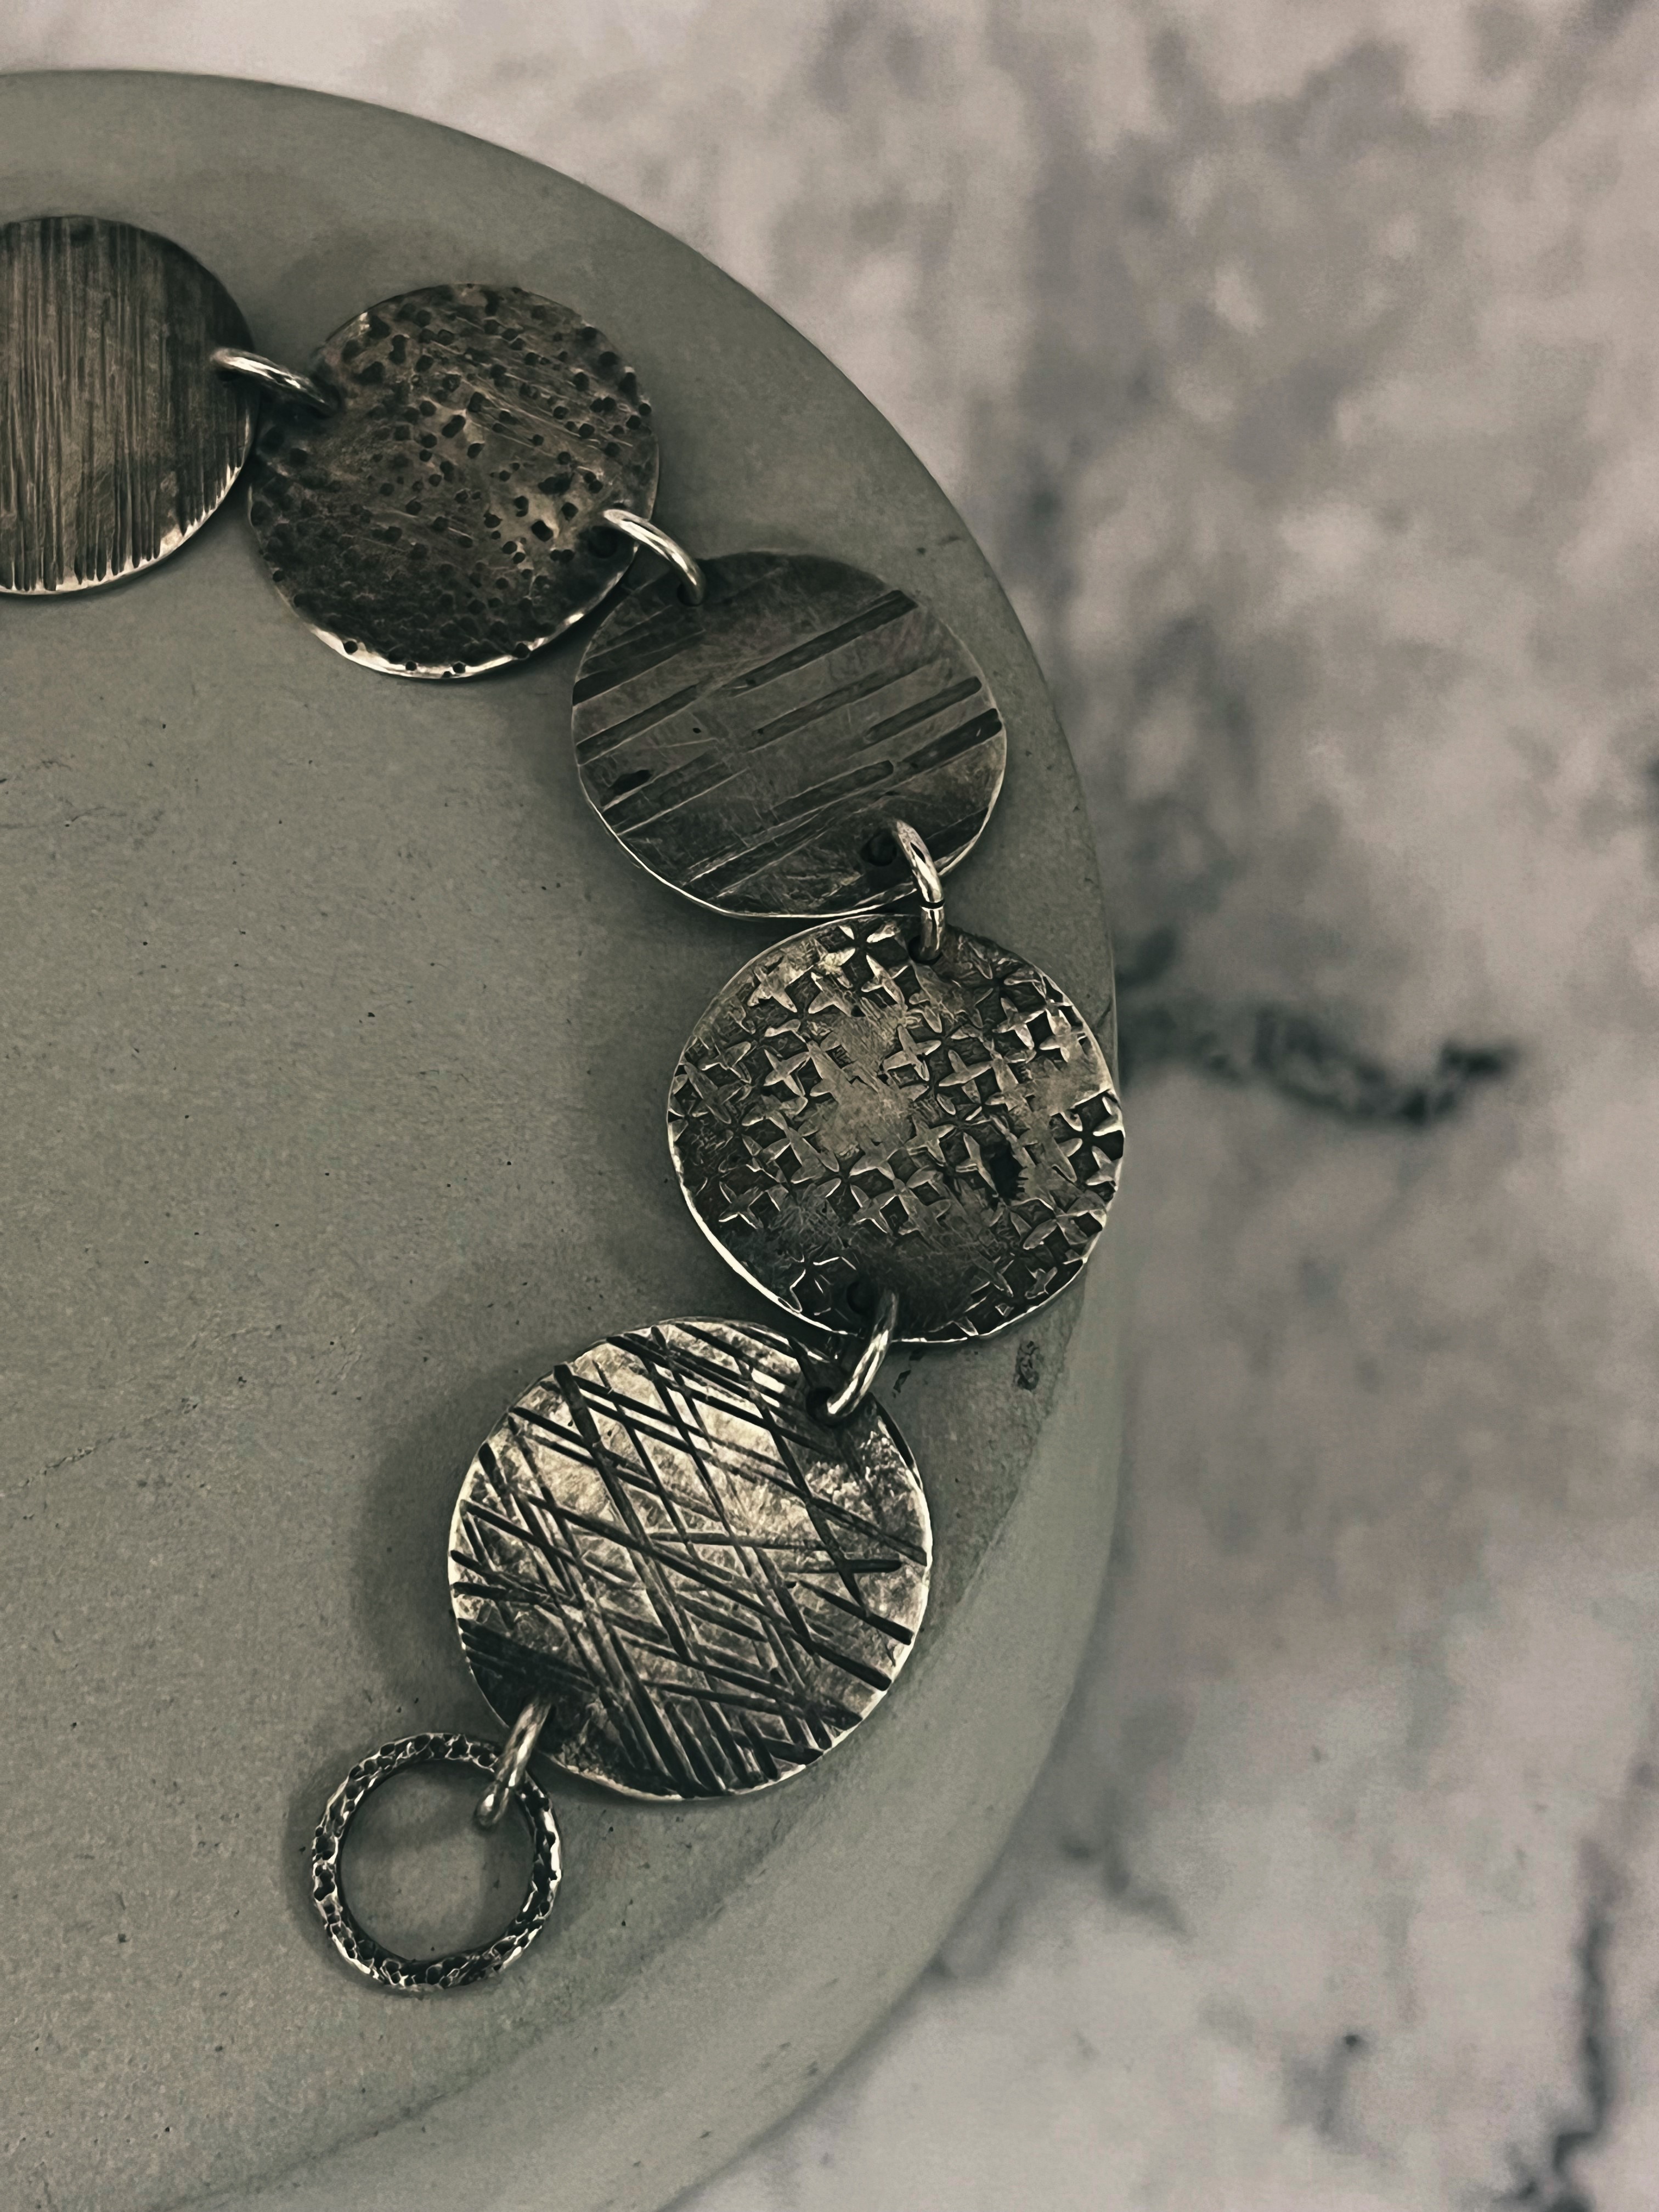
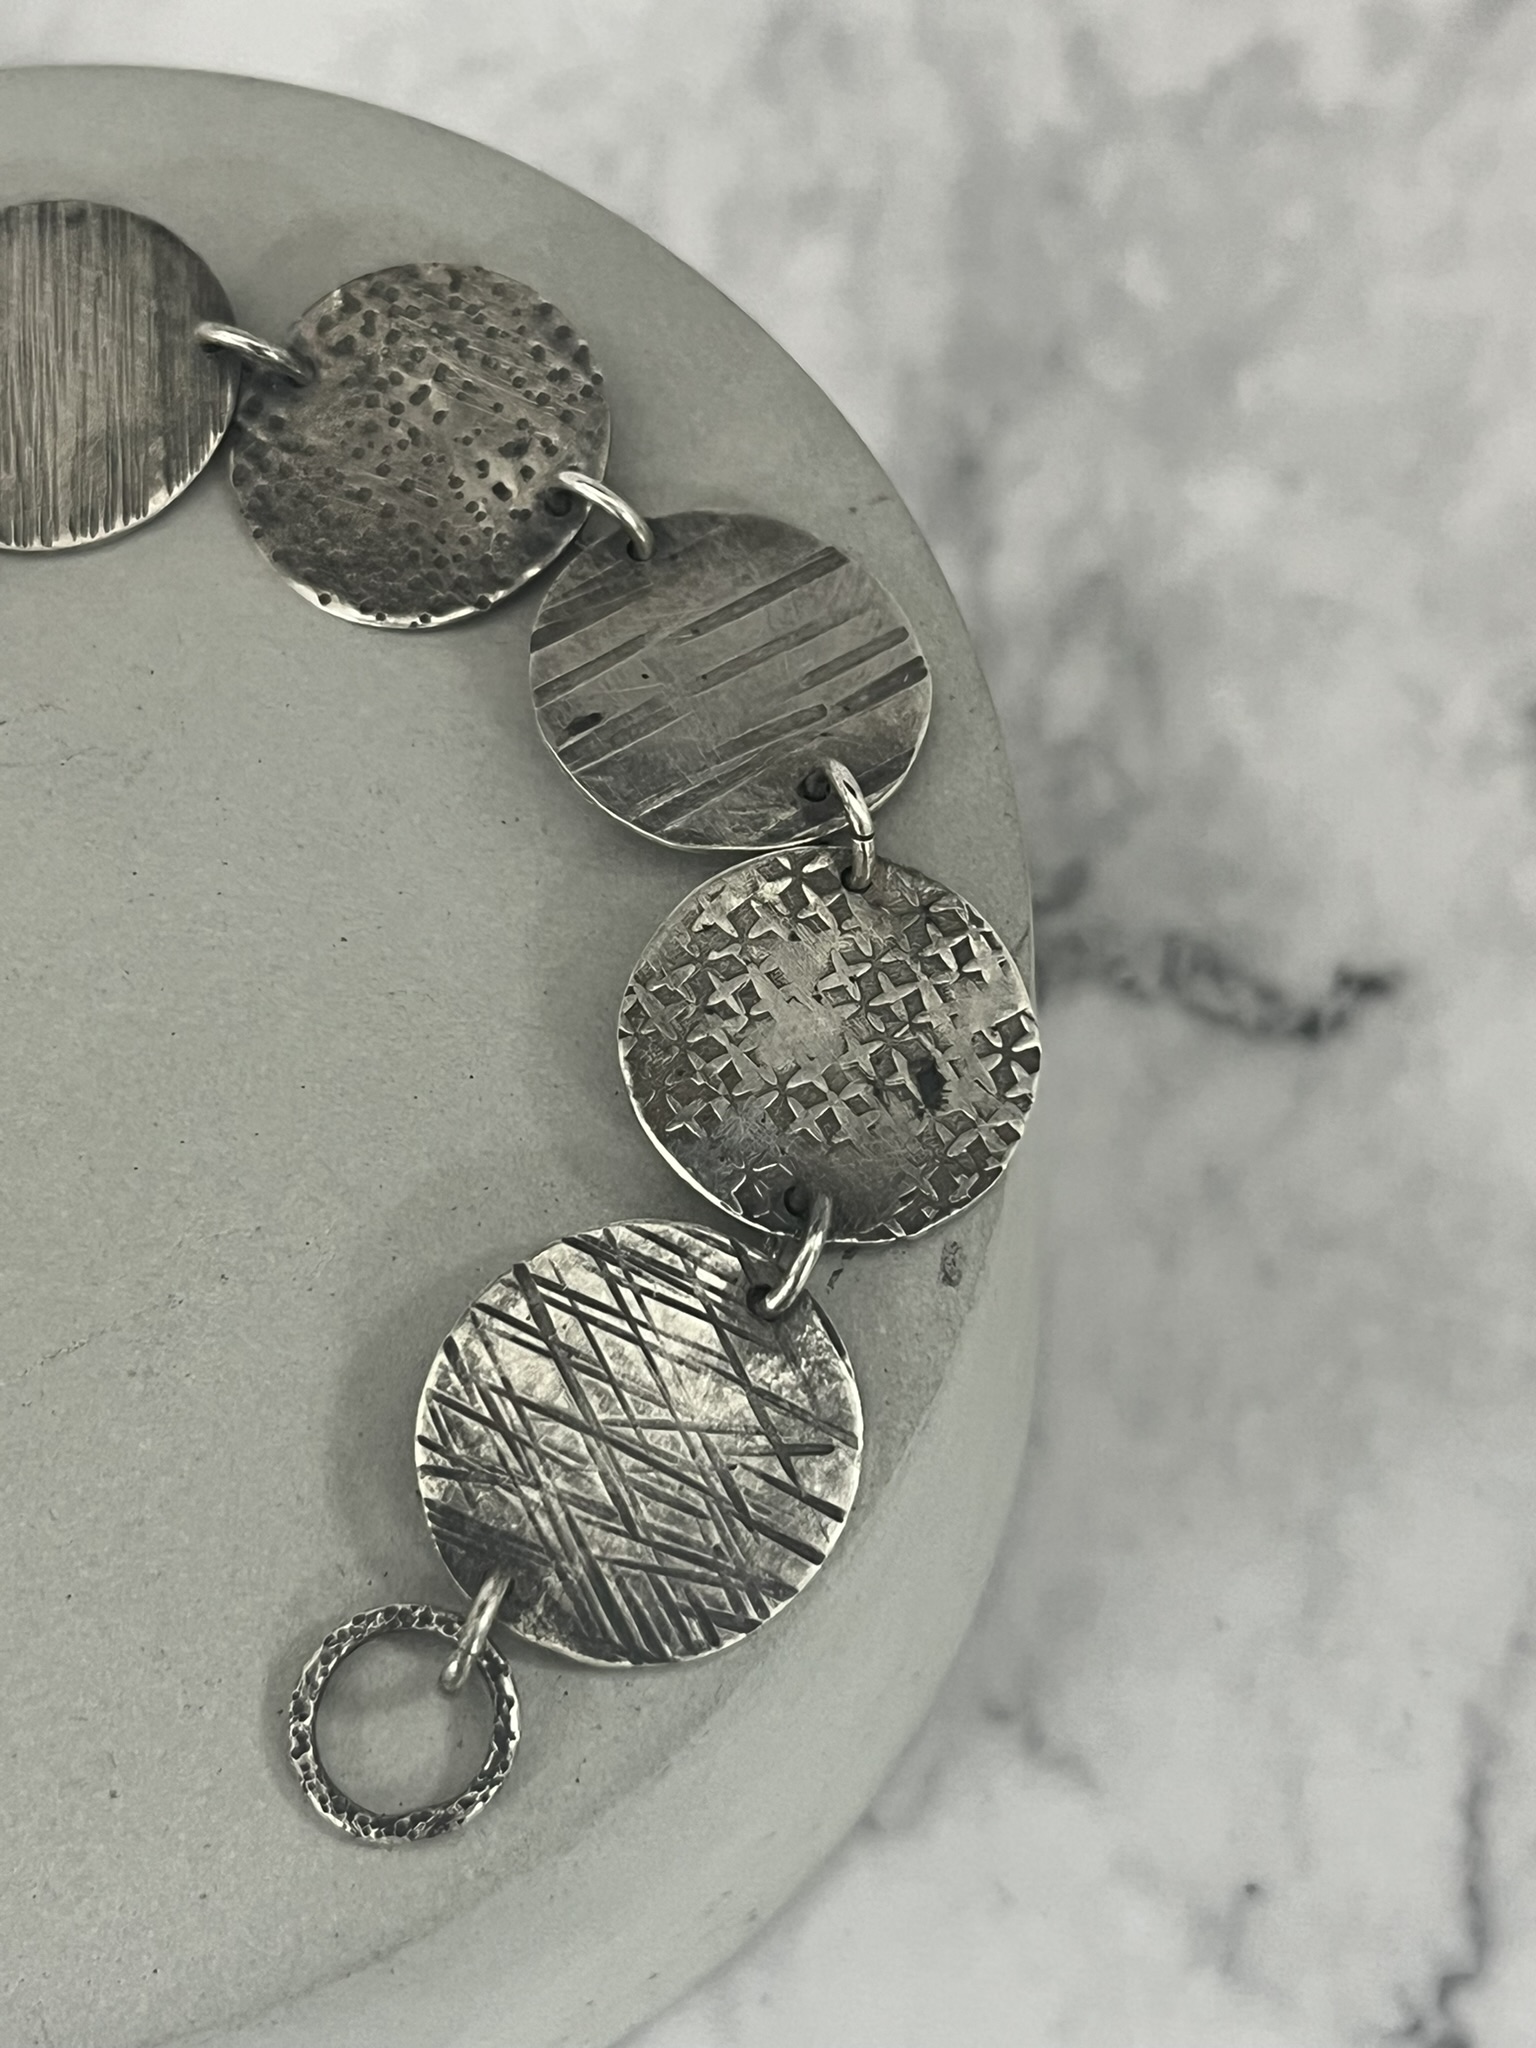
5. Mind the Angles
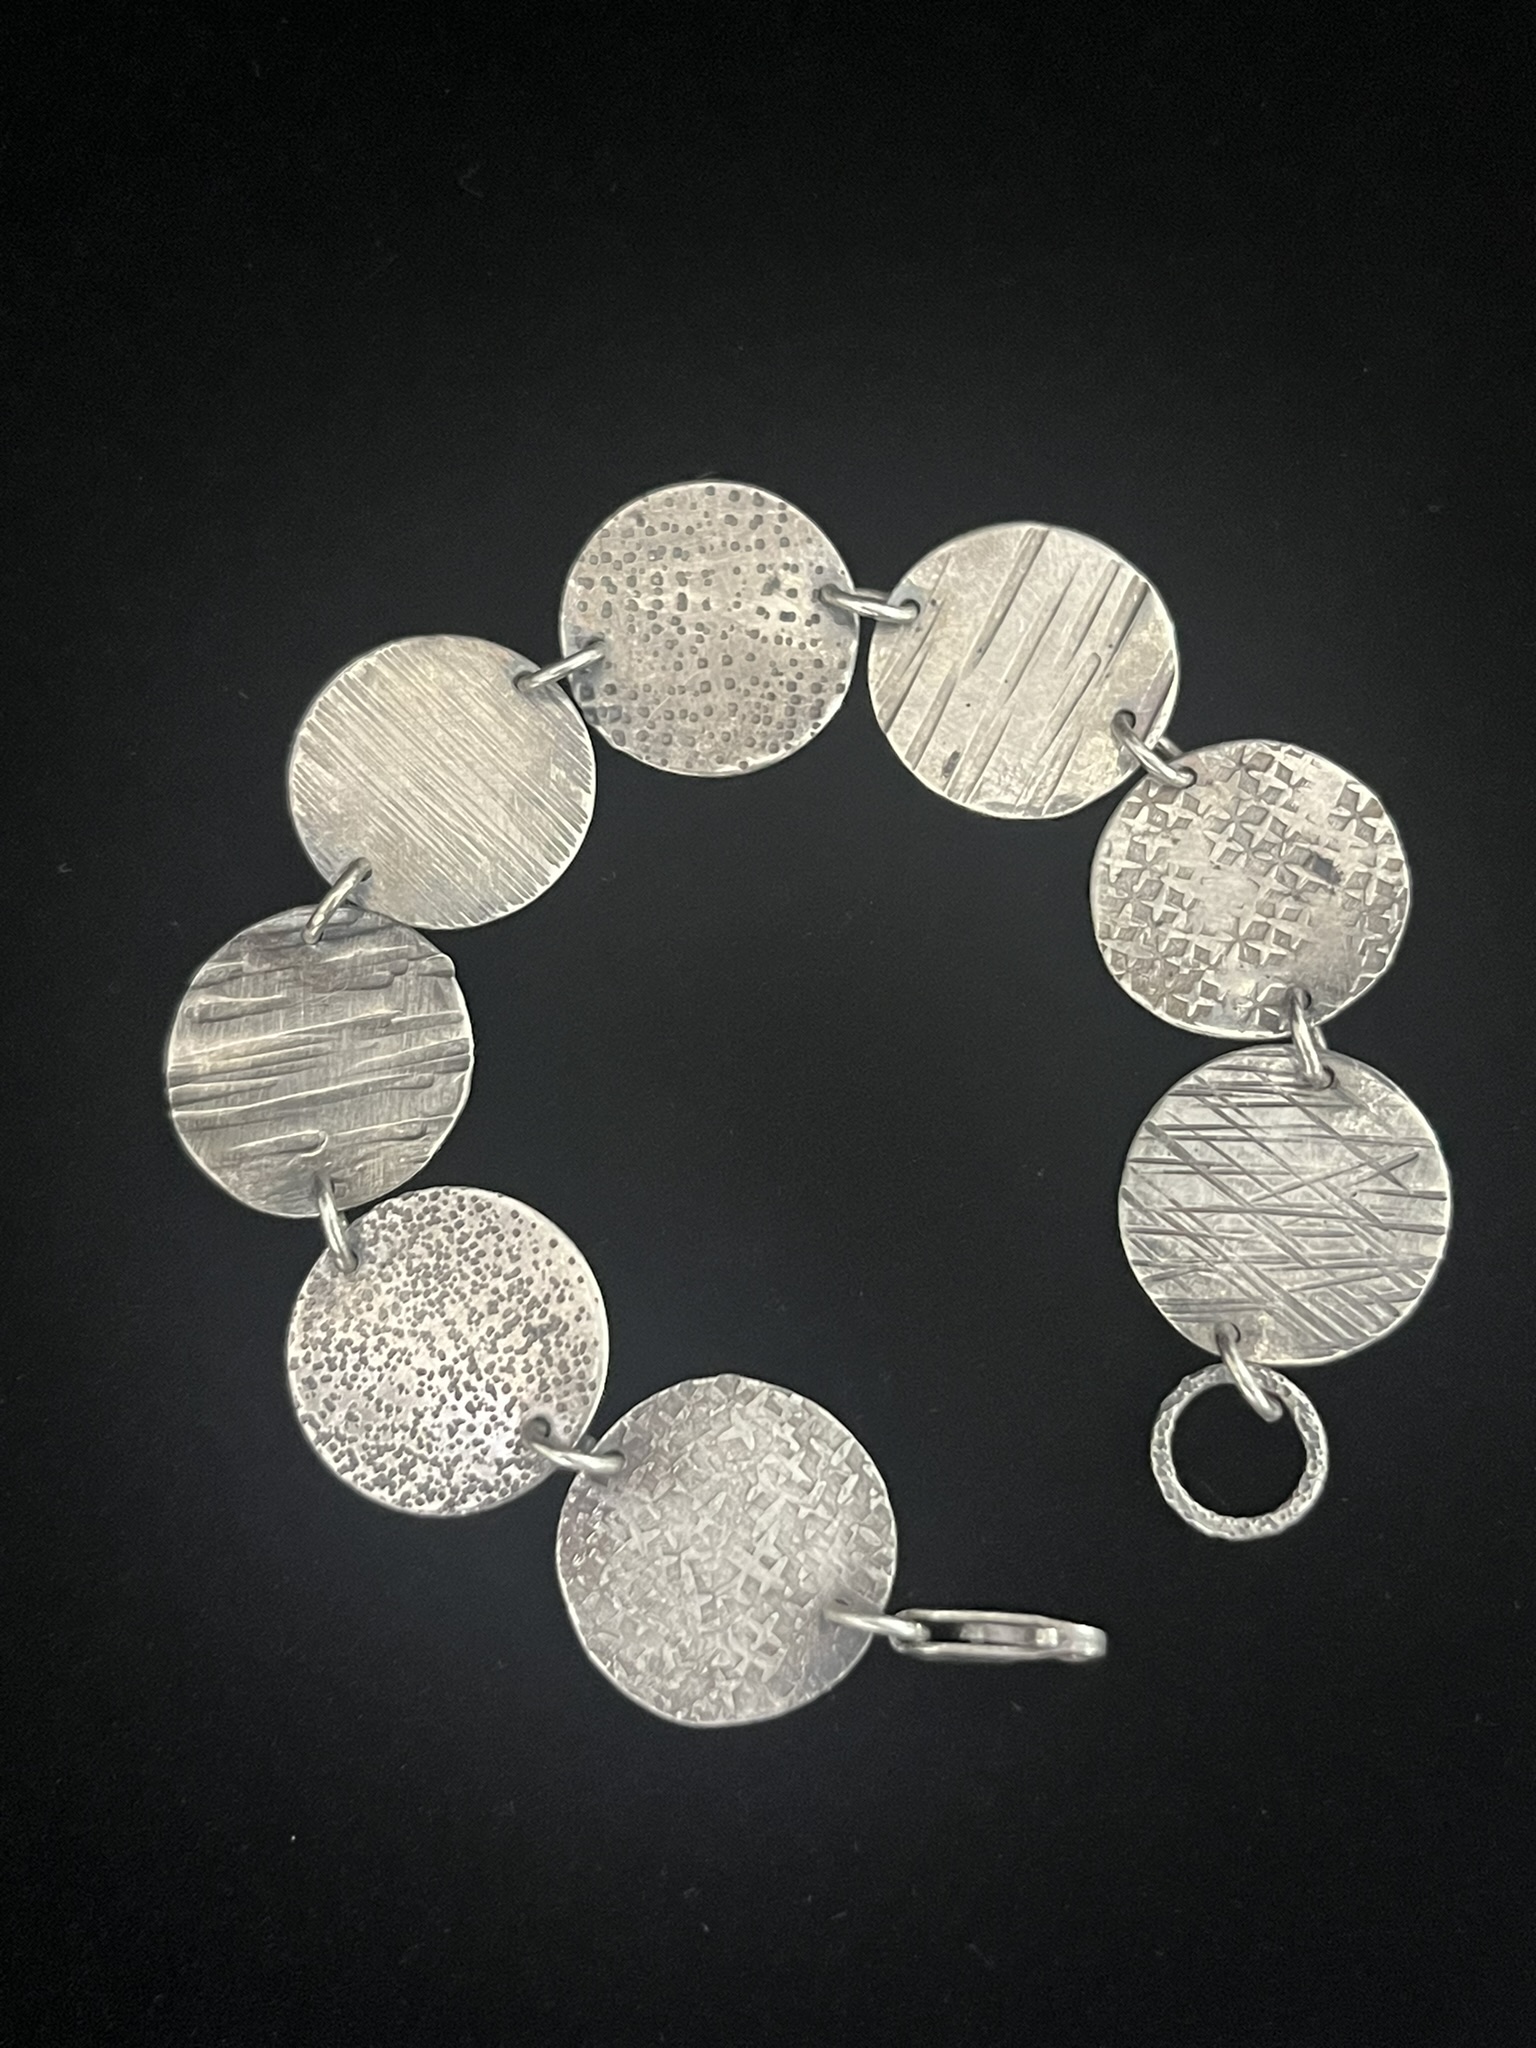
Experiment with different angles to showcase your jewellery’s best features. Shoot from above for a flat lay effect or from the side to highlight the depth and details. Don’t be afraid to try various positions until you find the most flattering angle for your piece. Close-up shots can also emphasize intricate designs and craftsmanship.
See below an angled image compared to an over head image.
6. Pay Attention to Reflections
Jewellery is reflective by nature, which can make photography tricky. Avoid direct light that creates harsh reflections. Instead, diffuse the light using the light box’s built-in diffusers or additional diffusing materials like soft cloths or paper. This helps to soften the light and reduce unwanted reflections.
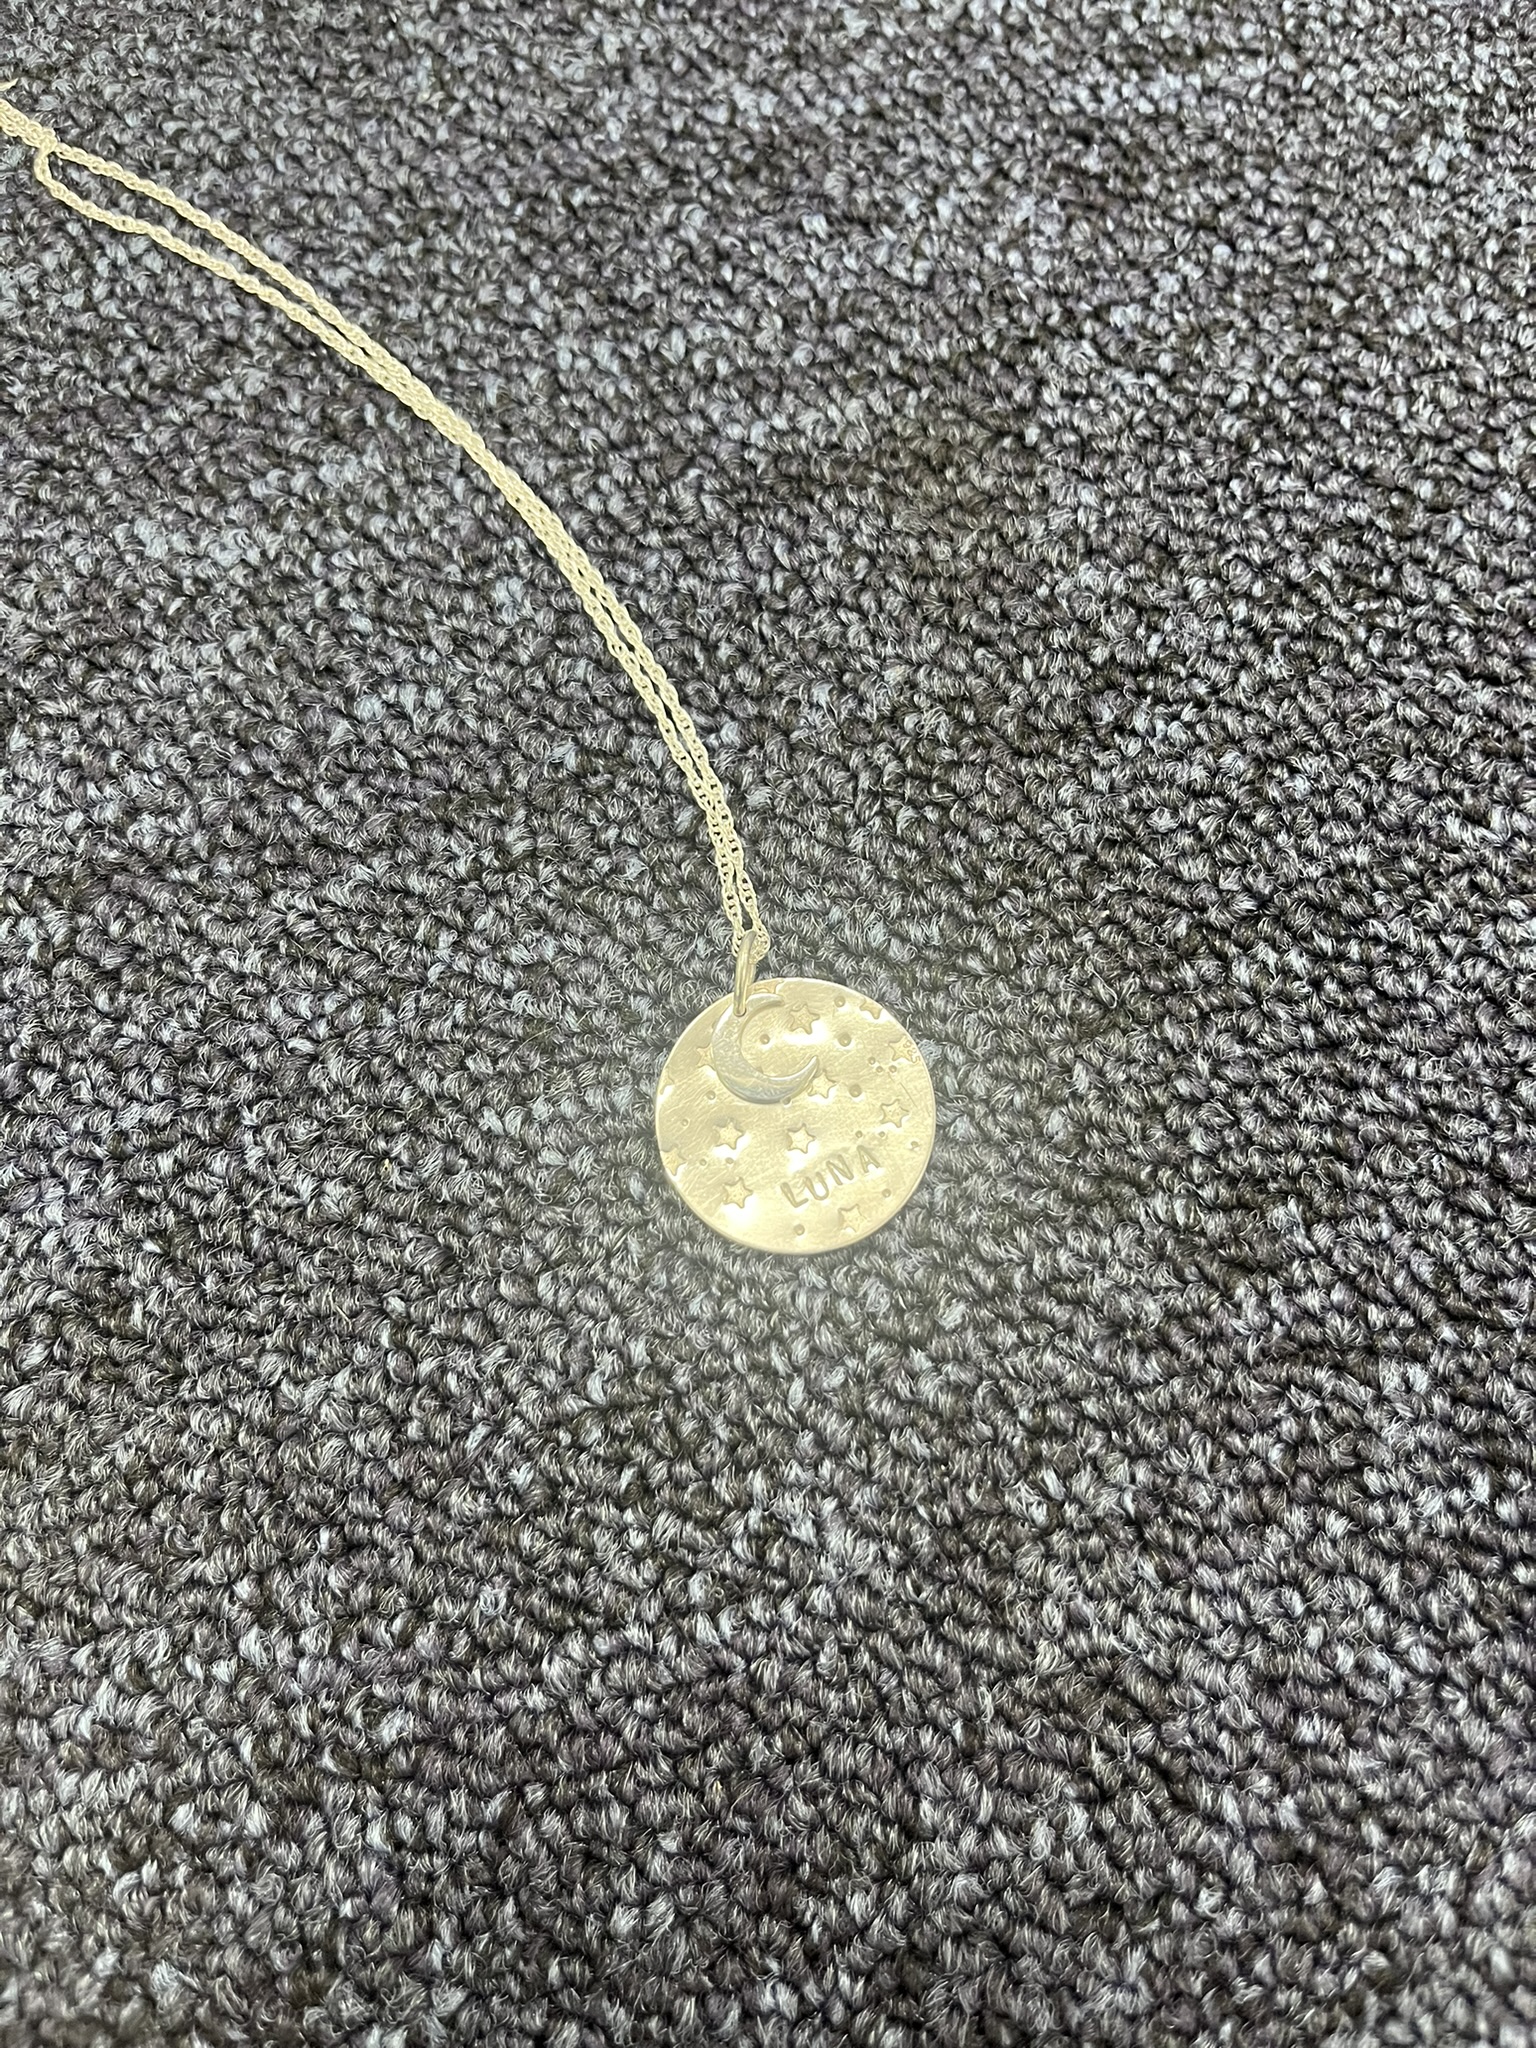
Without lightbox

With lightbox, background, prop and diffused light.
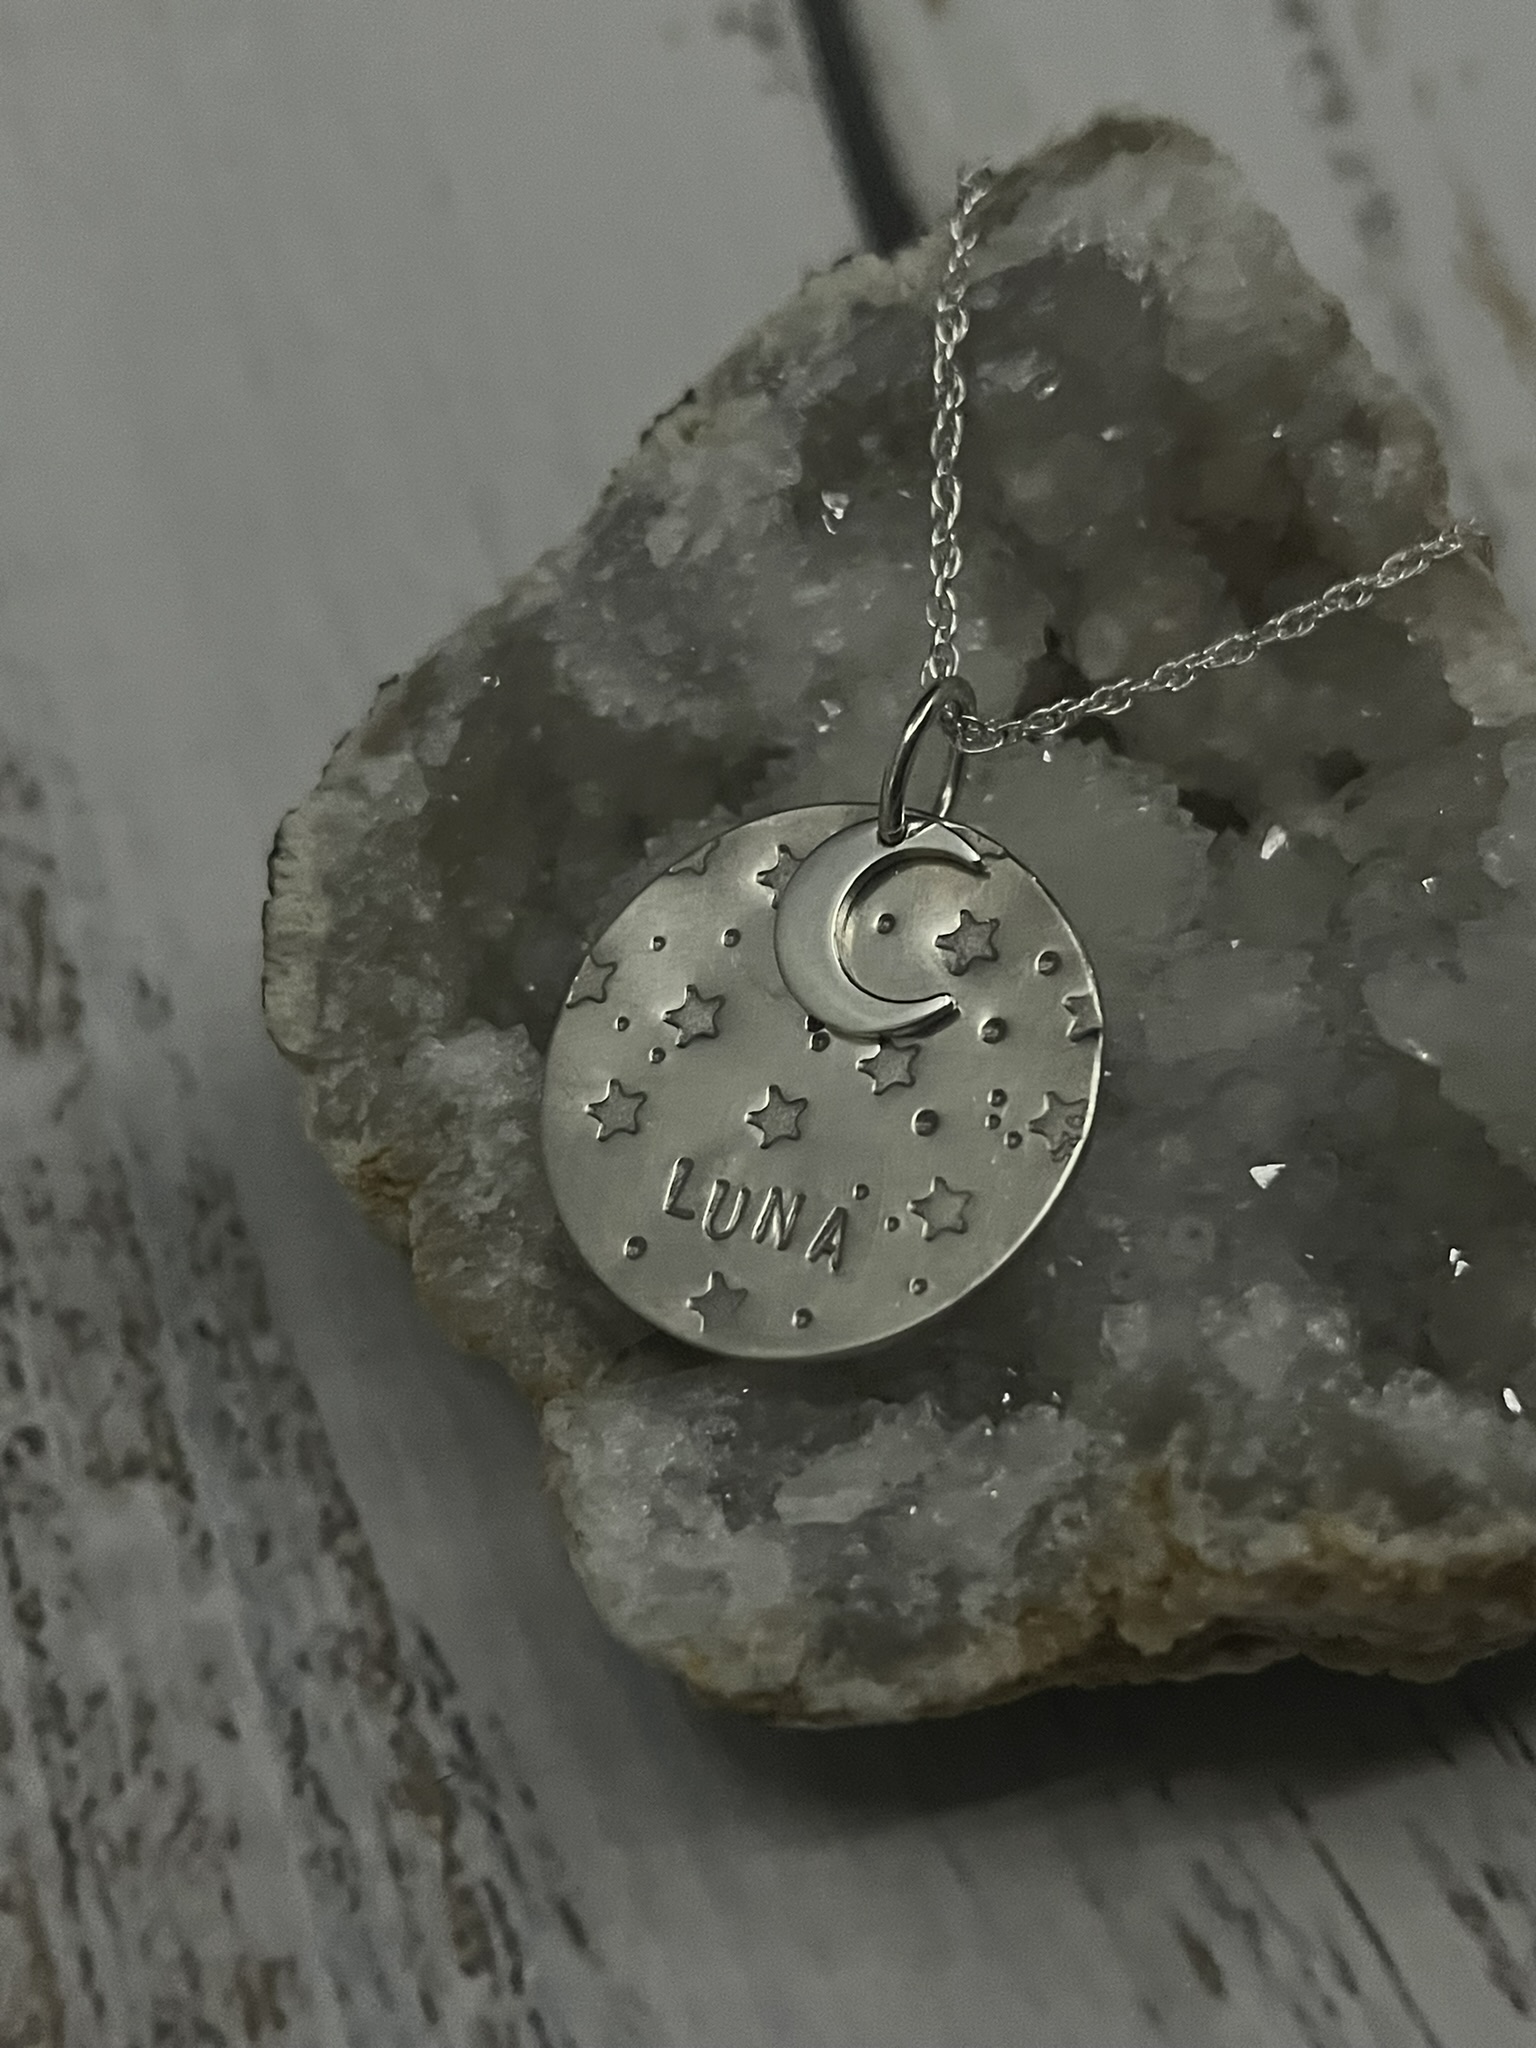
With lightbox, background, prop and no light.
7. Edit Your Photos
Even with a perfect setup, post-processing can enhance your images. Use photo editing software to adjust brightness, contrast, and colour balance. Cropping and resizing can also help focus on the jewellery. However, avoid over-editing, as you want your images to be a true representation of your products.
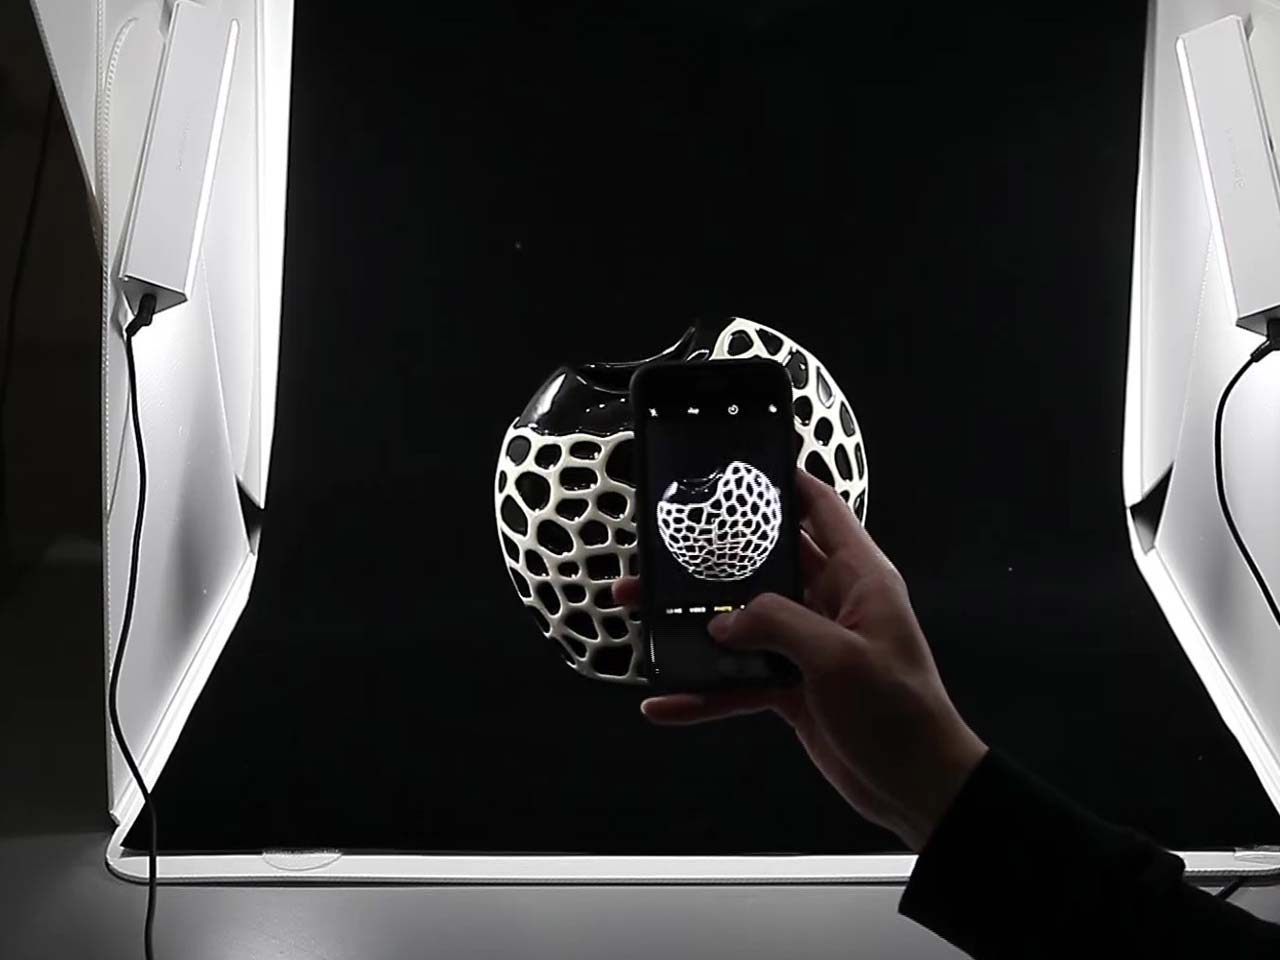
A support app from Orangemonkie for your mobile device is also available to download. Control the brightness, temperature, editing and background effects from your phone, making it even easier to produce the perfect image anywhere.
Original
Edited using an app
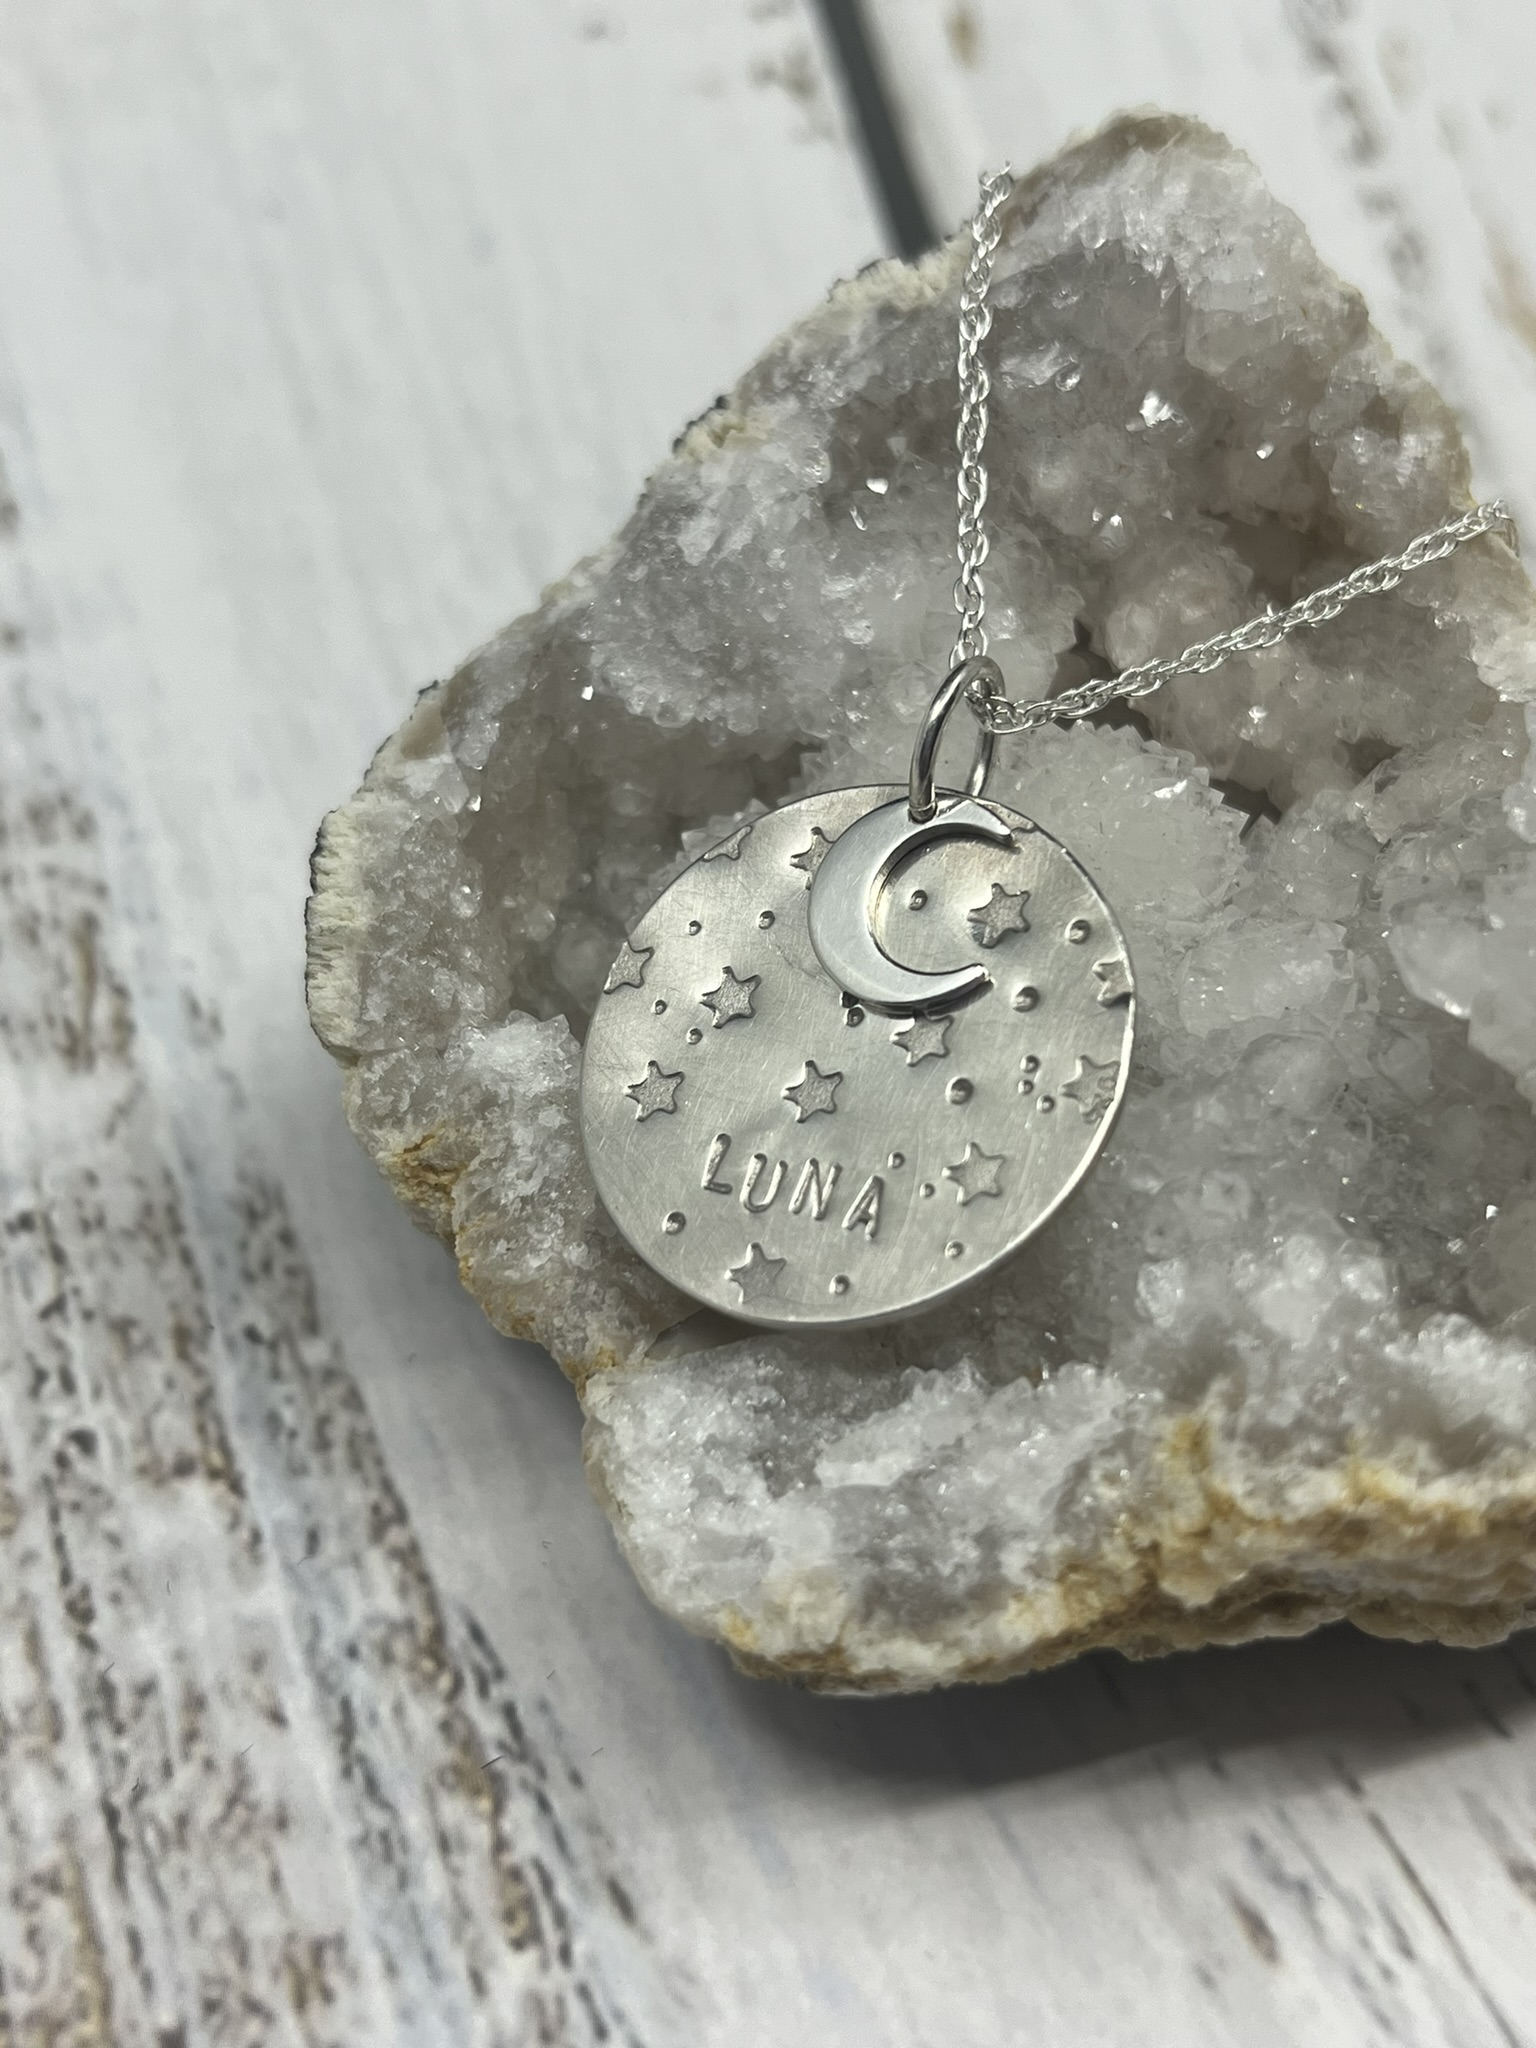
8. Keep Your Jewellery Clean
Ensure your jewellery is spotless before photographing. Dust, fingerprints, and smudges can detract from the quality of your images. Use a microfiber cloth to clean the pieces and a blower to remove any remaining dust particles. Clean jewellery reflects light better and appears more attractive in photos.
Cleaning cloths or gloves such as Town Talk Luxury Silversmiths Gloves can help prevent fingerprint marks from natural skin oils.
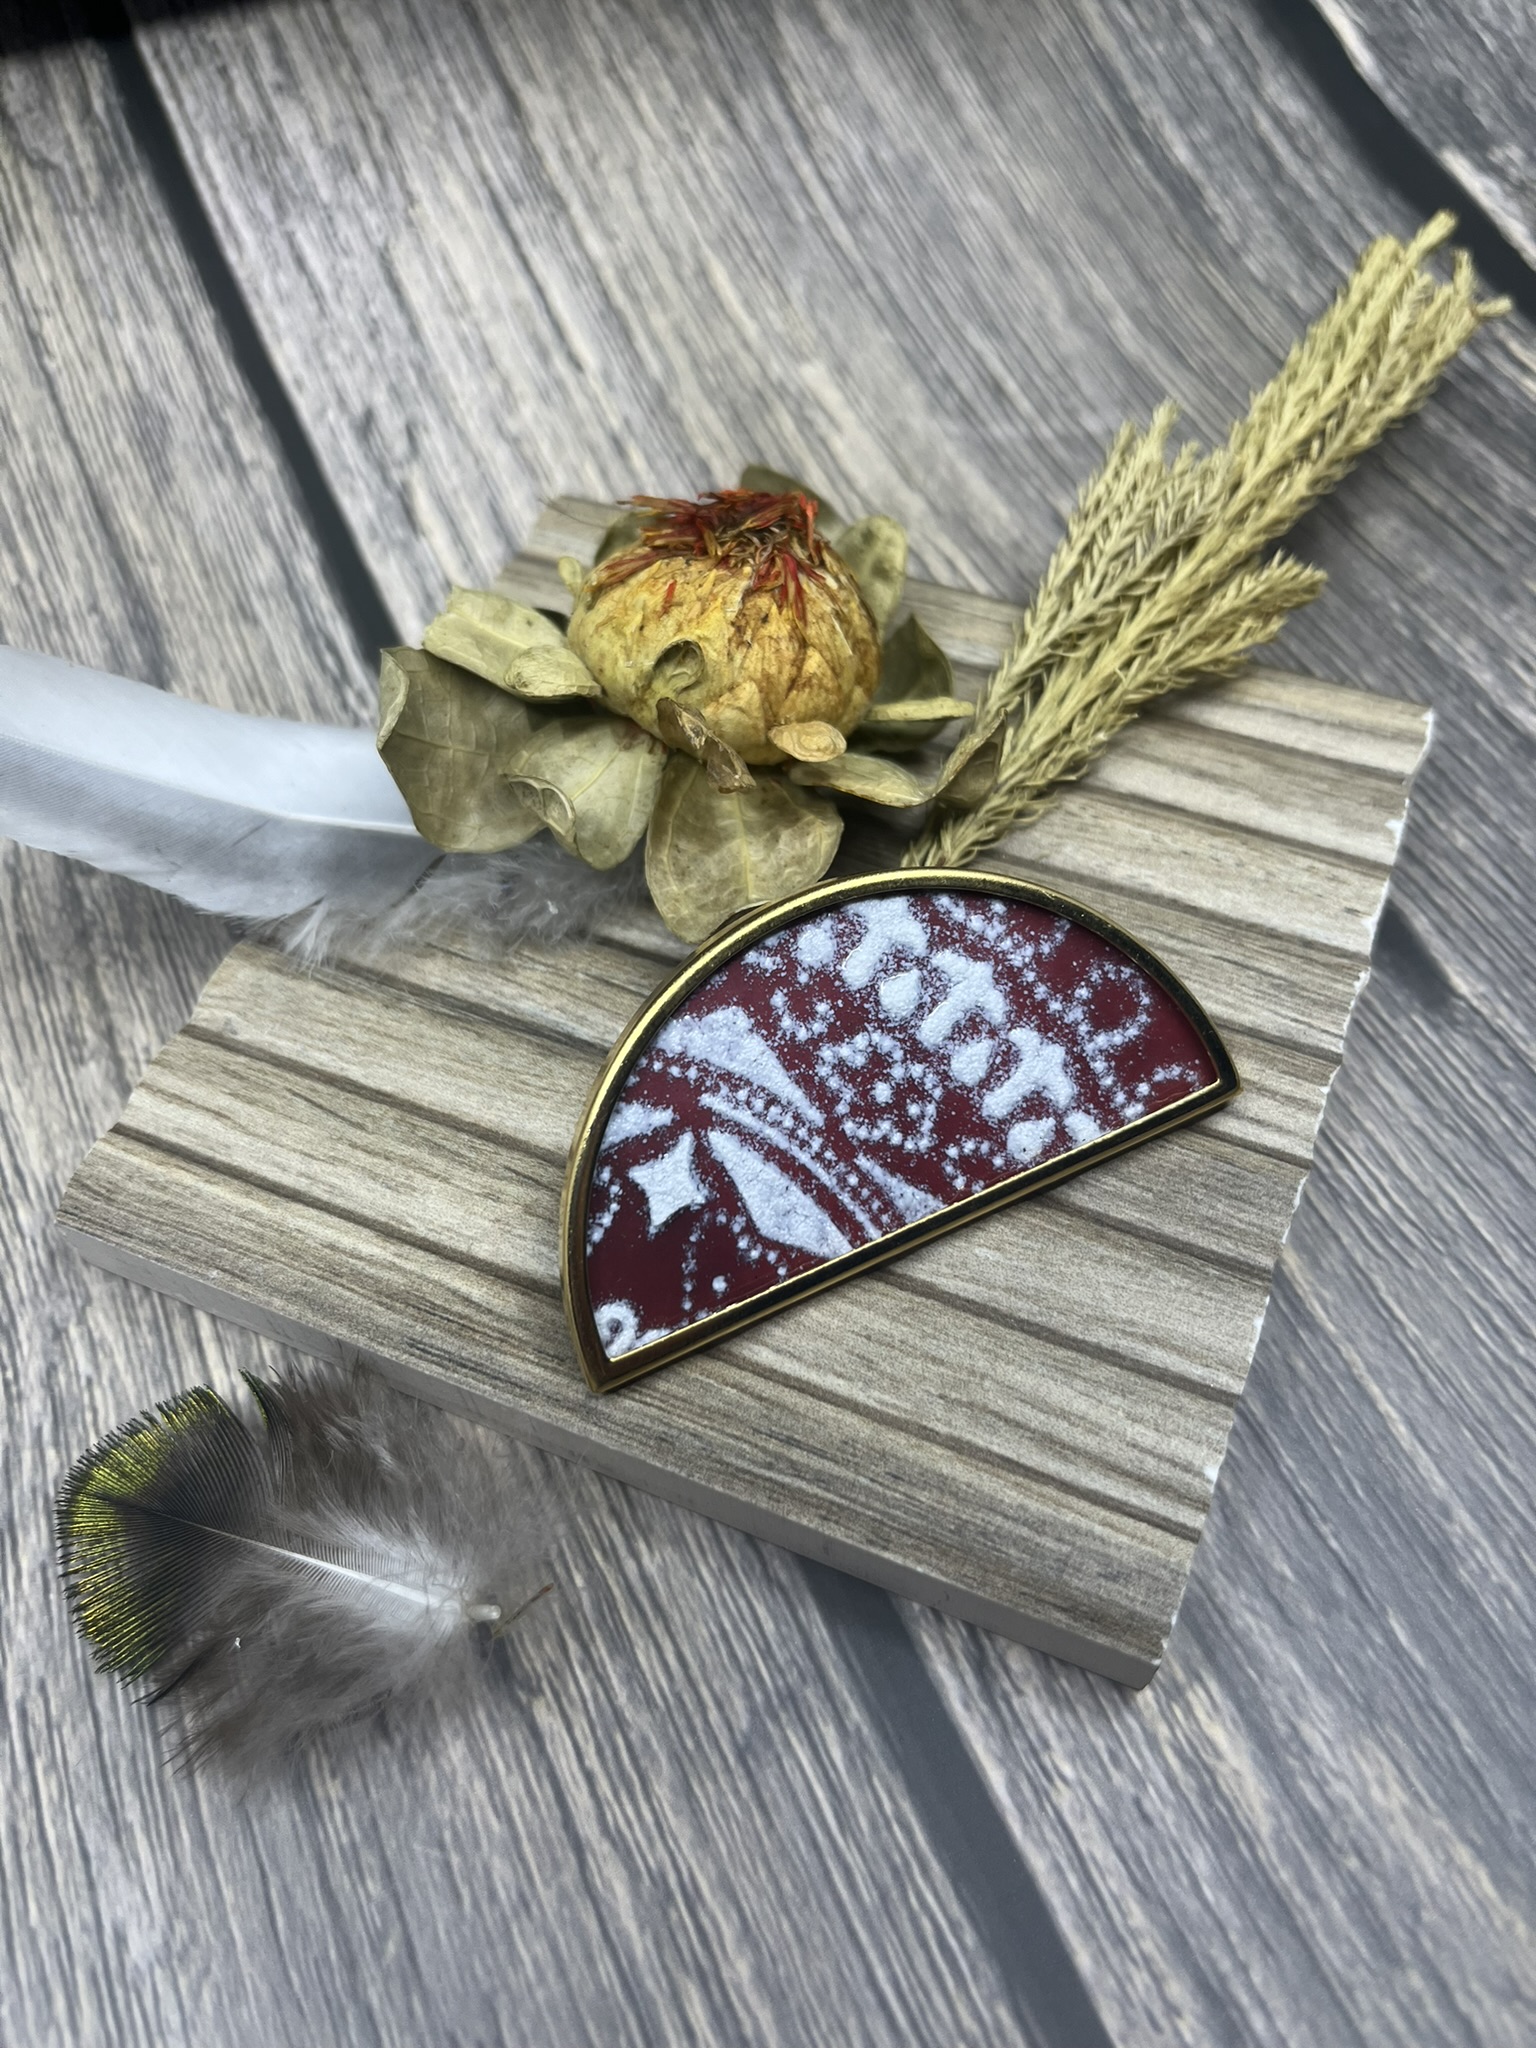
9. Use Props Sparingly
Props can add context and interest to your jewellery photos, but they should not overshadow the main subject. Use simple and relevant props like jewellery stands, mannequin hands, or natural elements like leaves and flowers. Make sure they complement the jewellery and don’t distract from it.
Compare the images below, of perhaps too many props versus one simple prop to show off the jewellery.
Cooksongold have a practical and cost effective choice of jewellery displays suitable for both retail and photography purposes.
10. Experiment and Practice
Photography is an art that improves with practice. Don’t hesitate to experiment with different settings, lighting positions, and compositions. Take multiple shots of each piece and review them critically. Over time, you’ll develop a style and technique that works best for your jewellery.
Overall
Using an Orangemonkie light box for photographing handmade jewellery can significantly enhance the quality of your images. By following these tips, you can create stunning photos that showcase your craftsmanship and attract potential customers. Remember, great photography not only highlights your products but also tells a story and creates an emotional connection with your audience. Happy photographing!

Sian Brown
Sian has been hand making her award winning jewellery in the West Midlands for over 12 years. Sian spent 10 years in Birmingham’s historic Jewellery Quarter before relocating to a quiet Worcestershire village.