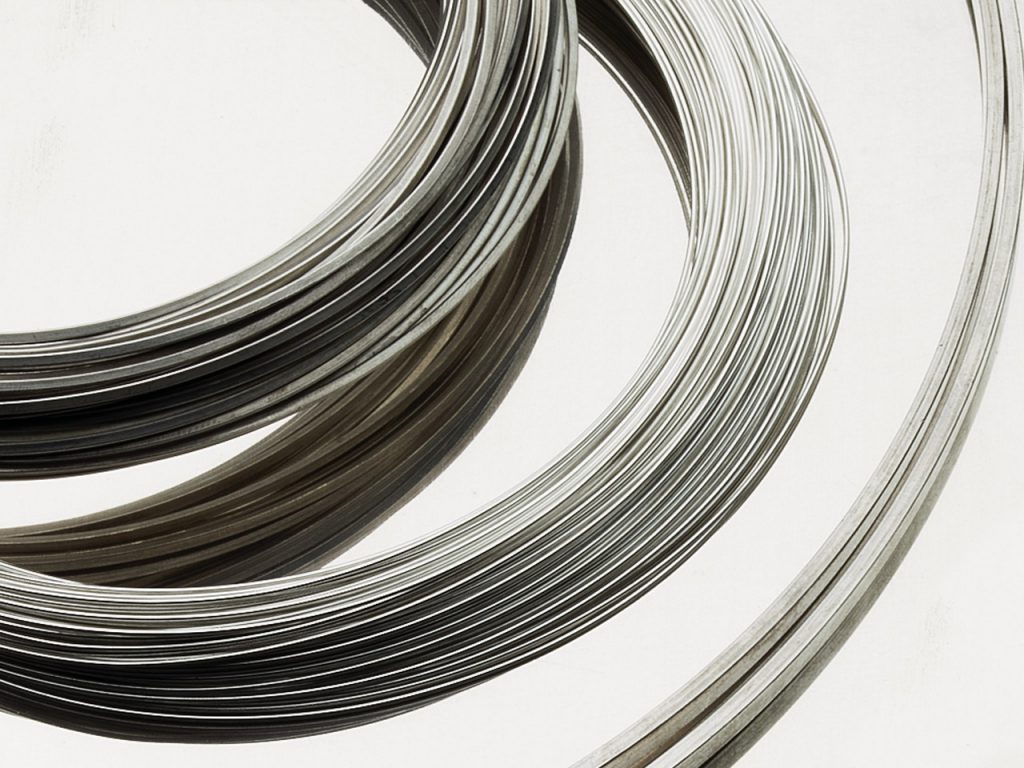
Are you new to making your own findings? Or just haven’t had the time to make your own necklace and bracelet clasps? If you’re looking to expand on your jewellery making skills and would like to start with findings, learning how to make a wire wrapped clasp is a great place to start. Use our step by step guide below to perfect your first wire wrap clasp.
Step by step guide: How to make a wire clasp
Here’s how to make an S clasp using some basic jewellery making tools and techniques.
Tools and supplies you’ll need:
- Soft sterling silver wire (0.8 – mm depending on your requirements)
- Steel bench block
- Round nose pliers
- Wire cutters
- Wire looping pliers
- Rawhide mallet
- Repousse hammer

Step 1:
Take your sterling silver wire and cut a 4 inch piece with your wire cutters. Make sure each end of the wire you’ve cut is flush and free from any sharp edges.
Step 2:
Take your round nose pliers and, while gripping one end of your wire, rotate the pliers to form a small loop.
Step 3:
Repeat step 2 at the other end of the wire. Remember to switch the direction that you rotate your pliers so that each loop turns in the opposite direction to the other.
Step 4:
You should now be left with a tiny loop at each end of your piece of wire. Take your looping pliers and place the jaws just behind the first loop you created. Rotate your wire looping pliers, wrapping the wire around the jaw until it meets the first loop you’ve created.
Step 5:
Now turn the wire over. Take your looping pliers and place the jaws just behind the second loop you created at the other end of your wire. Repeat the process of rotating the wire around the jaw of your looping pliers, wrapping the wire until you meet the tiny loop you made at the very end of your wire.
Important: Turning the wire over ensures that each of your larger loops turns in the opposite direction. This is how your S shape will be formed.
Step 6:
Now that you’ve learnt how to make an S clasp, finishing the process is simple. You can strengthen the wire clasp by taking a rawhide mallet and gently hammering it on a bench block. This will work harden the wire, strengthening it of use with necklaces or bracelets.
Step 7:
For a professional finish, you may want to hammer the wire clasp using a repousse hammer. This will flatten out the wire and strengthen the loops you’ve created. Make sure you use a steel bench block to hammer the S wire wrap clasp, so that the hammering technique is flat and effective.
Step 8:
Once you’ve hammered the one side, flip your S wire clasp over and repeat on the other side. This will leave you with a straight, flattened out S wire clasp. If your loops have shifted or become uneven, go back to your round nose pliers and adjust the loops as required.
Interested in learning more jewellery making skills? See how to make your own jump rings for use with all kinds of precious metal jewellery pieces. Once you’ve mastered the art of making your own handmade wire jewellery clasps and other findings, creating your own collections from scratch becomes simple.


Cooksongold
