Buying Guides
-
Soldering & Welding
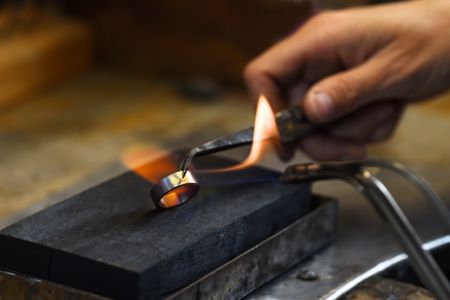
A Guide to Jewellery Torches
Read PostChoosing the right torch is essential in jewellery making, as different torches offer varying levels of heat control, flame size and fuel types. These factors directly impact the ease, safety, and quality of your work. To help you decide, here’s a breakdown of three popular torches: Understanding the strengths and limitations of each will help […]
-
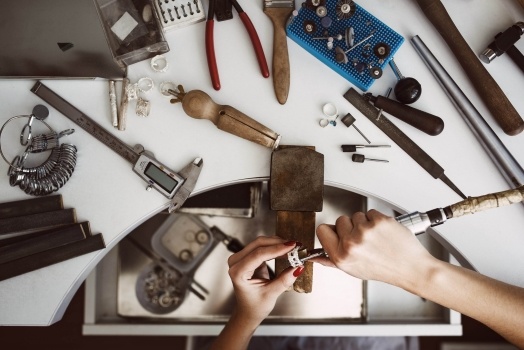
Buying Guides
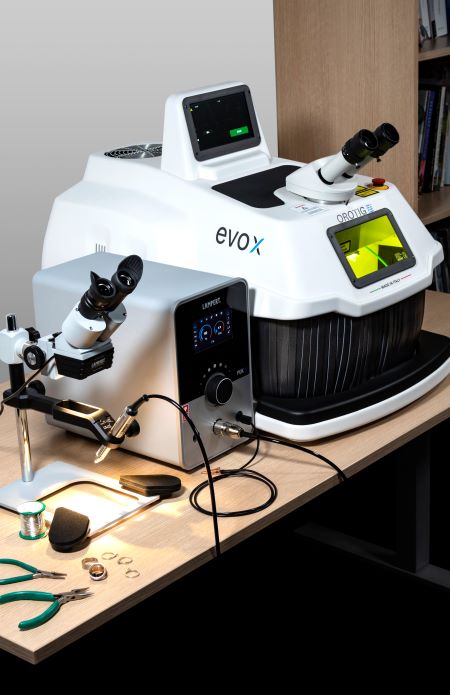
Is Investing in Large Jewellery Equipment Worth It? Understanding the Costs and Benefits
Read PostWhen you’re a jewellery maker ready to take your skills to the next level, investing in larger, more advanced equipment might seem like the next step. But with the significant costs involved, the decision can be daunting. Let’s explore the key factors to consider when deciding if investing in large jewellery equipment is worth it. […]
-
Buying Guides
The Ultimate Christmas Gift Guide
Read PostExtra special gifts for the jewellery maker… Christmas 2024 is almost here! It’s the season of good will and cheer and of course the season of gift giving! For jewellery makers Christmas is also one of the best seasons to make. We asked our team to compile a list of what jewellery making essentials would […]
-
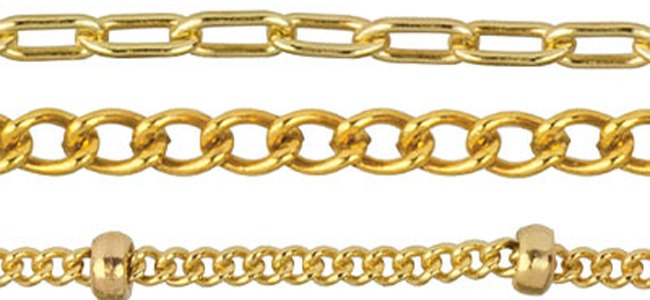
Buying Guides
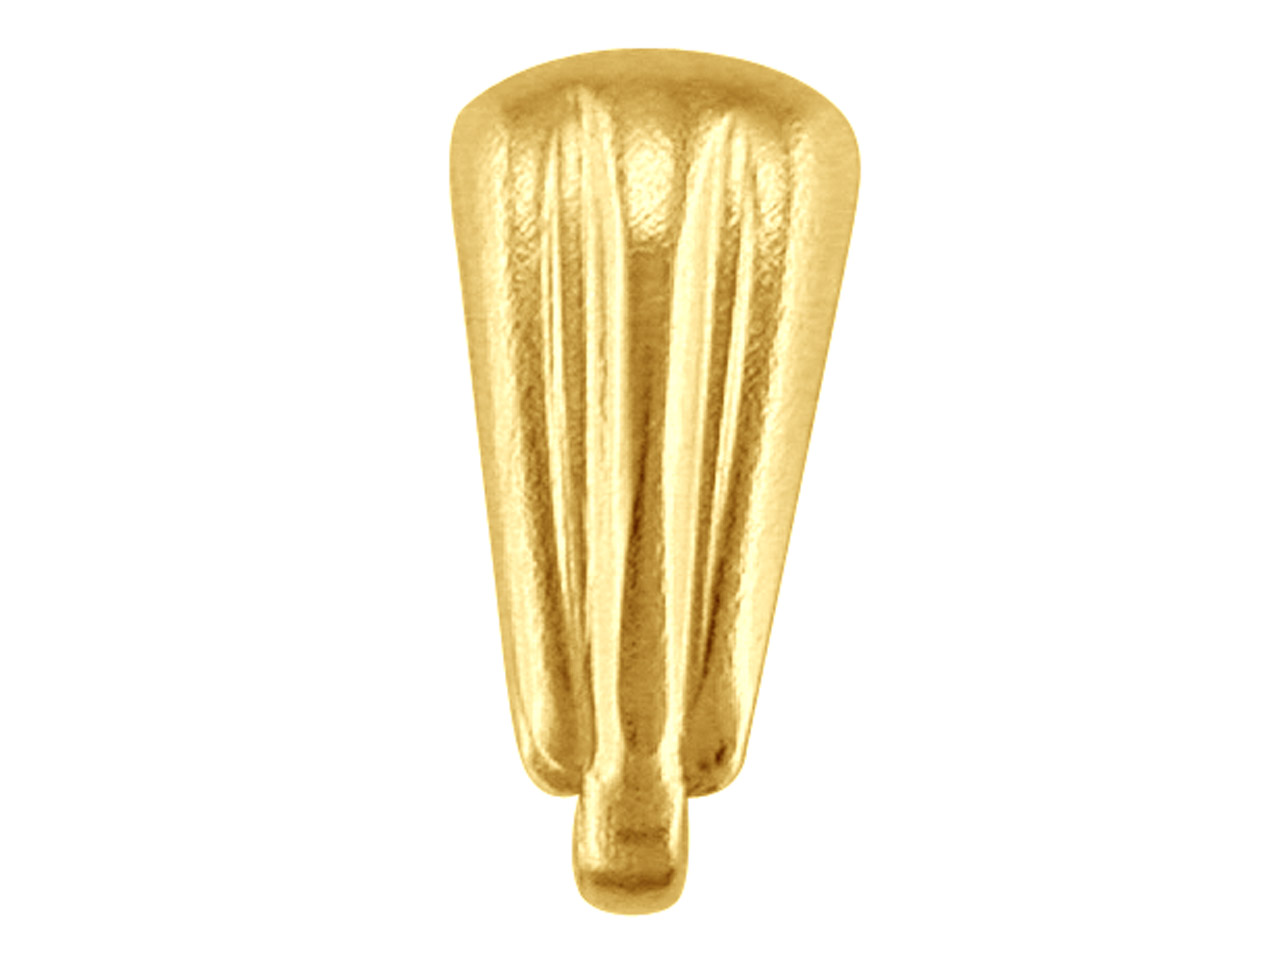
Your Guide to Jewellery Findings
Read PostWhat are Jewellery Findings? Jewellery findings are essential components in jewellery making. They are used to connect pieces together. They’re the building blocks of most jewellery designs; used to link, fasten, and secure pieces together. From clasps and scrolls to ear wires and hooks, findings are a must-have in any workshop. If you’re new to […]
-
Polishing
Essential Jewellery Polishing Tools
Read PostPolishing and the tools for polishing are a bit like your favourite pair of jeans, you tend to wear them as much as you can and sometimes even buy the same pair. This is very much the case for polishing tools, after trying different materials and tools, in the end you stick with the same […]
-
Wire Wrapping
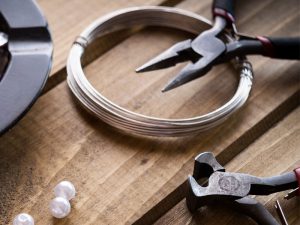
Top 7 Essential Tools For Wire Wrapping
Read PostWire wrapping is a great, creative technique when it comes to jewellery making. From wrapping beads, to forming unique jewellery shapes, there are plenty of ways to use this method to create unique pieces. With only a few tools needed, it’s easy to understand what the essential wire wrapping tools are, and how to use […]
-
Buying Guides
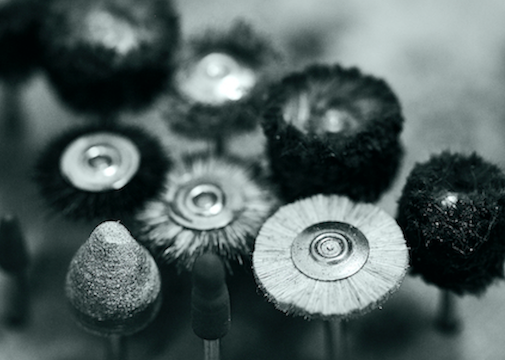
Different Types Of Buffing Wheels & Polishing Mops
Read PostWhich Wheels, Mops And Buffs Should I Use? The world of jewellery polishing equipment is vast and difficult to navigate when you first start out. Even as you build your kit of jewellery making tools and supplies, and create your own style of jewellery-making, knowing which wheels, mops and buffs to use for a professional […]
-
Silversmithing
Gold Filled Jewellery – All You Need To Know
Read PostMany jewellery makers find gold filled jewellery new and sometimes intimidating if they feel unsure about it. You may have plenty of questions about this metal and how to work with it. That’s why we created this blog—to answer your questions and help you understand gold filled jewellery. By the end, you’ll feel more confident […]
-
Buying Guides
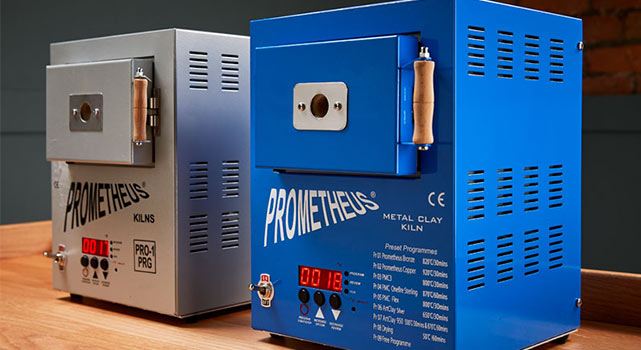
Choosing the right Kiln for you
Read PostBuying a kiln is a serious investment. We stock a range of Prometheus kilns but what are the main differences between them? We have investigated, and put together this buyers guide to help guide your decision. Prometheus Mini Kiln Pro-1 With Digital Controller Prometheus Mini Kiln Pro1-prg Programmable with Timer Prometheus Mini Kiln […]
-
Buying Guides
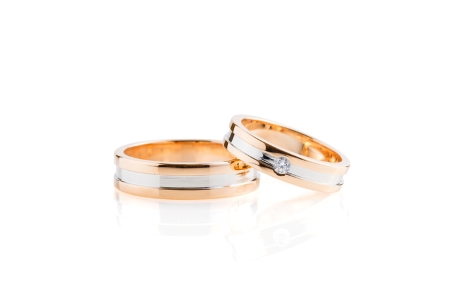
What Is Rose Gold?
Read PostRose gold, or red gold, is a distinctive alloy that remains a popular choice for jewellery making but how is it made? We all know that gold as it stands is yellow in colour, red gold is formed by mixing yellow gold with copper. It can be easy to confuse red gold with the more […]
-
Buying Guides
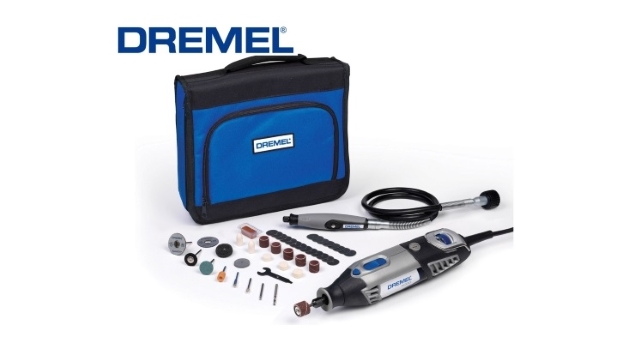
Brand Focus: Dremel
Read PostDremel is one of the more widely recognised brand of jewellery tools stocked here at Cooksongold, as they are well known for their rotary drills and accessories which can perform a wide variety of jewellery making tasks. Dremel produced their first rotary drill in 1934, and today still produce one of the widest ranges of […]
-
Buying Guides
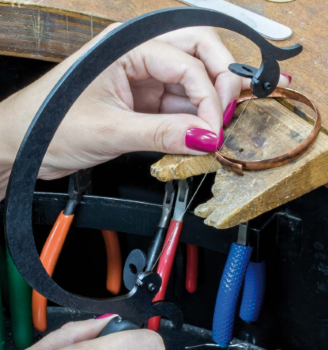
A Guide to the GreenLion Saw Frame
Read PostThe story behind the GreenLion jeweller’s saw frame is both fascinating and unusual, and a true example of entrepreneurial spirit at its best. Its designer is a man called BJ Johnson, otherwise known as Soba One, who is the owner and featured artist of GreenLion Tattoo Studios based in Michigan, USA. Having trained as a […]