Earring posts for jewellery making are a simple finding to start producing yourself. It’s easy to make them in bulk so that you have them to hand whenever you’re ready to bring all the elements of your designs together to make your own stud earrings. To help you kick start your earring making process, here’s our guide on how to make earring backs in two stages.
Here’s how to make earring backs by hand:
Stage One: How to make earring posts with silver wire
You’ll need:
- Silver wire (0.8mm gauge)
- Wire cutters
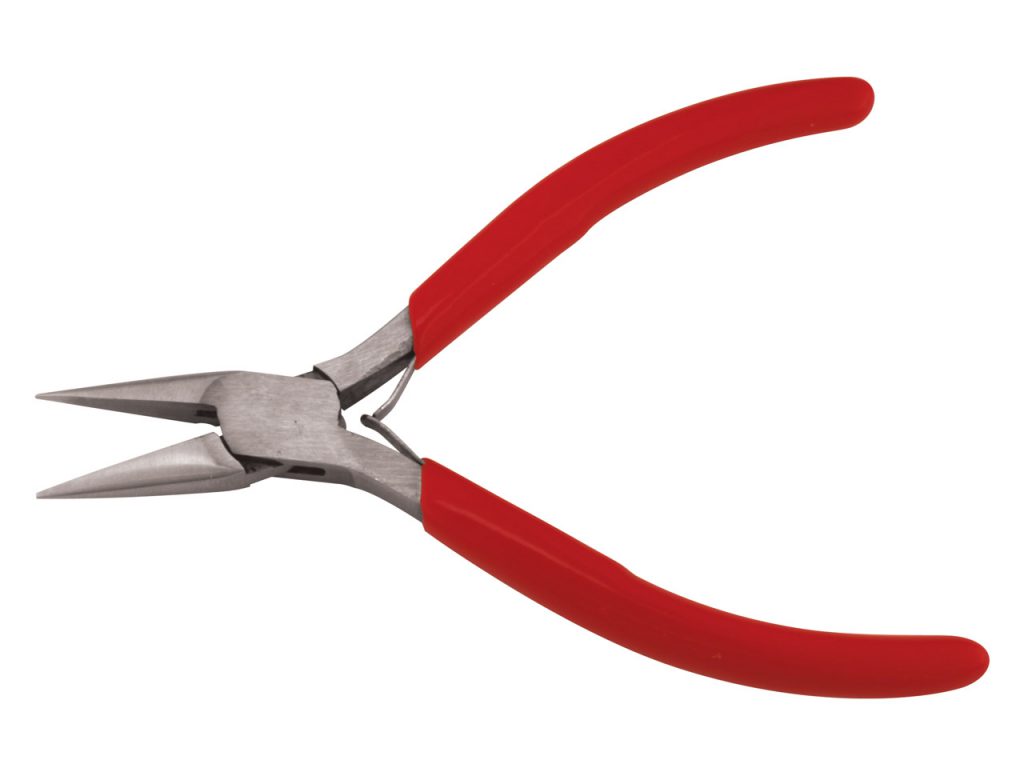
- Snipe nose pliers
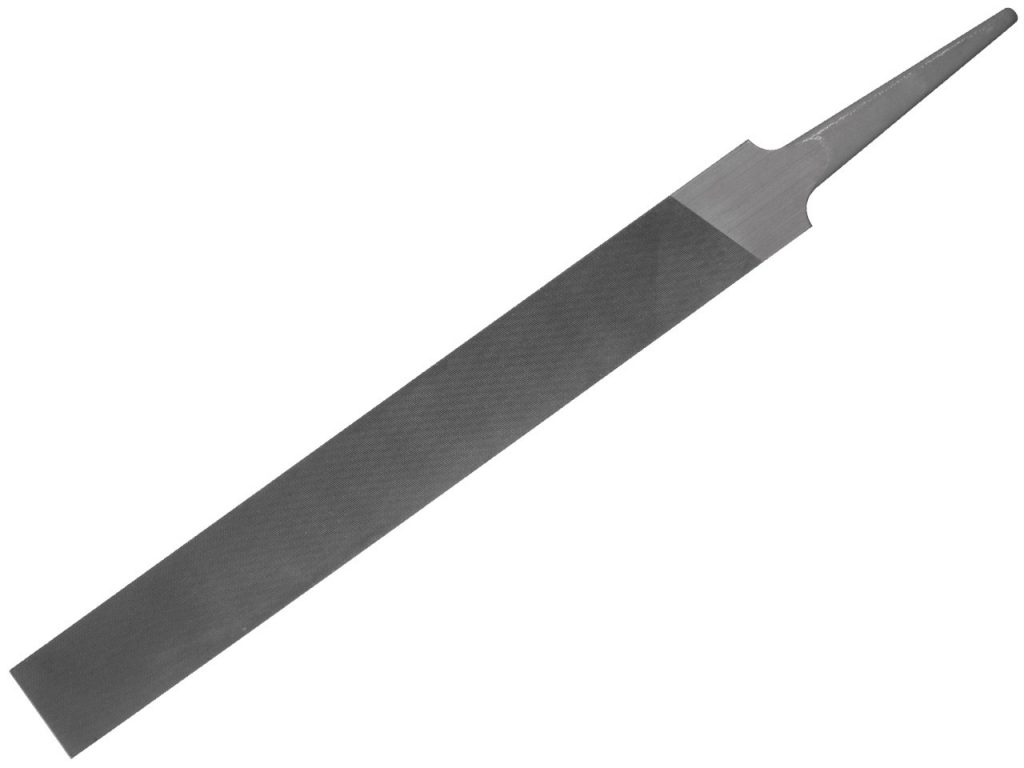
- Flat file
- Jeweller’s saw
- Three square needle file
Prepping your silver wire
- Take your 0.8mm gauge wire and snip off a 14mm length of wire using your wire cutters. At this stage you can cut multiple earring posts to save you time in the future when it comes to making stud earrings in bulk.
- You may find that the silver wire bends a little as you handle it. If this happens you can take your snipe nose pliers to gently flatten and straighten out the wire. Try not to put too much pressure on the wire – you’ll want to guide it back into a straight post instead of flattening it down.
- Now take your flat file and using a flat, forward motion, file the end of the wire that you’ve just cut so that it leaves you with a flush end to solder to your stud earring design. Use a little emery paper to finish this process and to make sure that the end that you’re going to solder is completely flat and flush.
Top tip: When working with such small jewellery findings you may benefit from steadying the earring post as you file. One simple way of doing this is using small notch in your bench peg to steady the earring post and keep it flat as you file. Remember that light pressure is all that’s needed as you don’t want to shorten the earring post by being too heavy handed.
Filing to a point
- Once you’ve filed the end of the earring post flat, you can switch to the other end of the silver wire to gently file it to a point. Using your flat file, file the end using a forward motion to take that end to a point. Rotate the earring post 360 degrees to ensure you’ve filed evenly all the way around the end of the post. Once you’re happy with the pointed end that you’ve filed, gently file the very end of the point so that it becomes a little blunt – the last thing you want is for your earing posts to be too sharp! Finish with emery to ensure no snags are left behind.
- Add a subtle dimple that will guide the earring back into place with a satisfying click. To do this, steady your earring post on your bench peg. Place your saw blade about 3mm from the pointed end of your earring post and with a very small amount of pressure, start to push your saw blade forward across this point of the post. (Use a forward motion so that the teeth of your saw blade are not cutting.)
- Rotate the post as you saw using this forward motion. This will leave you with a subtle indentation that your earring back will sit in. To ensure the indentation you’ve made is neat and free from snags run a three-square needle file through the groove. This will deepen the indentation slightly making sure that your earring back nestles nicely in place.
Onto soldering….
Stage Two: How to solder earring posts
You’ll need:
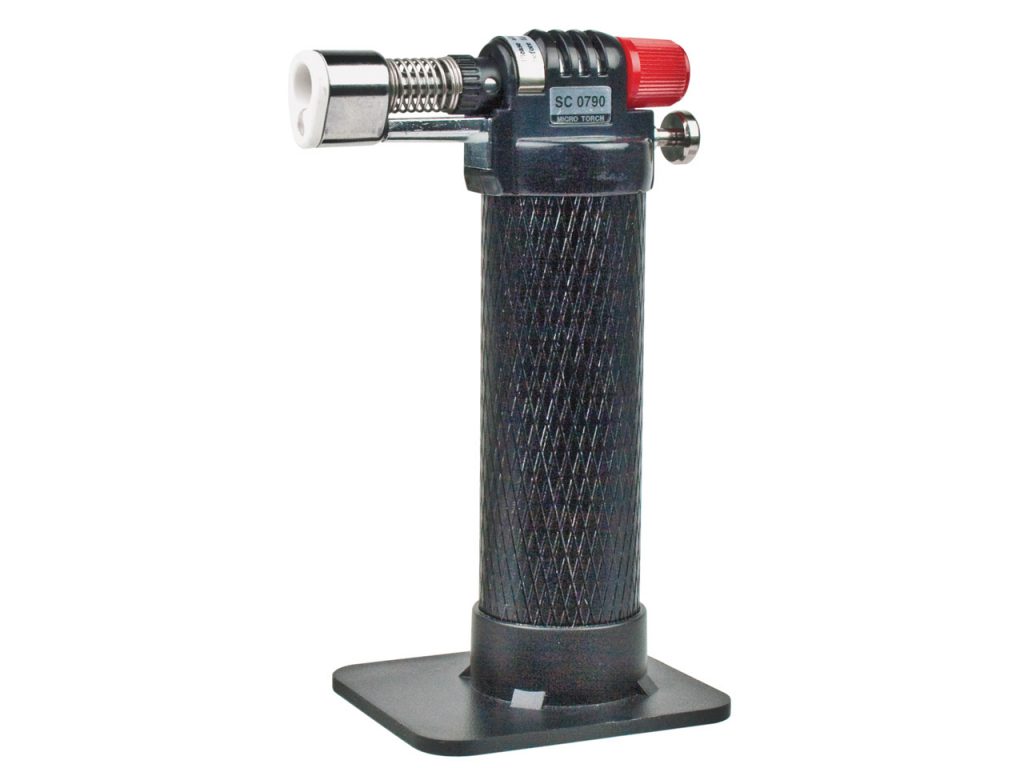
- Hand torch
- Soldering block
- Silver solder pallions
- Flux and small paint brush
- Reverse action tweezers
- Additional set of tweezers
Set up your workspace
- Set up a safe environment where you can use your hand torch for soldering. Set up your soldering block a in clear space, tie back your hair and put on some protective eyewear.
- Place your stud earring design face down on your soldering block and using your small paintbrush, add a small amount of flux solution to the back of your design as well as the flat end of your earring post.
- Take your reverse action tweezers and place your earring post in its claws, holding it at the pointed end.
- Rest the earring post by strategically placing your reverse action tweezers. Shift the position of the reverse action tweezers until you‘re happy that the flux on the stud design and the end of the post is neatly lined up.
- With your reverse action tweezers set up and locked in place you now have a free hand to use another set of tweezers to add a small silver pallion to where the post meets the earring design.
It’s time to solder
- Let’s start soldering! Switch on your hand torch and gently start heating the flux. You’ll notice that the pallion may move with the force of the flame, so use your free hand to take your second set of tweezers and put the pallion back into place.
- As you heat the piece, the moisture will be drawn out of the flux and turn a white colour. Continue gently heating the area with an on and off motion. If your pallion moves simply shift back into place and continue heating.
- With such a small amount of solder you’ll soon see a flash and the solder will run towards the heat. Keep this in mind as you heat the area because you’ll want the solder to run entirely through the seam leaving you with a strong solder joint.
- Turn off the heat and quench your piece in a clean bowl of water. Pickle, clean up and add the earring back to your design!
Now you have the basics of earring making perfected there’s no end of designs you could produce. Pick up all of the jewellery tools and supplies you need to make your own stud earrings at Cooksongold today. From silver wire, to high quality hand files, and soldering kits – we have everything you need to produce professional stud earrings.

Cooksongold