It’s easy to remember to top up metal, gemstones and findings, but everyday workshop essentials can often be overlooked until you need them. A worn bench peg, empty flux pot or tired polishing mop can quickly interrupt your flow, especially when you’re in the middle of a project.
Taking a little time to check your bench setup can help keep your workspace organised, your tools ready to use and your jewellery making running smoothly.
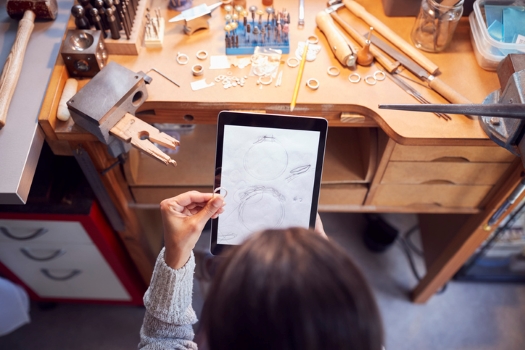
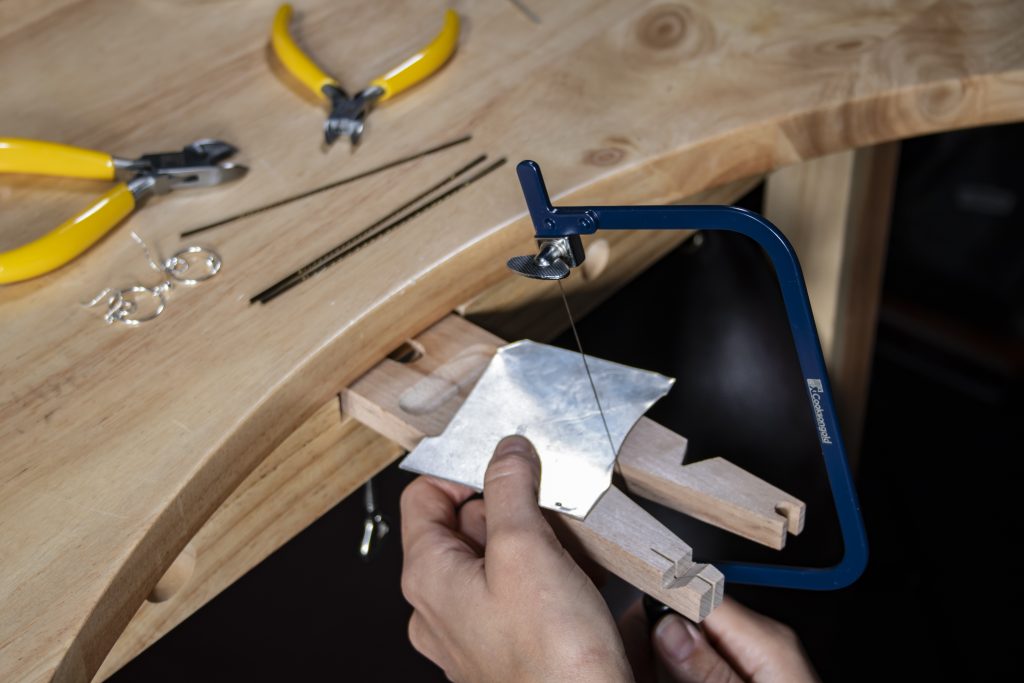
1. Is Your Bench Peg Still Doing Its Job?
Your bench peg is one of the hardest-working items in your workshop. It supports sawing, filing, shaping and finishing work, so it’s worth checking regularly.
If your bench peg is heavily grooved, unstable or no longer giving you the support you need, replacing it can make everyday tasks feel much easier. Bench mats and tool organisers can also help keep your workspace protected and reduce clutter while you work.
Suggested products:
- Bench Pegs – ideal for supporting detailed sawing, filing and shaping work.
- Bench Mats – help protect your workspace and catch small findings or metal pieces.
- Tool Organisers – keep frequently used tools tidy and within easy reach.
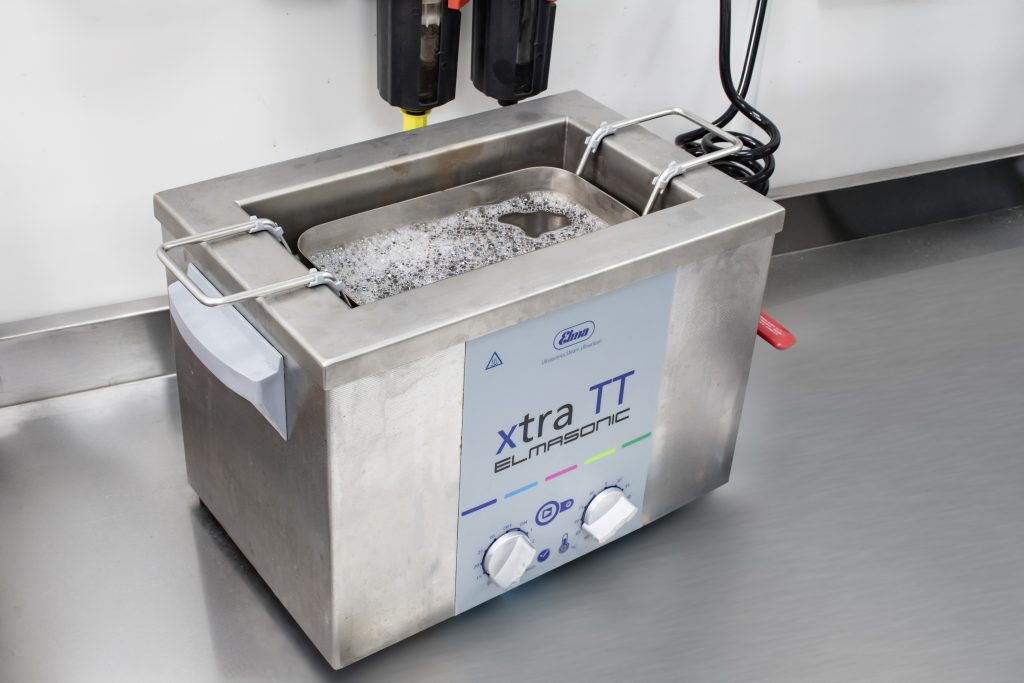
2. Are Your Cleaning Products Ready to Use?
Cleaning is an important part of the making process, especially before photographing, gifting or selling finished jewellery. Dust, polishing compound and fingerprints can build up quickly, particularly on detailed designs.
An ultrasonic cleaner can help remove dirt and residue from hard-to-reach areas, while cleaning solutions and polishing cloths are useful for achieving a clean final finish before presentation.
Suggested products:
- Ultrasonic Cleaners – help clean jewellery quickly and efficiently.
- Cleaning Solutions – designed to improve cleaning results on metal surfaces.
- Jewellery Polishing Cloths – perfect for final polishing and removing fingerprints before presentation.
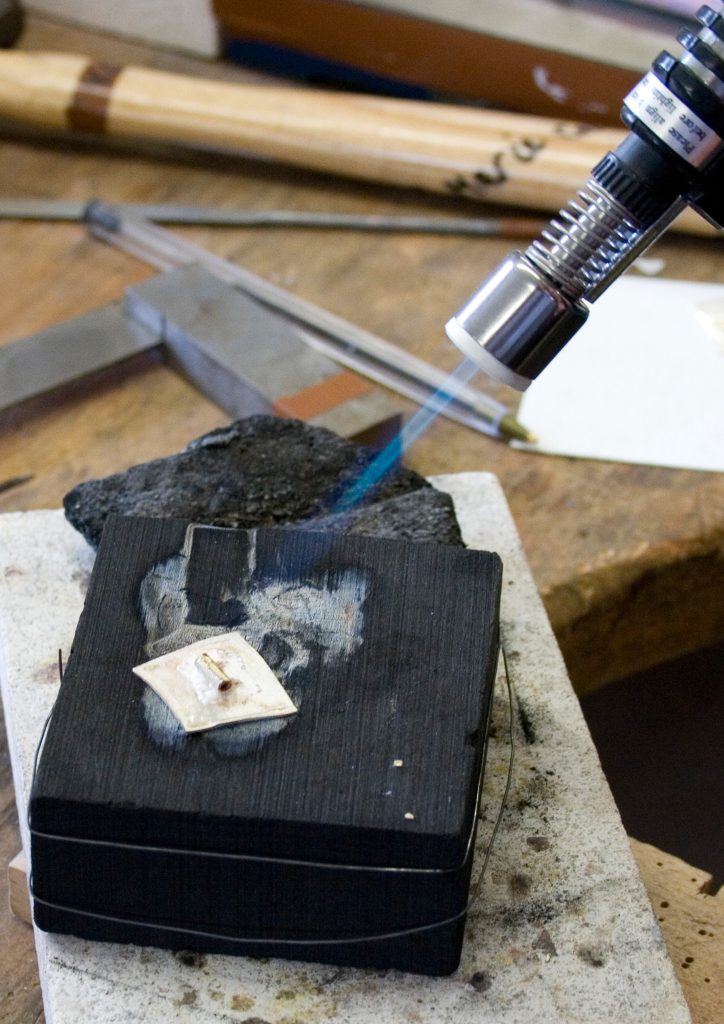
3. Have You Checked Your Soldering Consumables?
Running out of solder, flux or pickle halfway through a project is frustrating, but it’s easy to avoid with a quick workshop check.
Keeping a selection of solder grades close by means you’re ready for different types of work, including repairs, ring sizing and assembling new designs. Flux and pickle solution are also essential for helping solder flow correctly and cleaning metal after heating.
Suggested products:
- Gold & Silver Solder – essential for repairs, assembling designs and ring sizing.
- Flux Paste – helps solder flow evenly and reduces oxidation during heating.
- Pickle Solutions – used to clean metal after soldering and remove oxidation or fire stain.
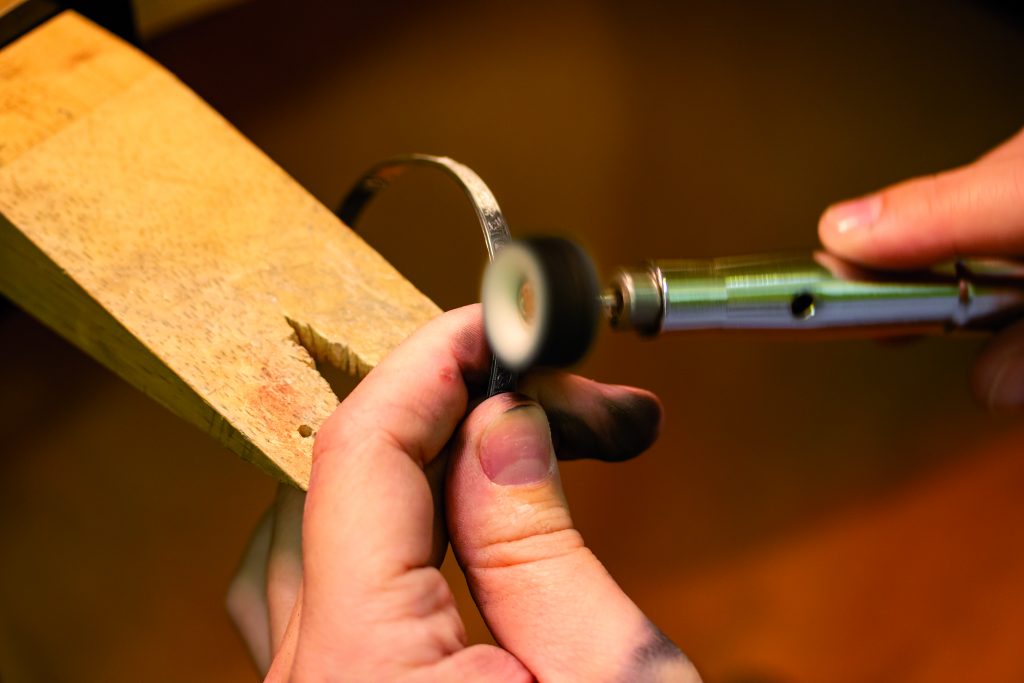
4. Are Your Polishing Supplies Past Their Best?
Polishing products naturally wear down with use. Mops can become tired, compounds can run low and cloths can lose their effectiveness over time.
Refreshing your finishing supplies can help improve the final appearance of your jewellery and make it easier to achieve a professional-looking result. Having the right polishing products ready also makes each stage of finishing feel more efficient.
Suggested products:
- Polishing Mops – used for smoothing and polishing metal surfaces.
- Tripoli Compound – ideal for initial polishing and removing light scratches.
- Rouge Bars – help achieve a high-shine final finish.
- Radial Discs – useful for polishing detailed or hard-to-reach areas.
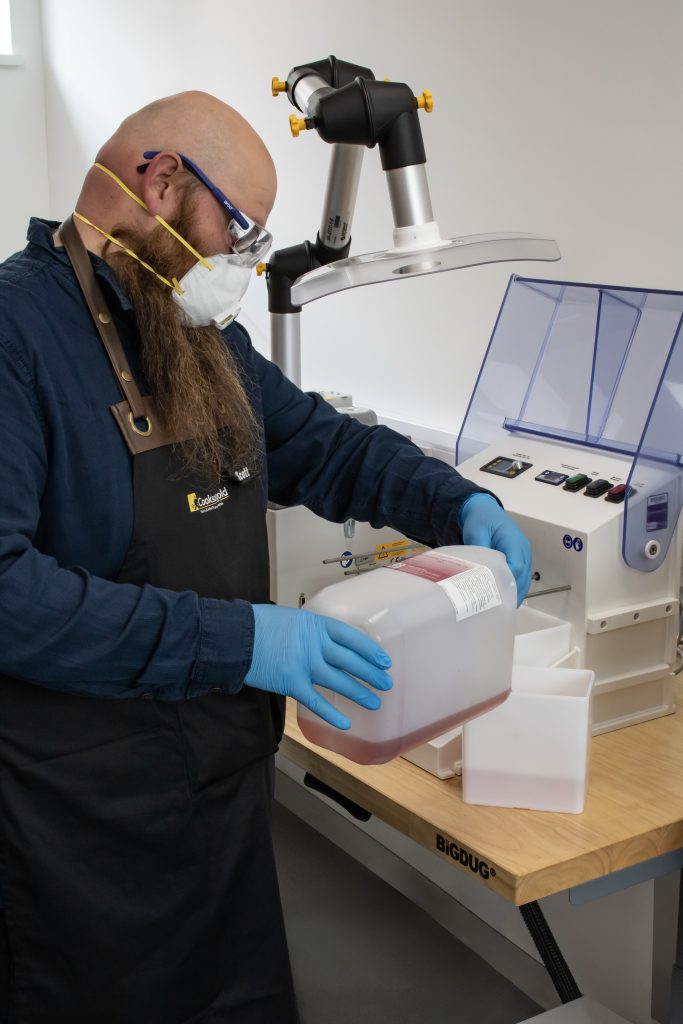
5. Is Your Workshop as Safe as It Could Be?
Safety equipment is easy to take for granted, but it’s just as important as your tools and materials. Scratched safety glasses, worn dust masks or poor ventilation can make workshop tasks less comfortable and less safe.
Checking your PPE and replacing anything that has seen better days can help protect you during cutting, polishing, soldering and other dust-producing tasks.
Suggested products:
- Safety Glasses – help protect eyes during cutting, polishing and soldering tasks.
- Dust Masks – useful when working with polishing compounds or fine particles.
- Heat Resistant Mats – help protect work surfaces during soldering.
- Ventilation Solutions – assist with airflow and workshop comfort.
A well-stocked workshop isn’t about having every tool available. It’s about having the essentials you rely on most ready when you need them.
Checking your bench setup, replacing worn consumables and organising your workspace can help make your next project feel smoother and more enjoyable.
Explore our full range of jewellery-making tools, workshop essentials and supplies at cooksongold.com.
Harvey Wedgbury