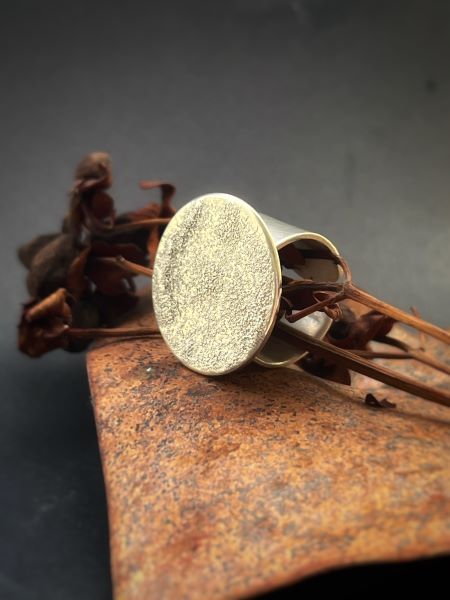
In this step-by-step tutorial, you can make this big and bold sterling silver statement ring using an easy technique: fusing sterling silver dust to sterling silver sheet. This method allows you to transform silver scrap into stunning, textured surfaces that add depth to your handmade jewellery.
Step 1
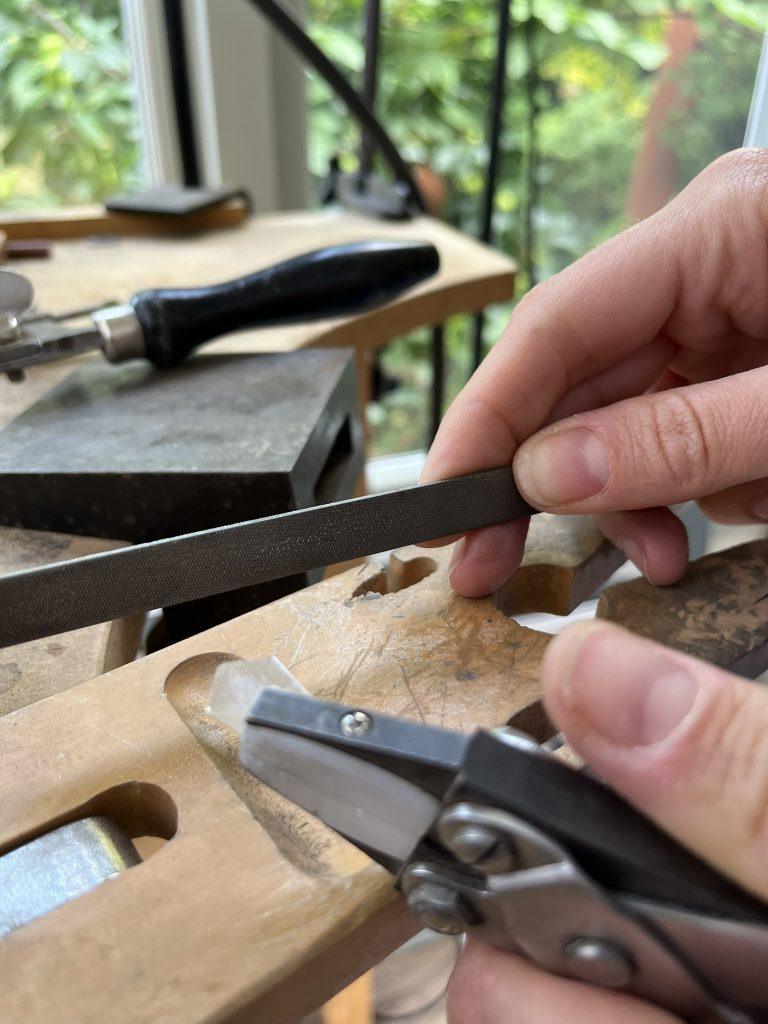
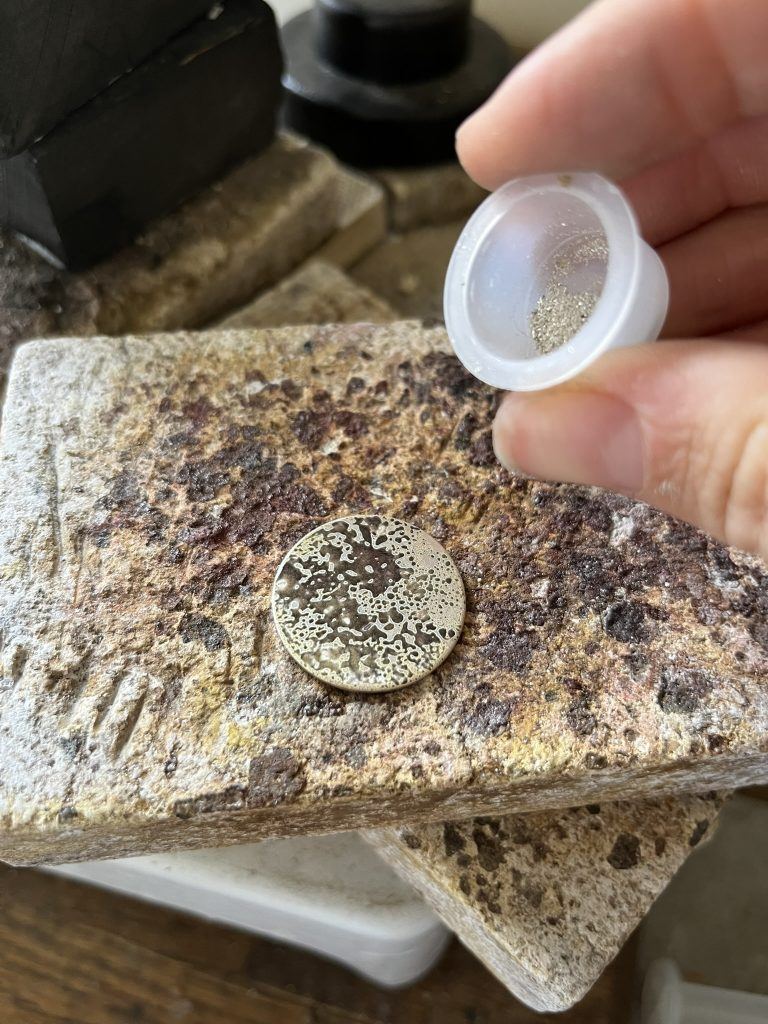
First collect silver dust from past sterling silver jewellery making projects from saw piercing or filing. Alternatively create new by filing the sides of sterling silver off cuts and collecting the dust. Tiny pieces of wire and tubes also make great additions.
Note: Make sure your sterling silver dust is free from broken saw blades and any other metals or impurities.
Step 2
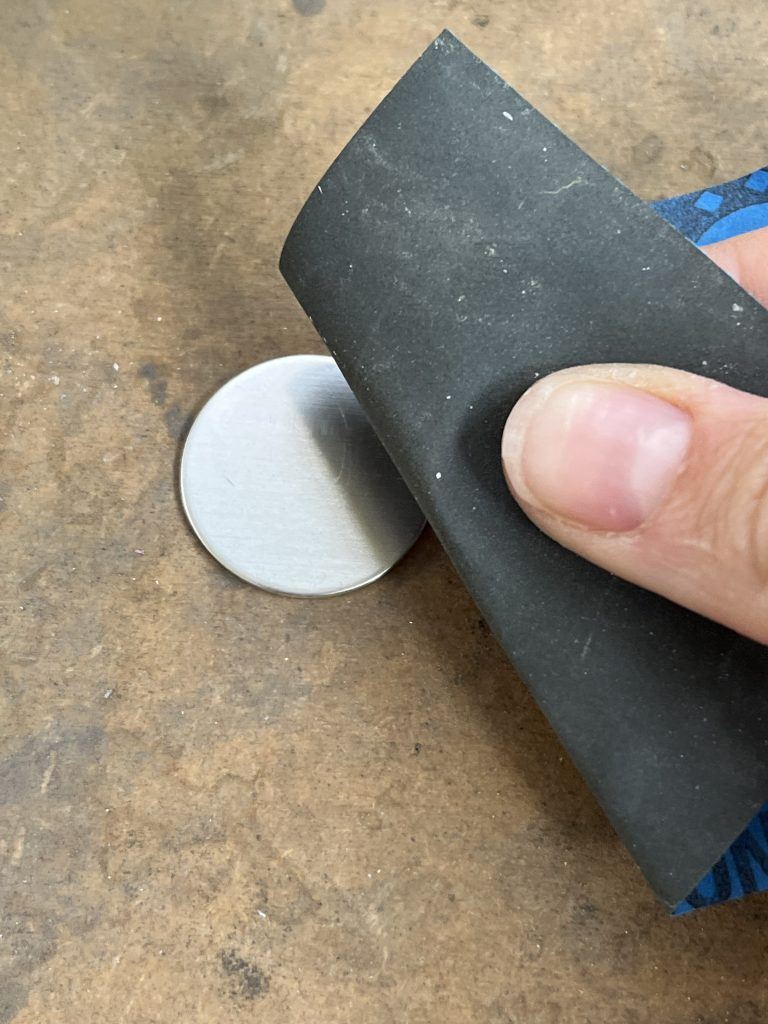
Use fine Emery paper such as 1000 or 1200 paper to rub the surface area of the silver disc to remove any grease from the surface.
Step 3
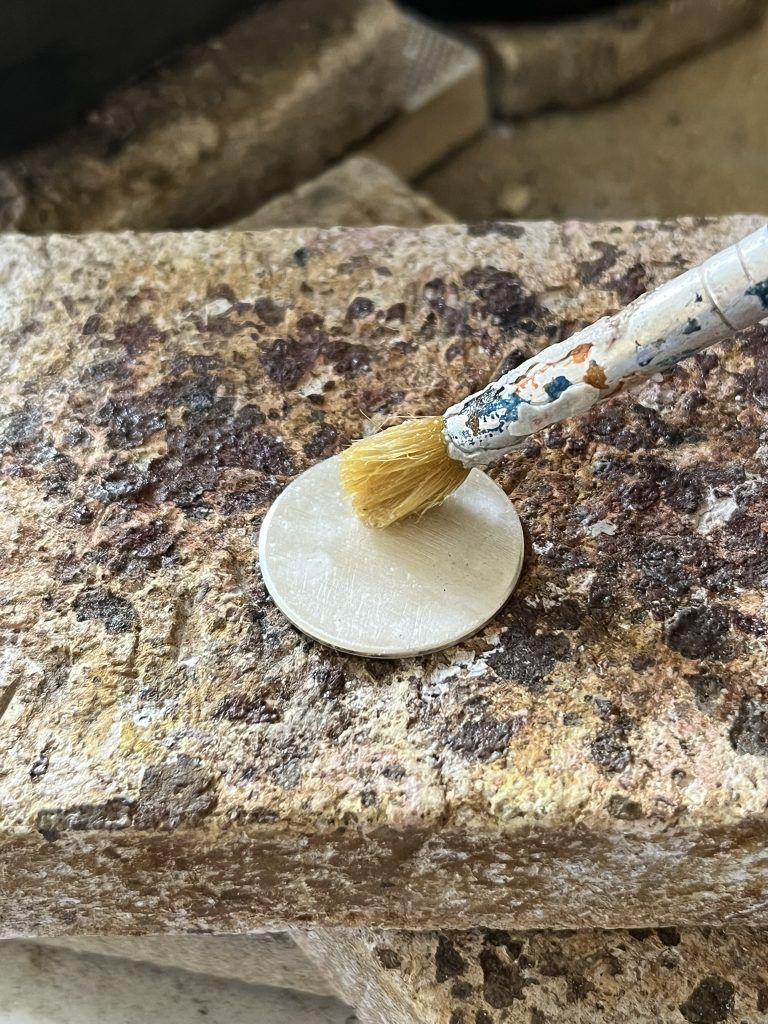
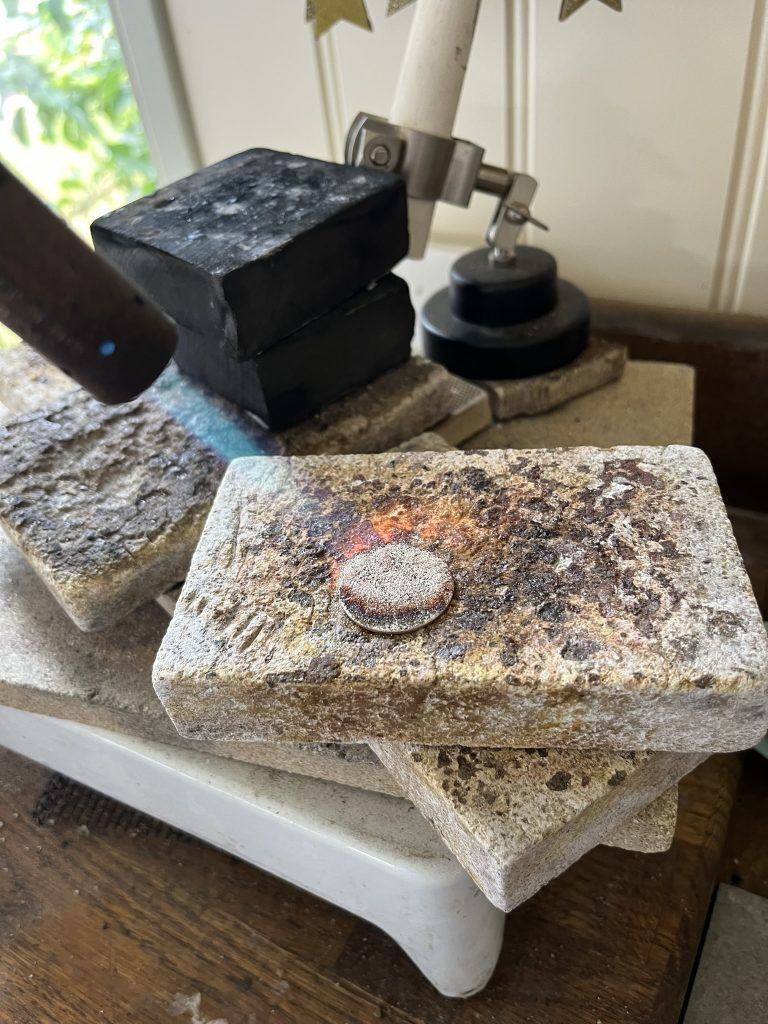
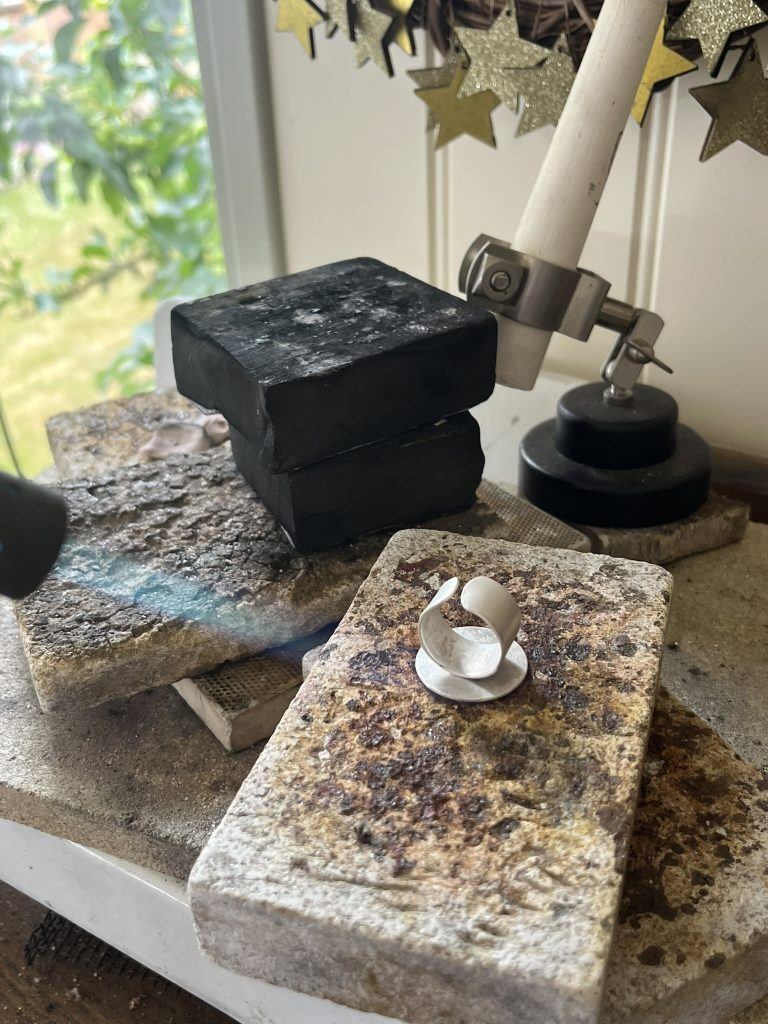
Place the silver disc on a soldering block and apply a layer of flux to the surface. Heat using the blowtorch until the flux melts.
Step 4
Sprinkle the silver dust onto the silver disc.
Note: You can sprinkle the dust in a pattern wherever you like.
Step 5
Continue to heat with the blowtorch. When the silver is hot but has not melted take the torch away and allow to cool. This technique can take a few tries and is often down to judgement.
Step 6
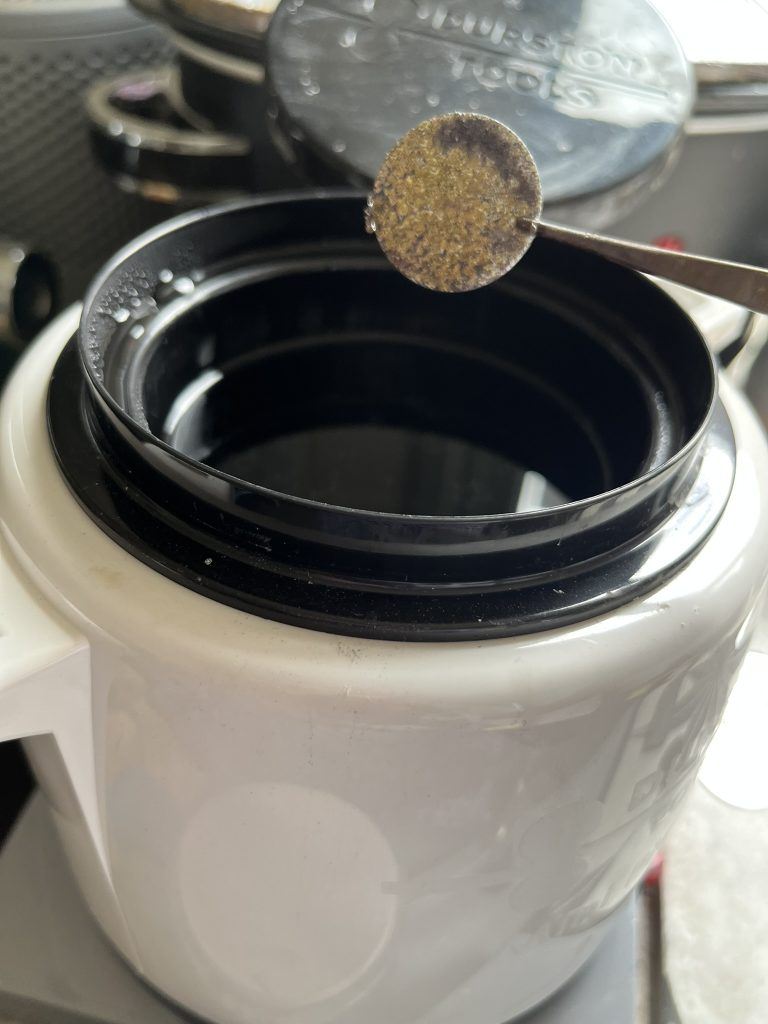
Allow the silver disc to cool before quenching (cooling) in water using tweezers to hold and then placing in a warm pickle solution for 10 minutes or until clean.
Step 7
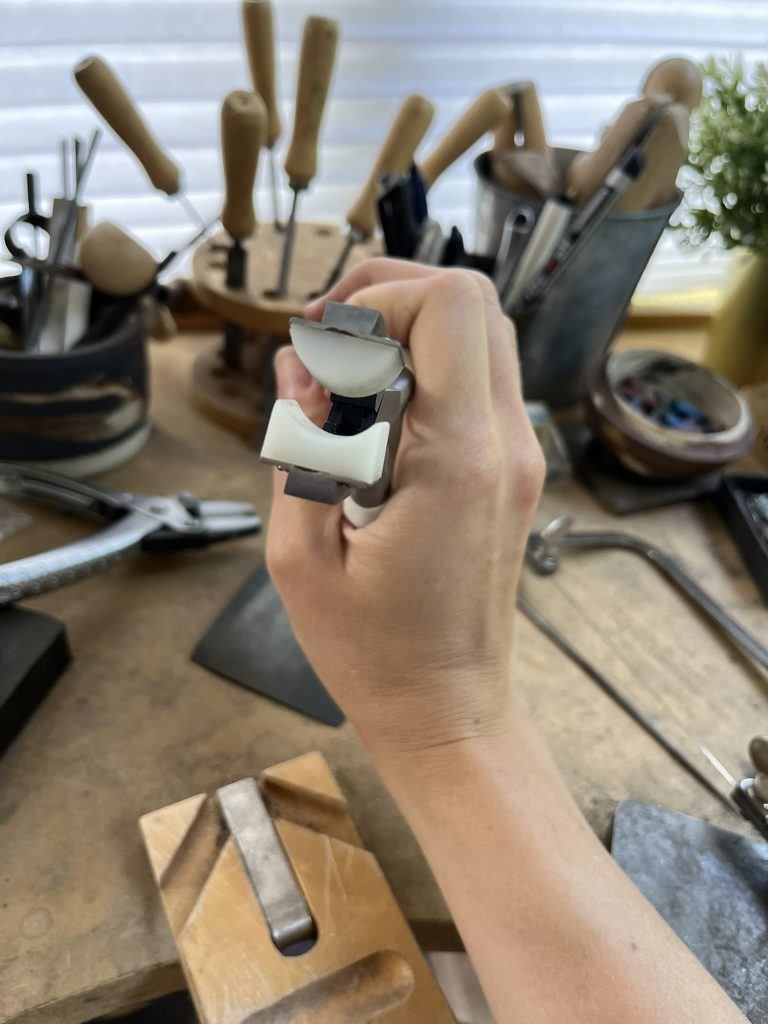
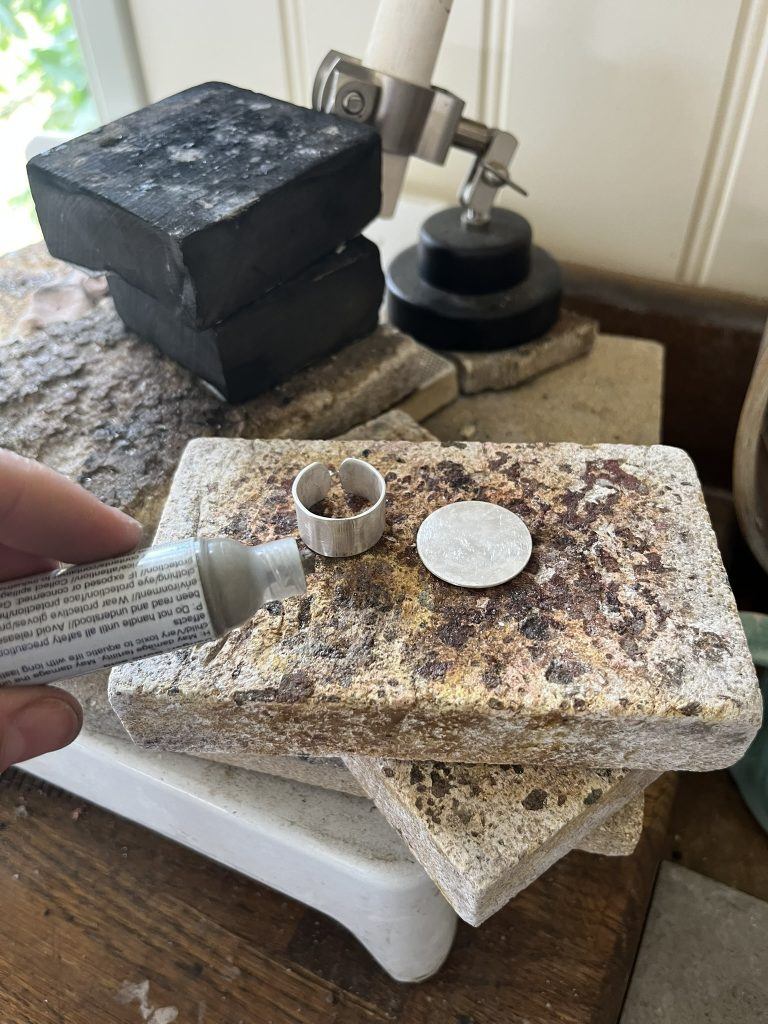
Shape your ring blank using ring bending pliers. Squeeze the metal between the nylon jaws until round, leave a small gap as this allow your ring to remain adjustable.
Step 8
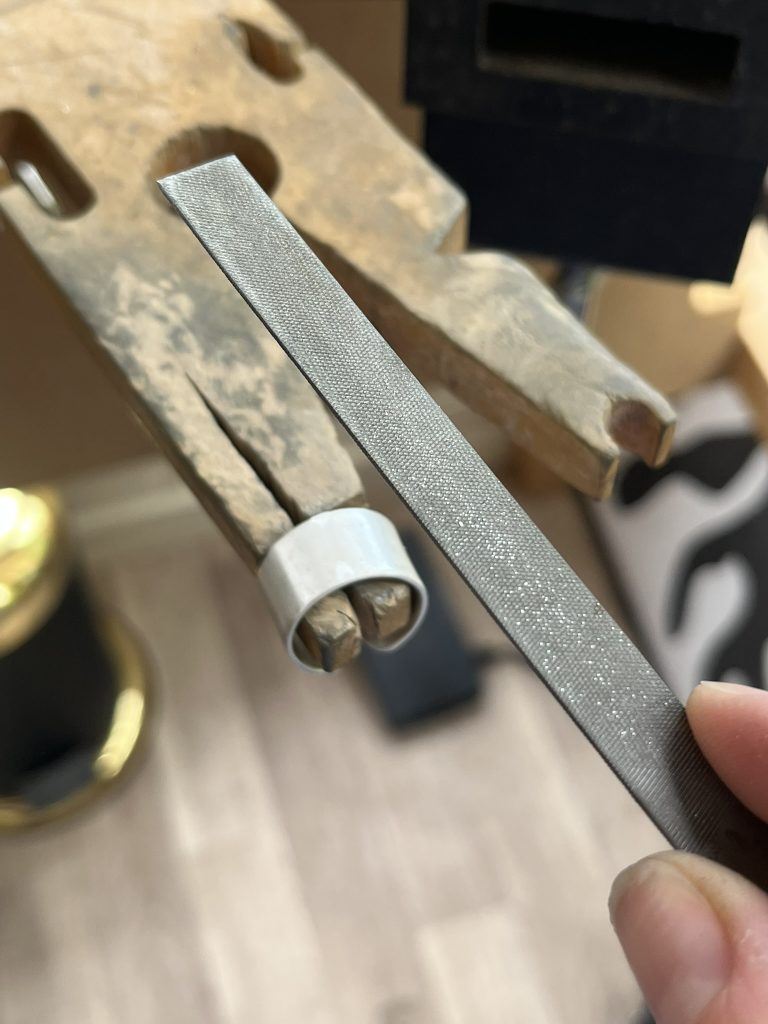
Mark out the middle and centre of the ring and rest it against your bench peg. Using a flat file, file a flat surface across the ring, this is to make a larger surface area on the ring shank that is flat for the disc to be soldered to.
Step 9
When clean and dry place the silver on a soldering block with the silver fused texture faced down. Add solder paste to the filed flat surface of the ring and place this on top of the silver disc in the middle.
Note: Use reverse action tweezers and a third hand to hold the ring shank in position on the silver disc when soldering.
Step 10
Heat the ring and disc evenly until the solder melts and flows. Allow to cool, quench in water and add to a warm pickle for 10 minutes or until clean.
Step 11
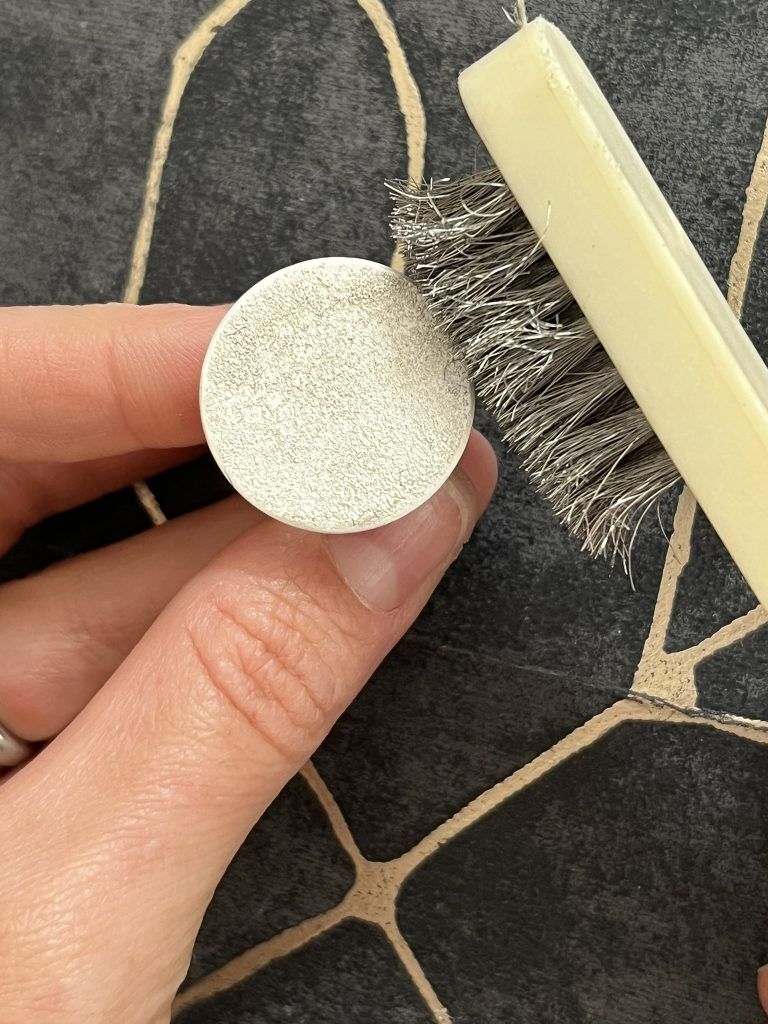
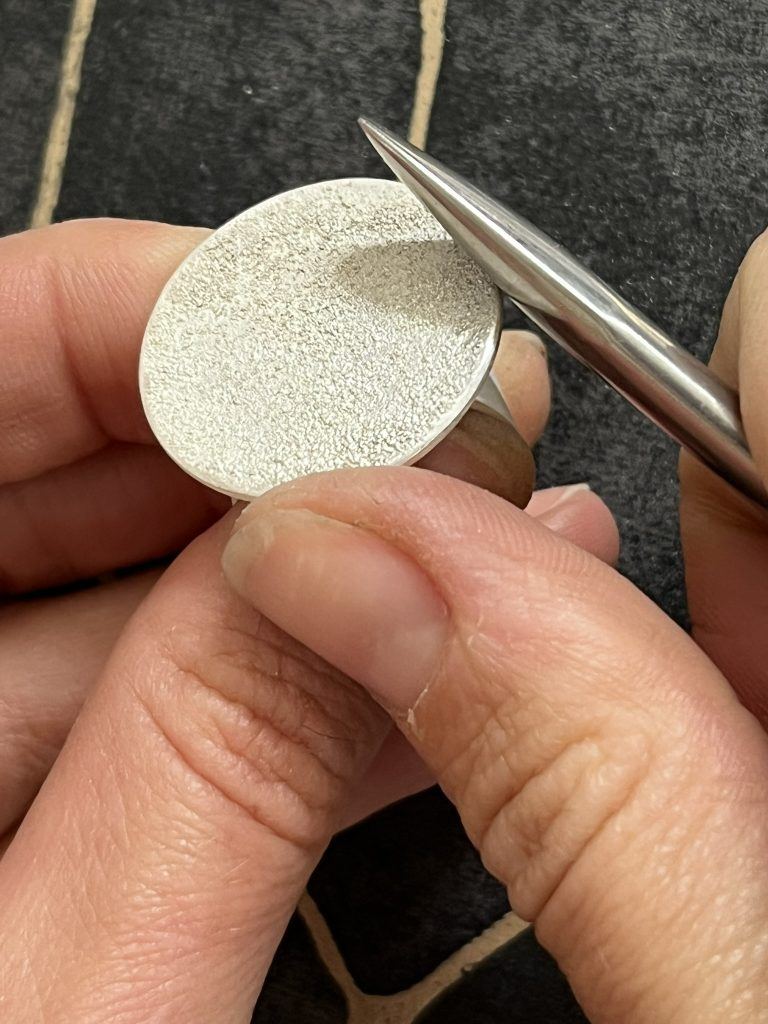
When clean and dry use a metal to bring out the texture.
Step 12
Add shine to the edges using the burnisher.
Step 13
This method not only gives your pieces a bold, artistic look—it also makes use of silver scraps in a sustainable and creative way.
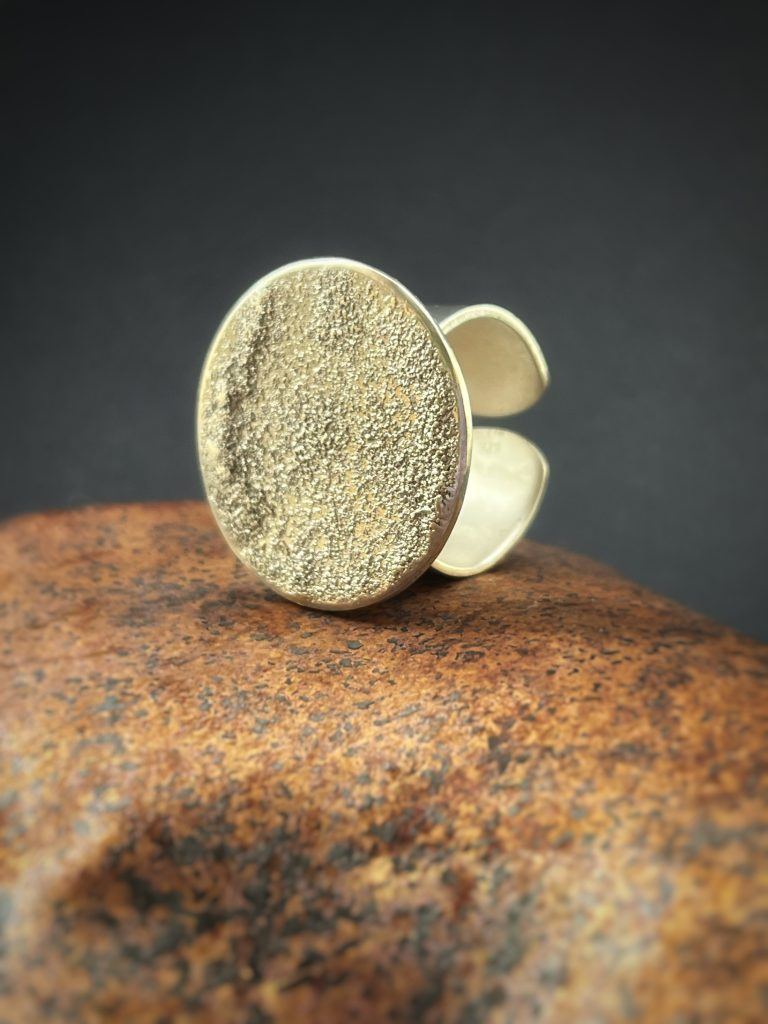
From rings to pendants, this texturing technique can be adapted to countless projects. Experiment with different dust patterns and sheet sizes to develop your own signature style.
Looking for more silver jewellery tutorials? Explore our other guides on making handmade sterling silver jewellery. Visit cooksongold.com/blog/project

Sian Brown
Sian has been hand making her award winning jewellery in the West Midlands for over 12 years. Sian spent 10 years in Birmingham’s historic Jewellery Quarter before relocating to a quiet Worcestershire village.