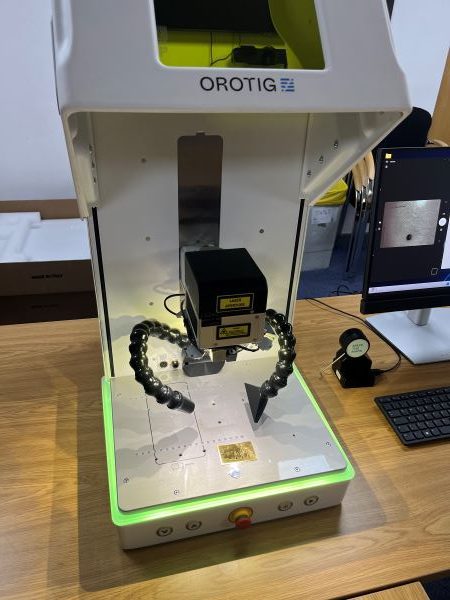
How to Use the Orotig Canova 50 Laser Engraving Machine
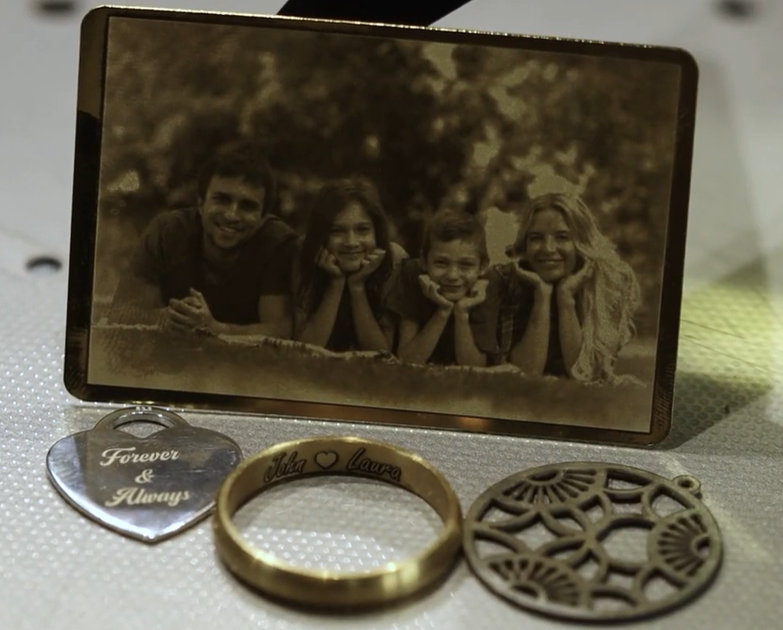
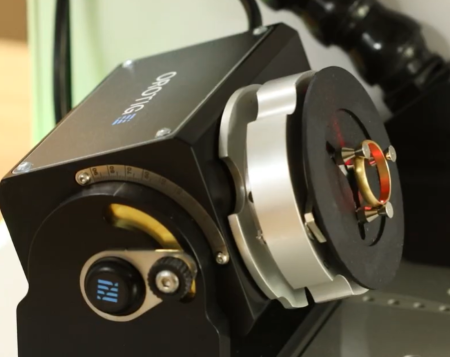
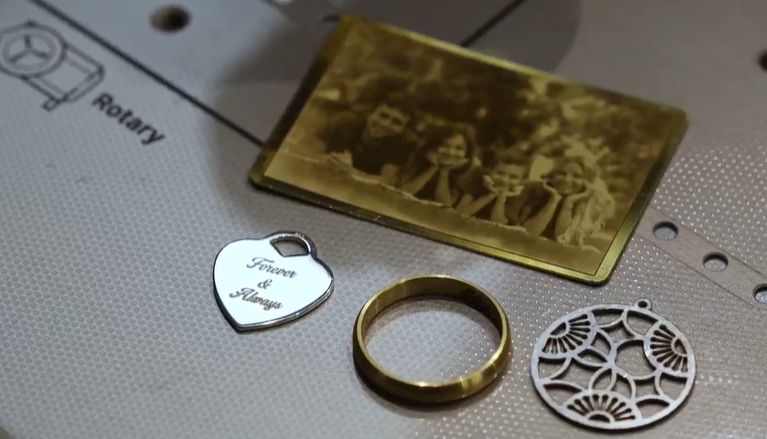
In modern jewellery making, precision sets your work apart, the Orotig Canova 50 gives jewellers the power to engrave and personalise items with outstanding clarity, efficiency, and ease. Whether you’re engraving text, logos, pictures or even cutting small shapes, this machine provides an intuitive workflow designed for professionals and beginners alike. Below is a complete, […]
Read Post