Five Ways to Use Copper & Brass in Jewellery Designs
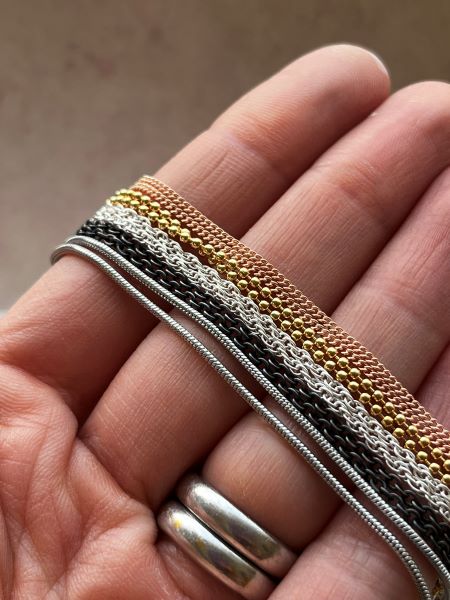
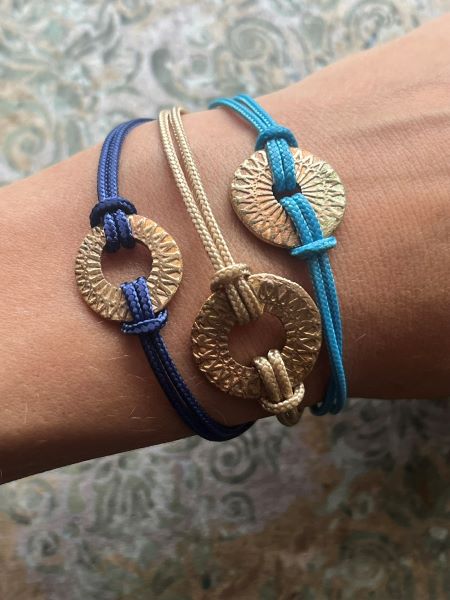
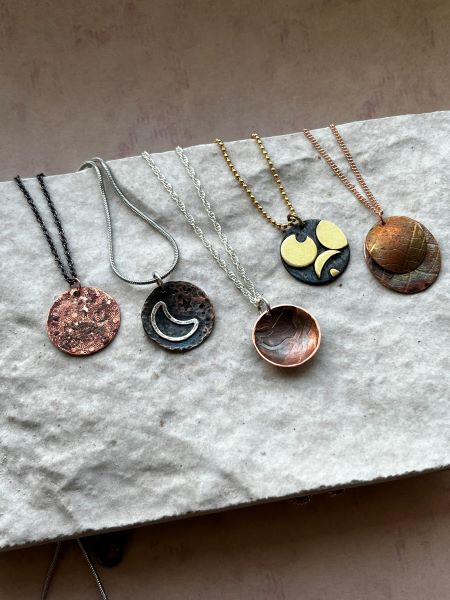
Looking for new ways to work with copper and brass? These metals are perfect for experimenting with contrast, texture and scale, making them ideal for trying out new designs. Here are five techniques to explore in your next designs. 1. Layer Metals for Depth and Detail Layering copper and brass is one of the simplest […]
Read Post