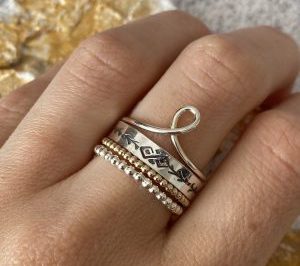
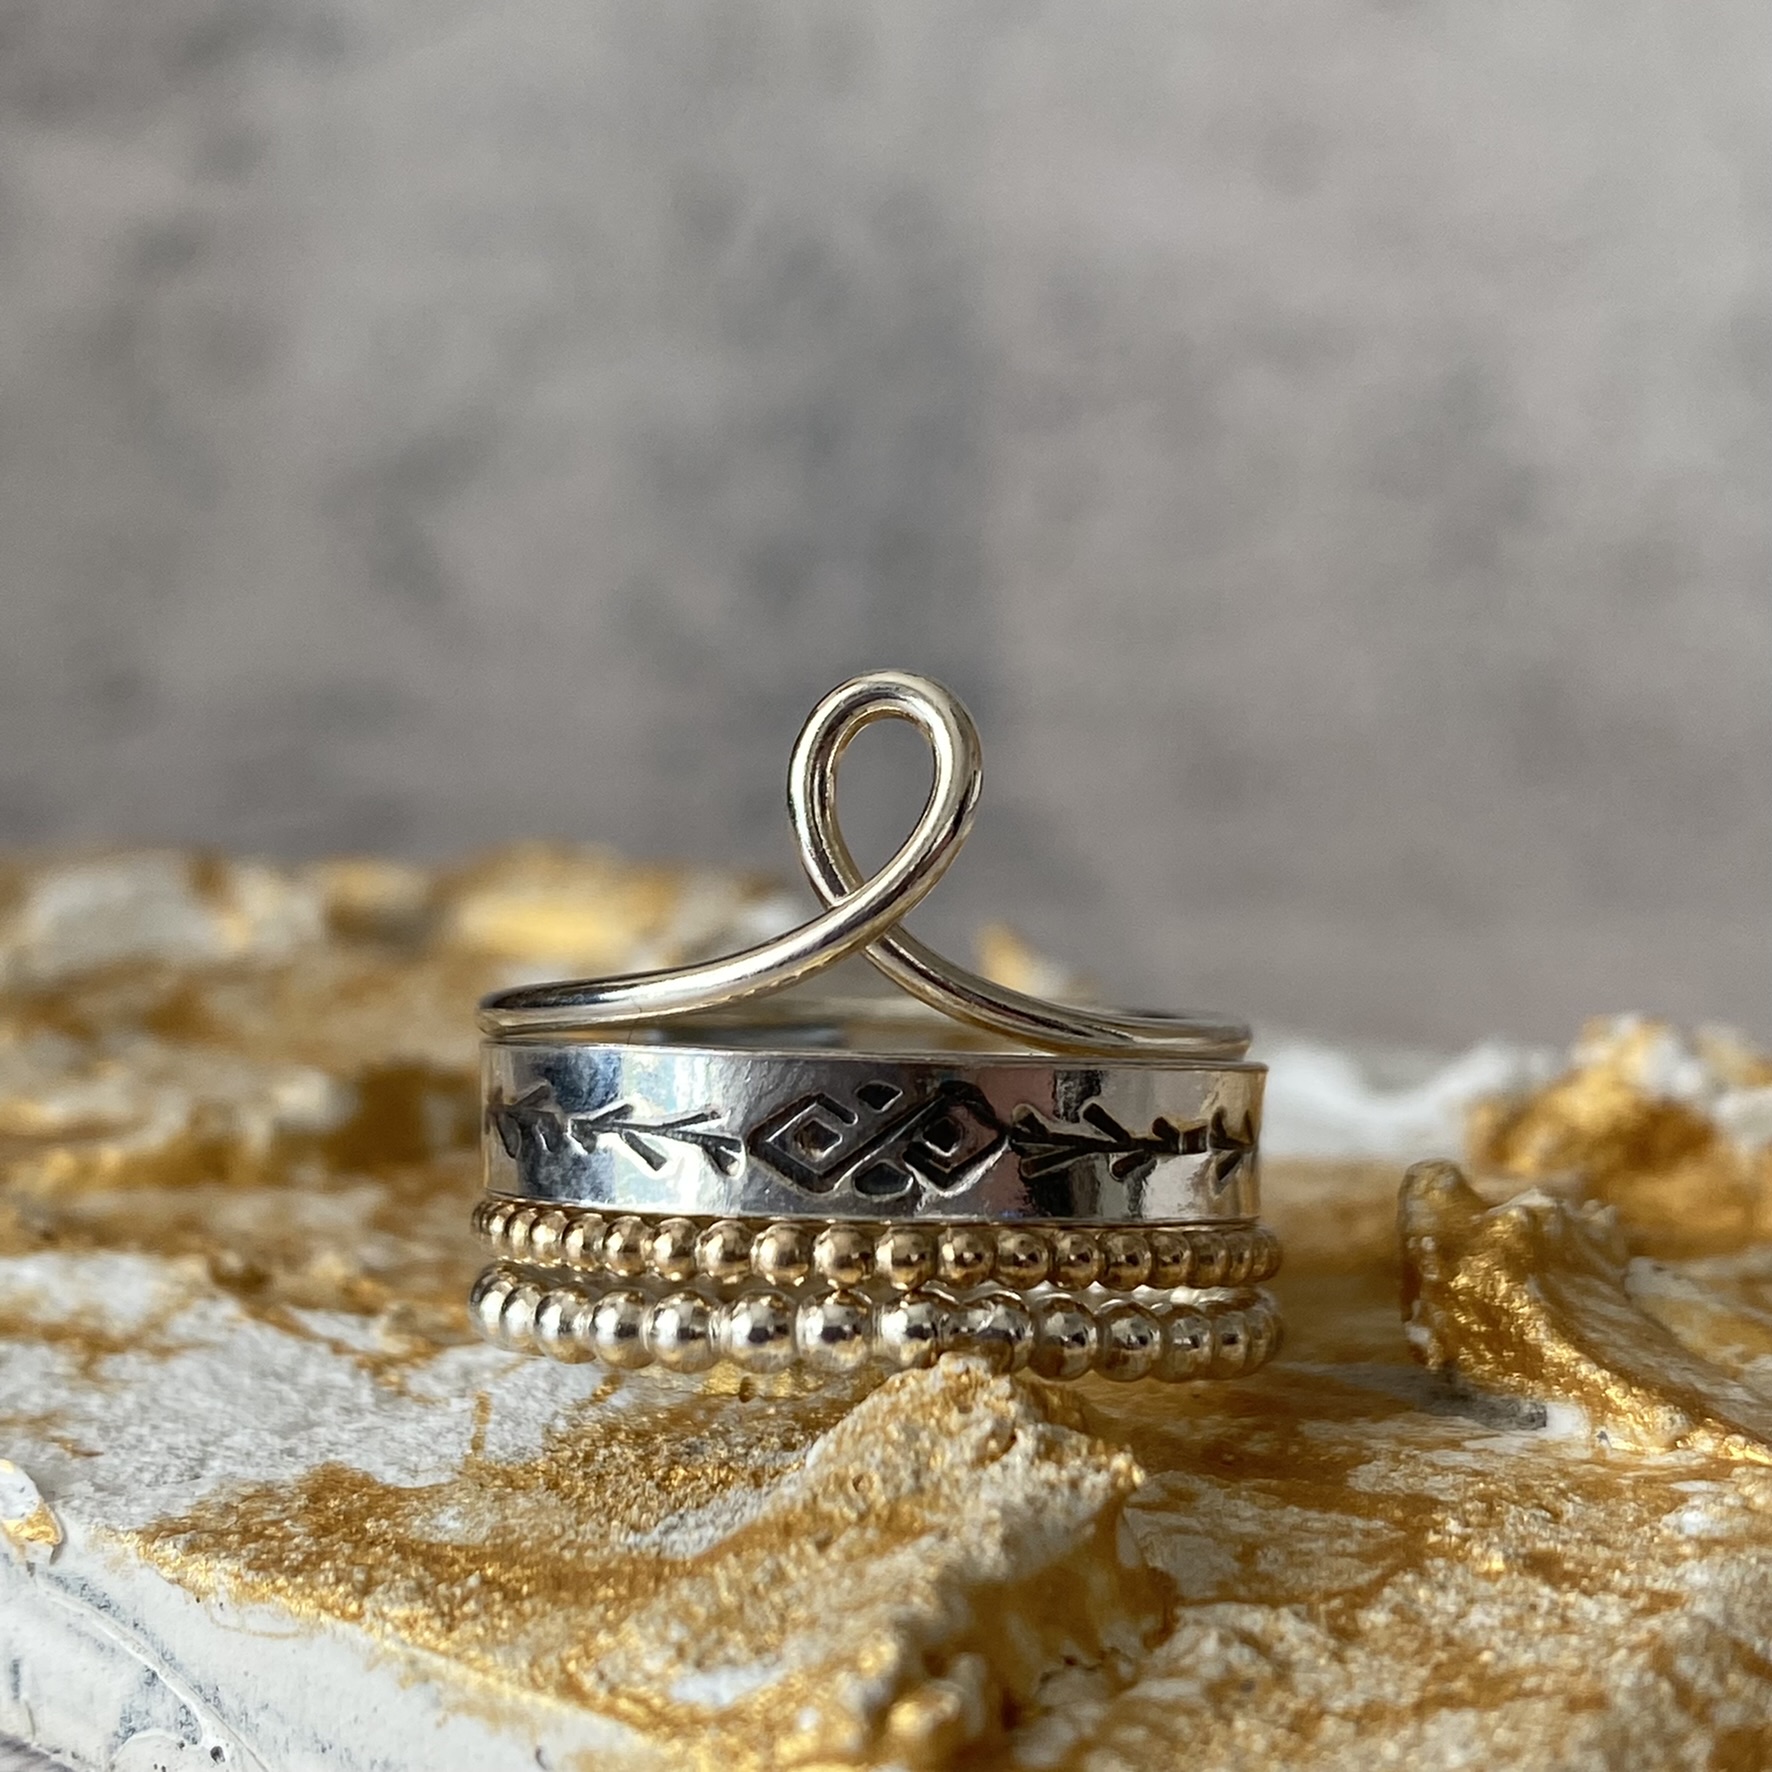
Stunning Stacking Ring designed to celebrate the Queen’s Platinum Jubilee
Step 1 (Ring 1)
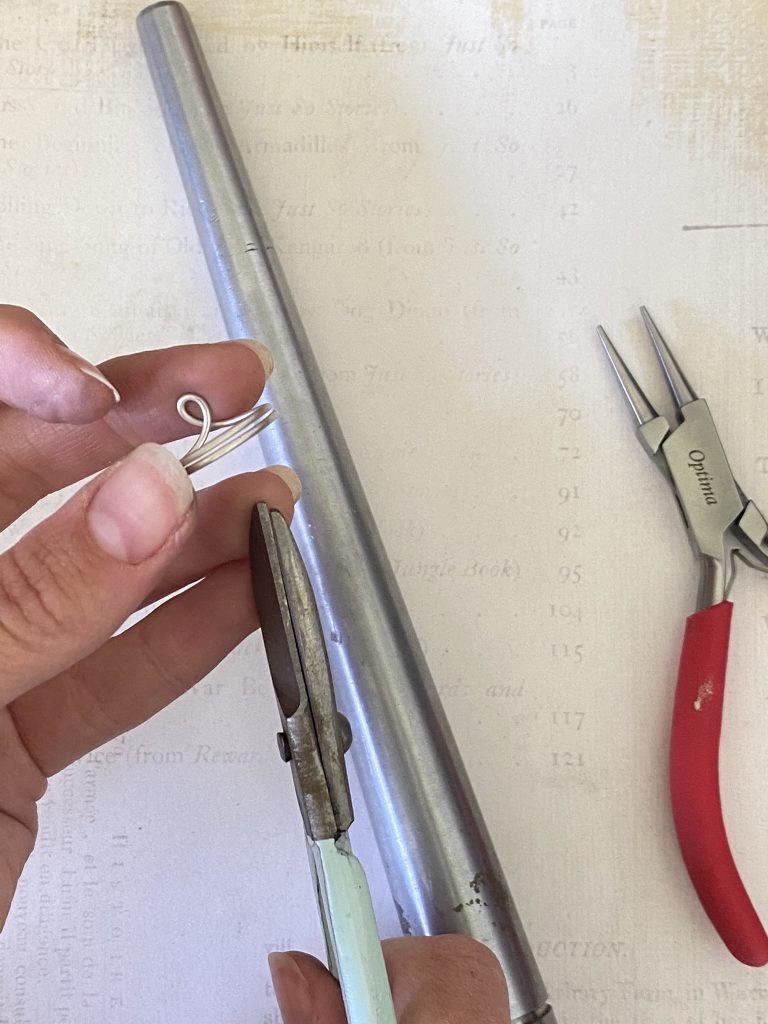
Take 1.2mm sterling silver wire and use round nose pliers to gently hold the middle and move the wire round to create a loop shape.
Top Tip – As a size guide you need 15-20mm more wire than your rings size.

Step 2 (Ring 1)
Wrap the looped wire around a ring mandrel and cut the ends to make the correct finger size.
Step 3 (Ring 1)
Align the wire ends flush and apply a small amount of solder paste, heat the ring evenly and solder. Add the ring to your acid pickle to clean.
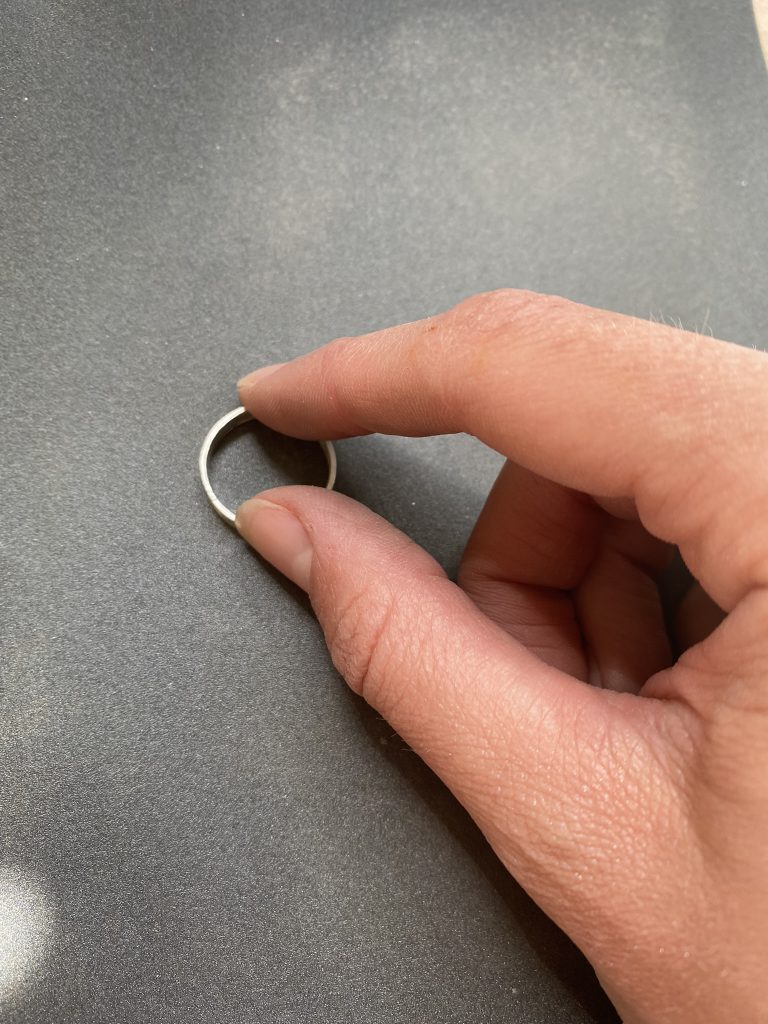
Remove the ring from the pickle with plastic tweezers and when dry return to the ring mandrel to shape gently.
Top Tip – Don’t hit the looped wire front with a mallet or hammer on the mandrel as the front wire of the loop could warp the back wire where they cross.
Step 4 (Ring 2)
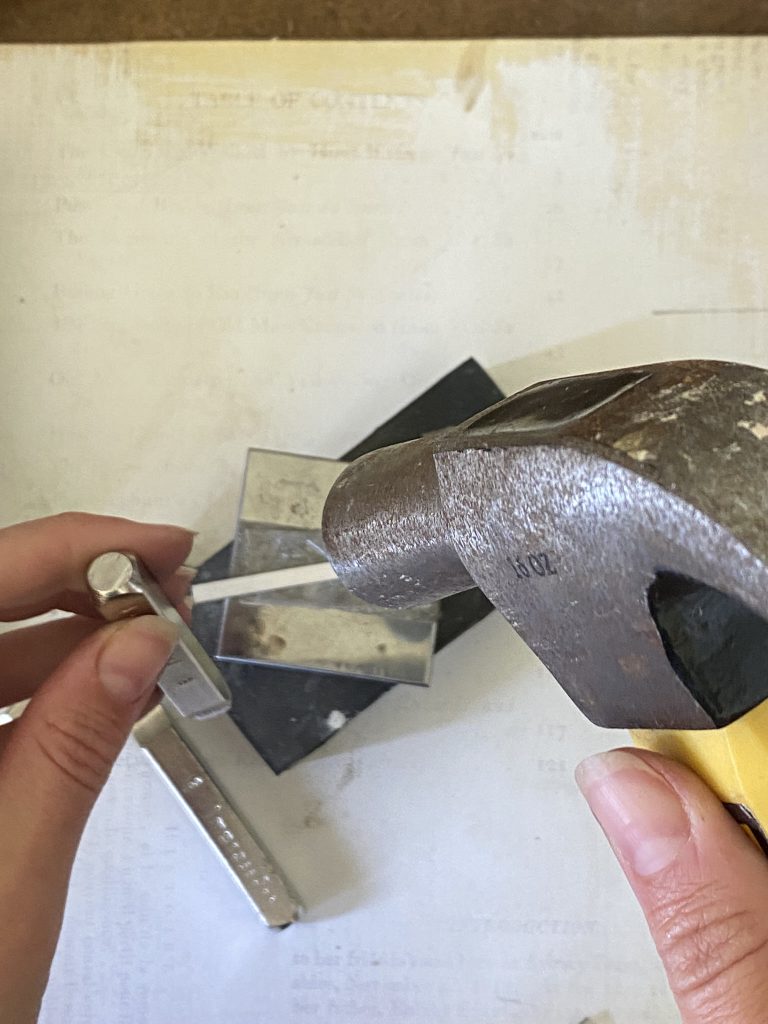
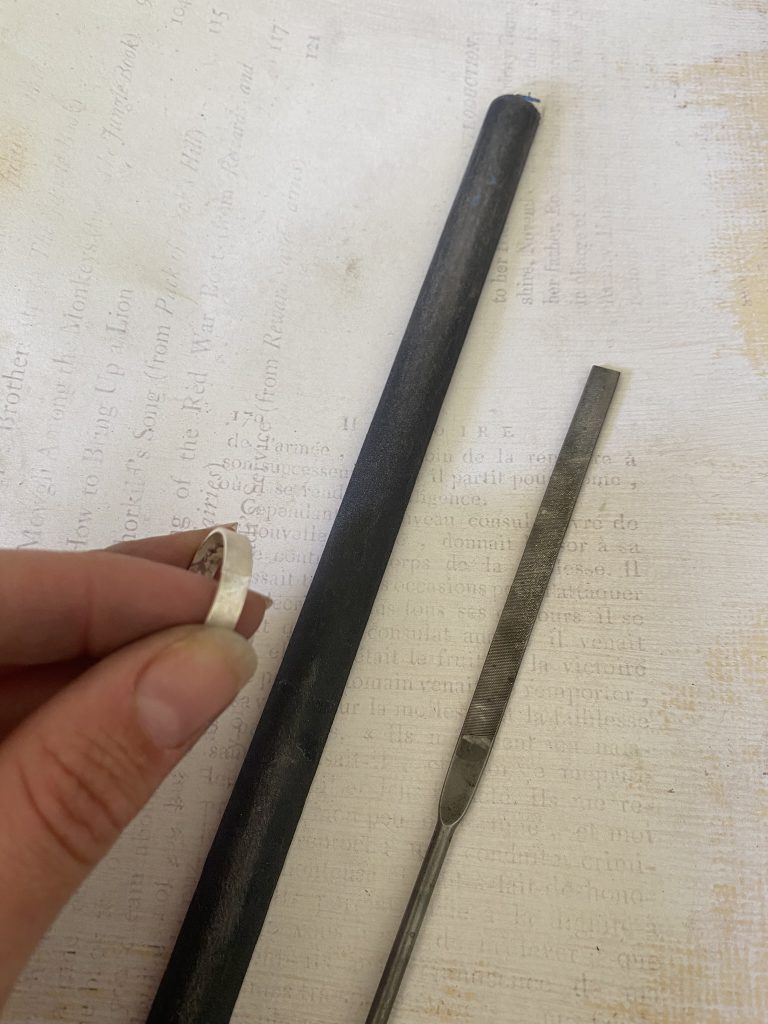
Take a length of rectangular silver wire and cut to desired length using a piercing saw or tin snips, gently anneal the wire with a blowtorch, quench (cool in water) and add to the pickle.

Step 5 (Ring 2)
When clean and dry position the rectangular wire on a steel block and use the impress art stamps by placing the stamp on the metal and hitting the stamp with a hammer.
Top Tip – You can use double sided tape or masking tape to hold the metal in place and create a guideline on where to stamp. It’s a good idea to practice using the different stamps on a piece of scrap copper first.
Step 6
Use half round pliers to gently manipulate the wire into a ring shape. Align the 2 ends flush and use either a saw or a flat file to make sure that the 2 ends meet against each other flat.
Top Tip – You should not be able to see any light through where the 2 ends meet.

Step 7
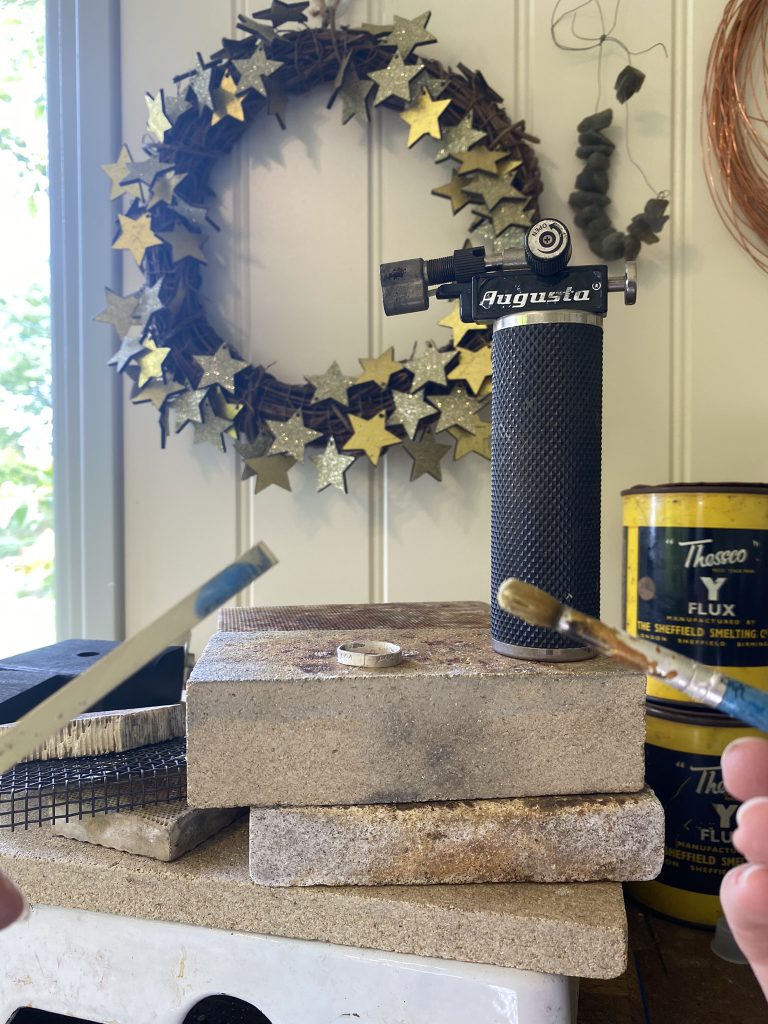
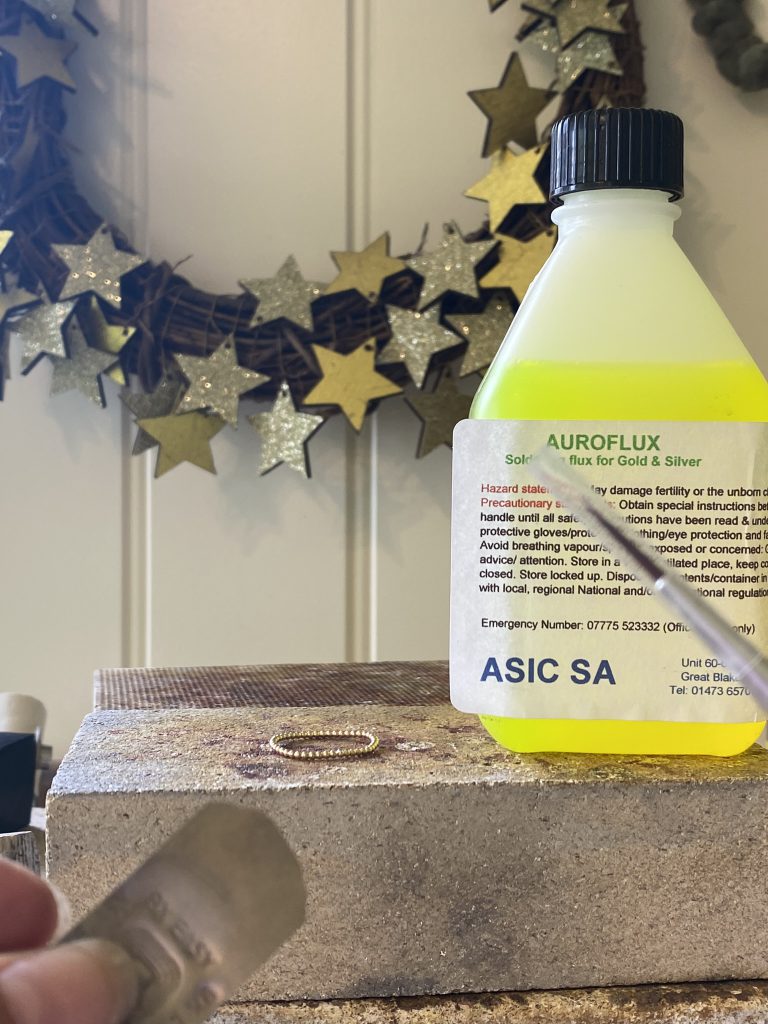
Add a little water to a borax dish and use the cone to make a paste, add this flux to the ring join with a paintbrush. Cut a small piece of silver solder (this can be easy, med or hard solder) and place on your brick. Place the ring on the brick with the solder making contact with the join.
Gently heat the ring evenly with your blowtorch, allowing the flux to bubble and melt and then ensuring that the solder melts and flows across the whole join.
Step 8 (Ring 2)
When the ring is cool add it to the pickle to clean. When clean and dry place the ring on the ring triblet/mandrel and use the mallet to hit the ring and make it round. Take the ring off the triblet, turn it over and place it back on the triblet and hammer again to ensure the ring is round on both sides.
To remove any excess solder use needle files following the curves of the ring and then emery boards. You can also use silicon wheels on a pendant motor.
Step 9
Place emery paper on a flat surface and place the ring on top, move the ring in a figure of 8 motion so the sides are even. Repeat on both sides.
Step 10 (Rings 3 & 4)
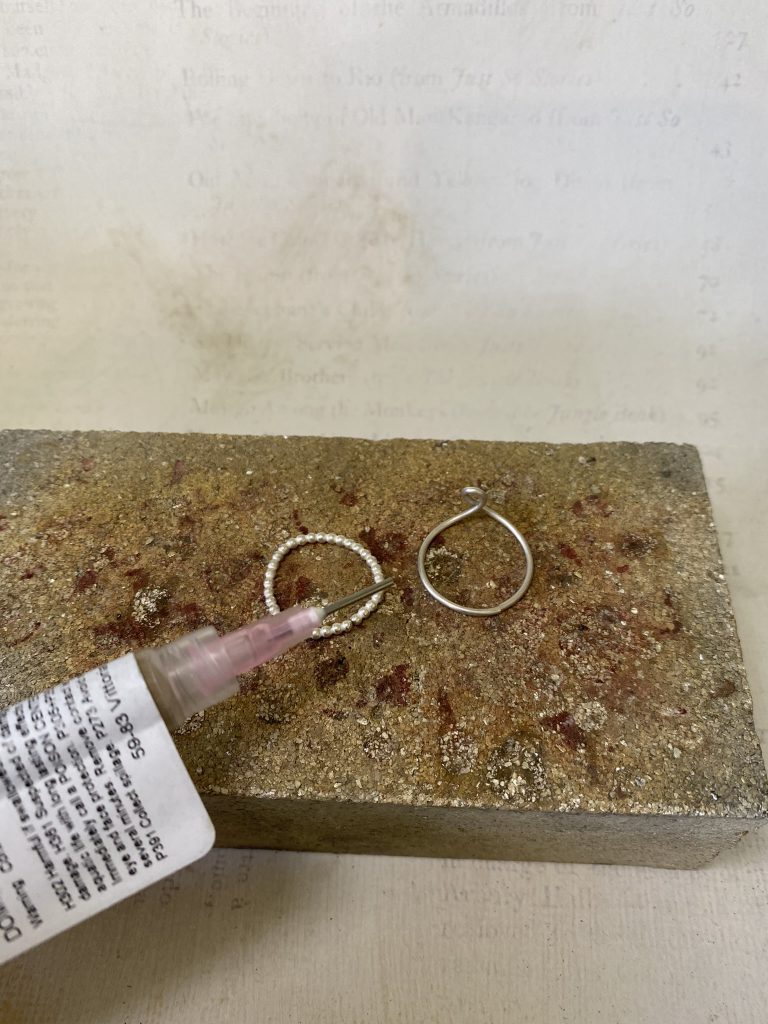
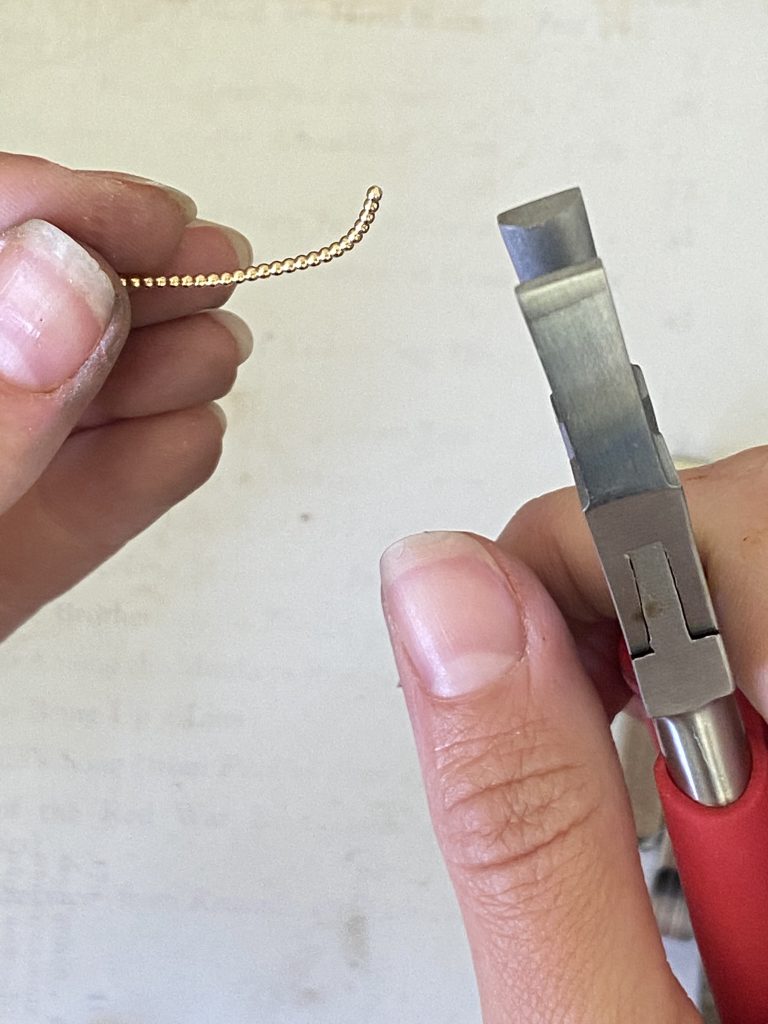
Take your beaded wire and cut to the desired length. Use your half round pliers to make a circle and align the ends. Apply solder paste to where the ends align and place on a brick. Use a hand blowtorch to heat the wire evenly and ensure the solder flows. Cool the wire and add to your pickle.
Step 11 (Rings 3 & 4)
When clean and dry place the ring on the ring triblet and use the mallet to tap the ring into a perfect round shape using a mallet.
Step 12 – To Finish
Place all the rings in a barrel tumbling machine with a small amount of barrelbrite, steelshot and water and tumble for ½-1 hour.
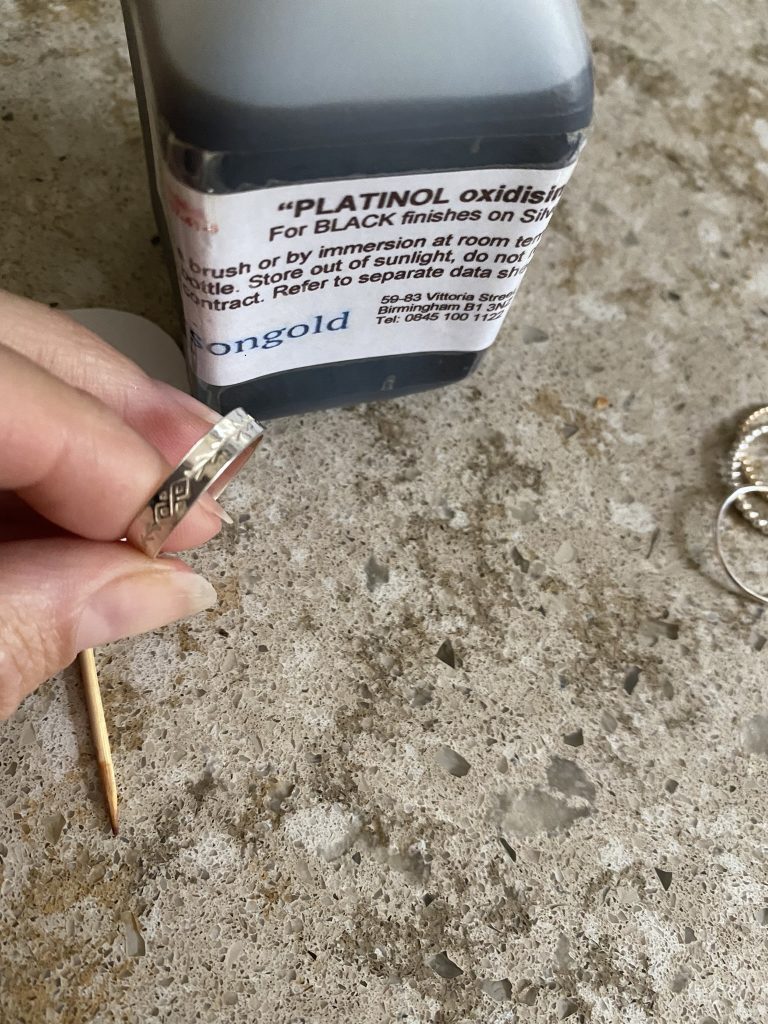
Step 13
Rinse and dry and oxidise (darken) any detail using platinol and a cocktail stick. Finish using a polishing cloth.
Your finished piece


Sian Brown
Sian has been hand making her award winning jewellery in the West Midlands for over 12 years. Sian spent 10 years in Birmingham’s historic Jewellery Quarter before relocating to a quiet Worcestershire village.