Using a polishing mop is a vital technique required by all jewellers who work primarily with precious metals, and it’s a technique that requires practice to master.
Whether you’re just starting out, or you’re a seasoned jewellery maker looking for some extra tips, read our guide on how to use a polishing mop effectively. Once mastered you can polish and enhance the shine on a beautiful piece of jewellery using your metal polishing mops.
How Do I Buff Jewellery Using Polishing Mops?
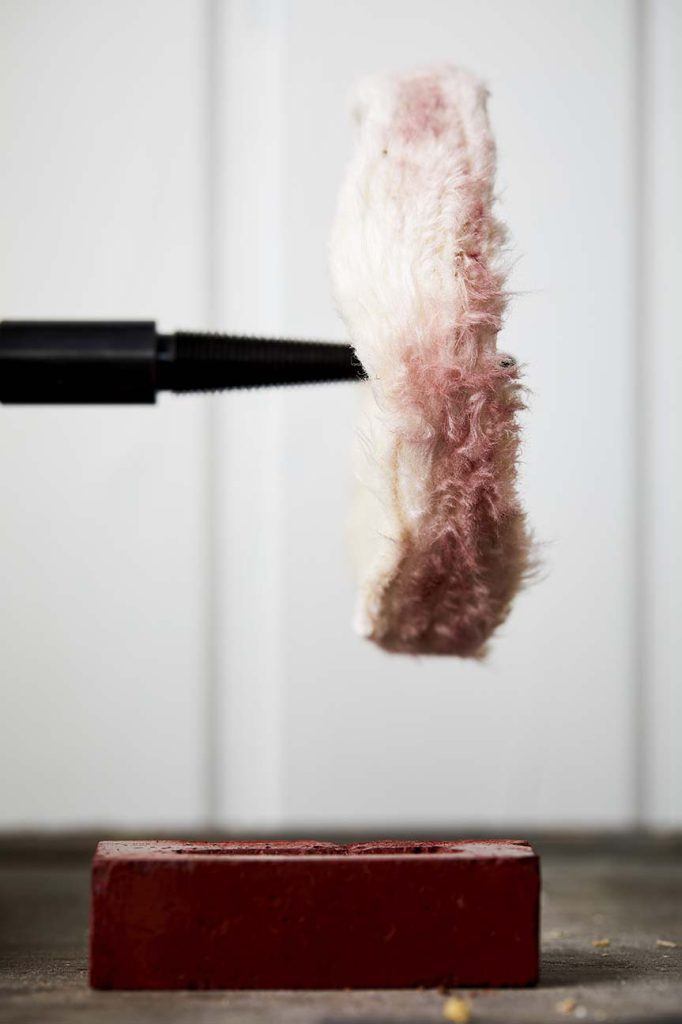
Buffing is the process of polishing metal using a polishing mop or buffing wheel, which is coated with a polishing compound or jeweller’s rouge. The polishing mop holds the polishing compound while the compound is the loose abrasive that cuts the metal.
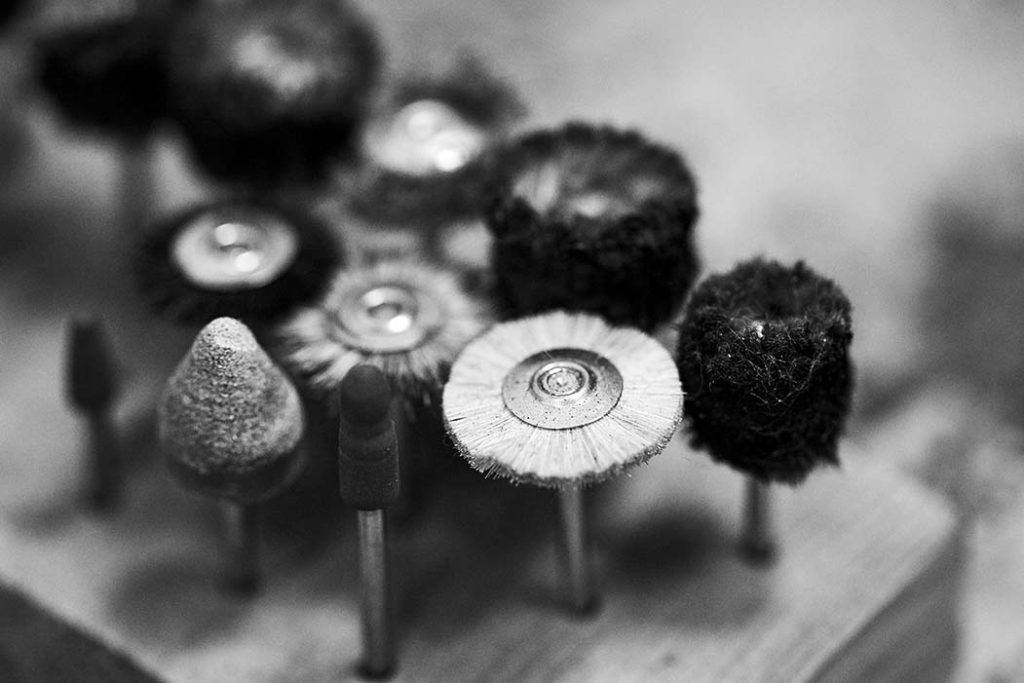
What are the different types of polishing mops?
Before you learn how to use a polishing mop with your jewellery pieces, you’ll need to get to grips with the different types of wheels and mops available to you. Read our dedicated posts on different types of buffing wheels and polishing mops, as well as the different types of polishing compounds before you get started to learn the basics of polishing, and which polishing mops and compounds you should be using for your desired effect.
How do you use a polishing mop effectively
Here’s the buffing and polishing process from start to finish. Use this as a guide as you start polishing your pieces in the final stages of your jewellery production
Step One: Clean Your Metal
Before you start buffing and polishing, you’ll need to clean your metal thoroughly. When there is dirt or residue left on the metal after forming, it can be difficult to clearly see if there are scratches on the surface. Cleaning with an ultrasonic cleaner or pumice powder before you polish will give you
a much better idea of how far to take the polishing process to eliminate any scratches that have occurred in the process of making the piece.
Step Two: Wear Safety Protection
Make sure you have access to protective eyewear ahead of starting your polishing motor- Safety goggles or a face shield are ideal. Finger protection tape will protect your hands from friction as the polishing mop rotates and you begin to polish. Remember to tie hair back and roll up sleeves to prevent them catching in the mop as it rotates, and wear an apron to protect your clothing. However please do not wear gloves although this is temping, they can get caught within the motor, causing serious harm
Step Three: Choose The Right Polishing Mop
Now you’re ready to choose your polishing compound and polishing mop. To start with, you’ll need to choose a stiffer buff, such as a hard calico mop. You’ll also need to start with a coarse polishing compound relative to the material you’re working with. For example, if you’re working with gold you may want to start with a brown Tripoli compound. If you’re working with base metal you may want to start with a yellow or blue Luxi compound.
The process of using a motorised polishing mop and polishing compounds is similar to using sandpaper – start with the coarsest compound first and work your way through to the finer compounds to create shine.
Step Four: Prepare Your Polishing Mop
Once you’ve chosen the appropriate polishing compound for your piece, you can now apply it to the polishing. You can do this by slowly spinning the motorised polishing mop and lightly pressing the compound against the spinning buff. Only a small amount needs to be applied to the wheel for the compound to take effect as you polish, do not overload your polishing wheels as this could hinder the finished effect.
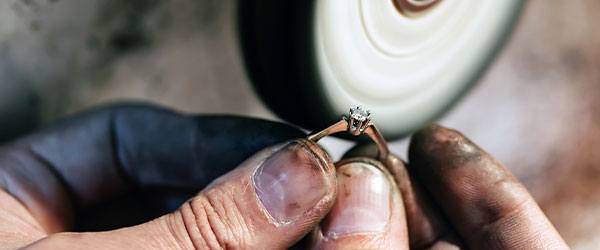
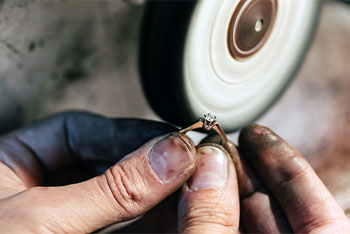
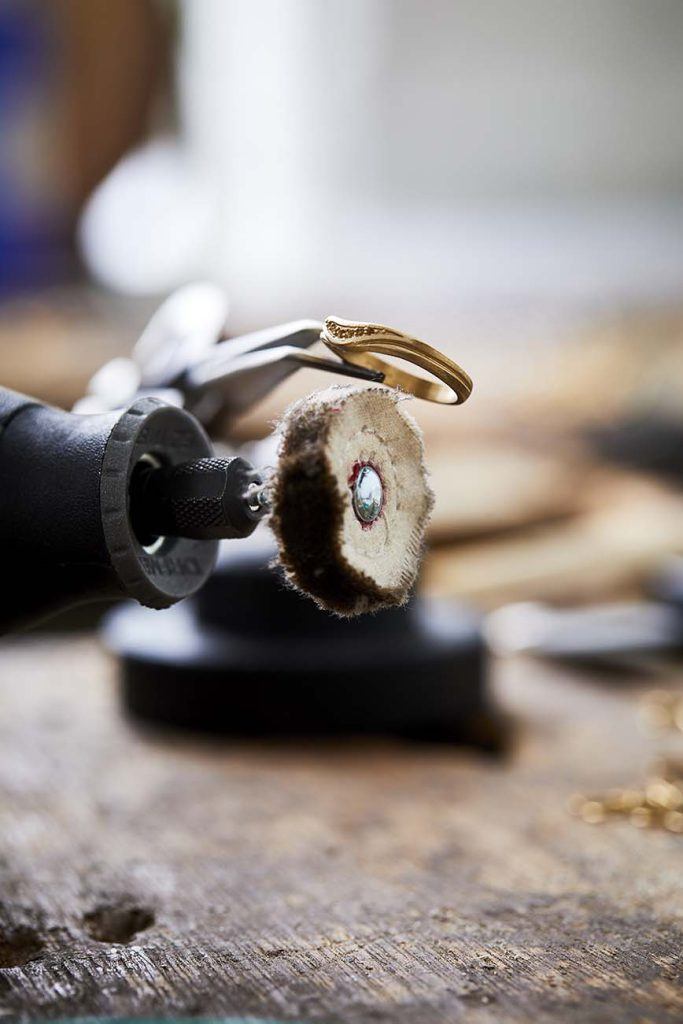
Step Five: Using Your Polishing Mop
Now you can get to work. Hold the piece you’re working with against the wheel as it spins, applying only a small amount of pressure. There’s no need to apply too much pressure as the spinning buff should be doing the work for you. For the best results, your polishing mop should spin at 3,000 RPM or less for the most consistent results. Work just below the centre of the buff wheel. If you work too high, this will cause the wheel to grab the item from your hand.
Step Six: Switch To A New Polishing Mop For Best Effect
Continue polishing your entire piece and adding more polishing compound to the wheel as required. Start to work through to the softer buffs and finer polishing compounds. As you change your polishing compound, switch to a new polishing mop for the best results. Continue this process until you remove all scratches and reach the desired finish for your piece.
Step Seven: Finalise and Clean
Once you’ve finished polishing your piece with the finest compound, you’ll need to rinse the metal so that the polishing compound residue is removed. Use warm soapy water to remove any excess and dry the piece with a soft cloth or an ultrasonic cleaner.
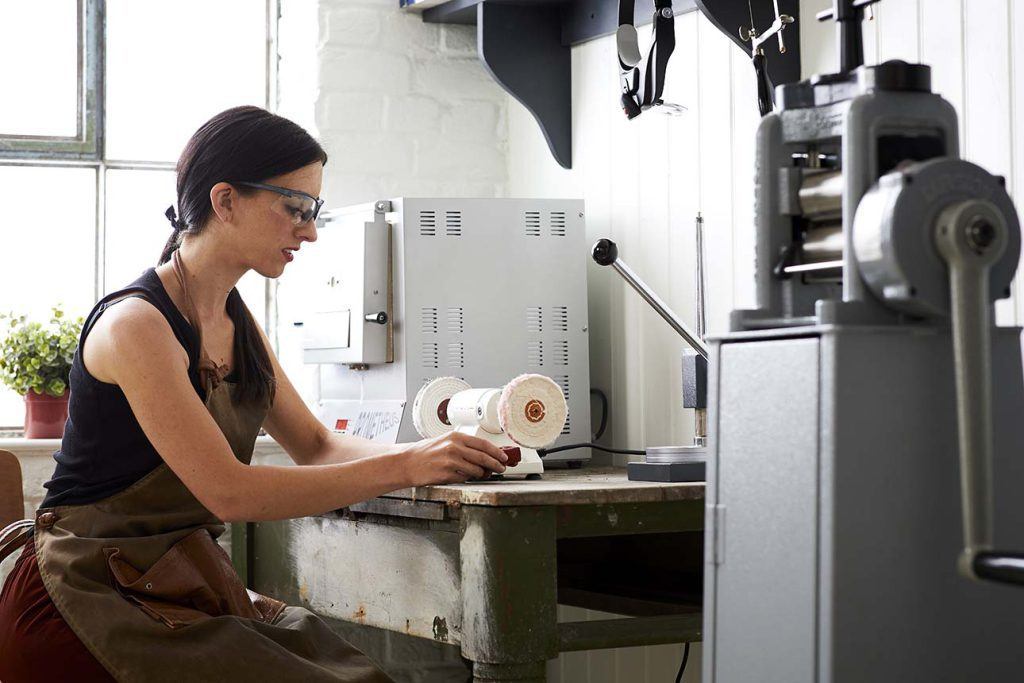
Once you have an understanding of how to use a polishing mop and polishing compounds effectively it would be recommended to invest in a reliable polishing motor and some polishing motor accessories to streamline your jewellery making process and create the professional finish for your customers.

Cooksongold