If you’ve already had an introduction to Silver clay and covered the basics of working with metal clay, you may want to take your silver clay projects to the next level. Carving metal clay is certainly one way of taking that next step and producing precious metal clay jewellery that is completely unique.
Read our guide below on carving metal clay and learn how to get creative with a vast array of precious metal clay carving tools and techniques.
Getting to know precious metal clay drying times
Before you get started with some more complex metal clay ideas, it’s worth getting to know the different stages at which precious metal clay can be manipulated as it dries. This will help you get to know at which point in the silver clay drying process you can use certain tools and techniques.
Stage One: Fresh, malleable metal clay
Working with precious metal clay when it’s taken fresh from a new packet is the point where it’s most malleable. At this stage in the metal clay drying process, you can create new shapes, cut it, add texture with rubber stamps, or embed stones into the clay (as long as they can withstand the firing process). It’s at this point when working with precious metal clay that you should be making the most drastic changes to the overall form, shape and texture.
Stage Two: Surface water evaporates
At this stage in the clay drying process, you’ll start to see signs of surface moisture disappearing. As the surface water evaporates, the clay inside will still be damp and need to continue drying out. Many jewellers often say that the metal clay is like leather at this point in the drying process, and if it’s still mostly damp, you may still be able to manipulate the shape.
However, if the surface is completely dry it’s best to avoid any shaping, as this could lead to the clay cracking or breaking as it becomes harder and slightly brittle.
Stage Three: Completely air dry
Once the metal clay is completely dry, it can no longer be shaped but it can be carefully filed and sanded. This will help you to create a smooth, professional finish before firing the metal clay.
Carving metal clay at different stages in the drying process
Use metal clay cutters and moulds at stage one in the drying process. Why? It’s at this point in the drying process that details, especially from moulds, will need to be precisely pushed into the clay to leave a clear, deep impression that won’t be lost due to shrinkage once the piece is fired.
Using metal clay cutters
- For a level cut out of metal clay, make sure you roll out your clay to the thickness you need using guides at the same height either side of your clay.
- Make sure your cutter is clean and clear of any old clay debris so that the cut is neat.
- Gently place the cutter on the clay and press down firmly.
- Lift the cutter up and away from the excess clay.
- Is your clay stuck inside the cutter? Gently push it out with a spare tool handle. This will prevent any finger marks from being left on your metal clay.
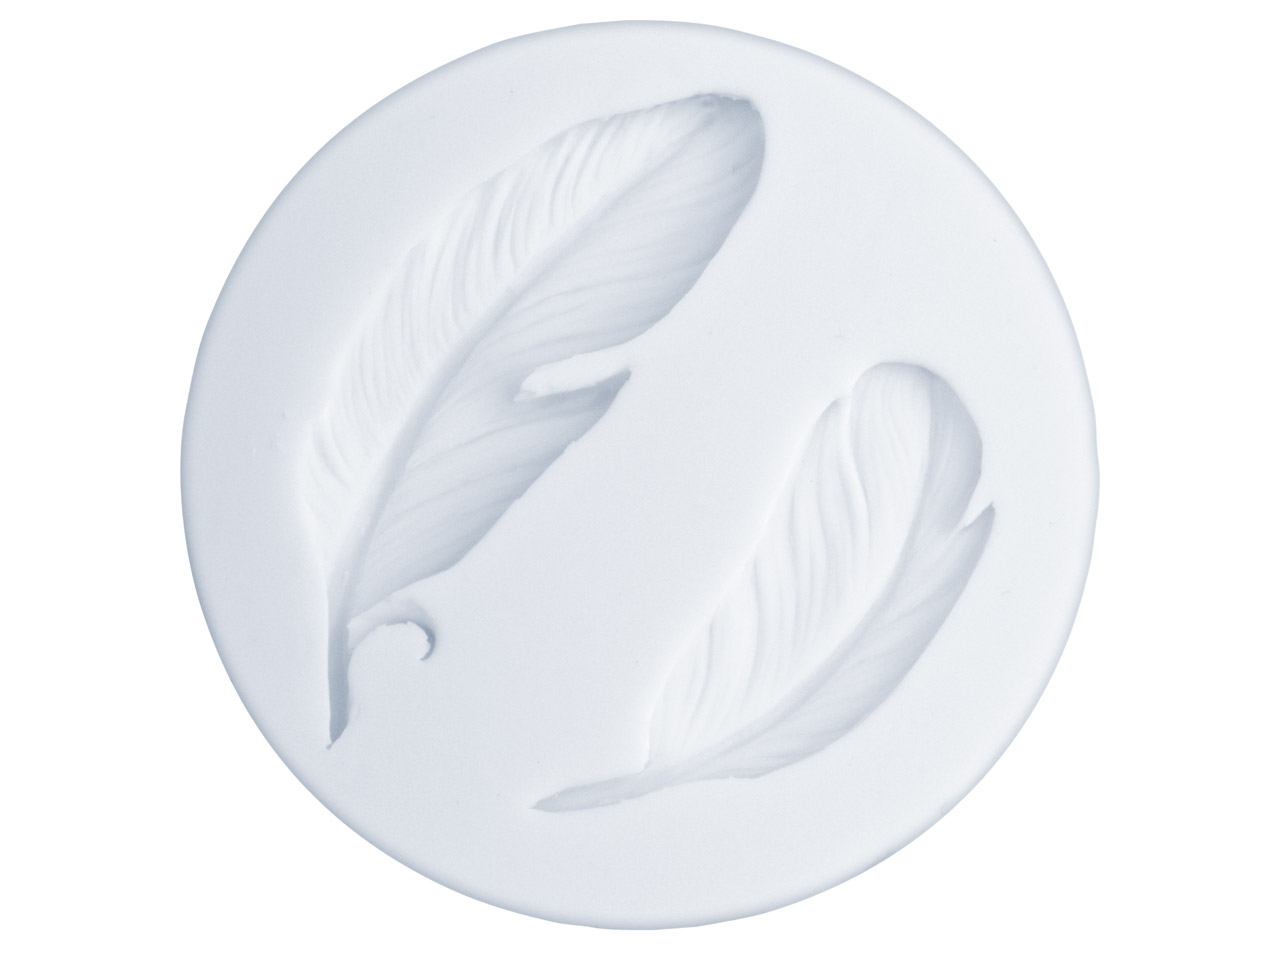
Using metal clay moulds
- Using fresh metal clay, place your mould on a flat surface and add your ball of clay to the centre of the mould. The ball should be about half of the diameter of the mould that you’re using so you don’t waste any material.
- Start pushing the clay into every nook of the mold with your fingertip using a pressing and pushing motion.
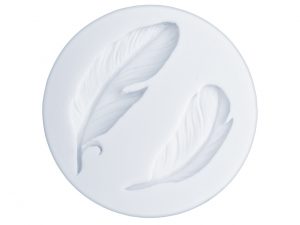
- If you need to add more clay to the mould, always do this at the centre. This will prevent any seams being created when adding extra metal clay to the edges of the mould.
- Has any of the clay been pushed over the edge of the mould? Simply push it back into the edges of the mould using a rolling motion with your fingertip to make sure all of the mould is completely and precisely filled with clay.
- At this stage you can either smooth out the back of the clay with your fingertips or add a subtle texture to the back with a rubber or brass texture sheet.
How to use texture sheets for metal clay
Add texture to your metal clay at stage one in the drying process. Why? When using rubber or brass sheets to leave an imprinted texture in your metal clay, you’ll need to leave a deep indentation. This can only be achieved when the metal clay is still 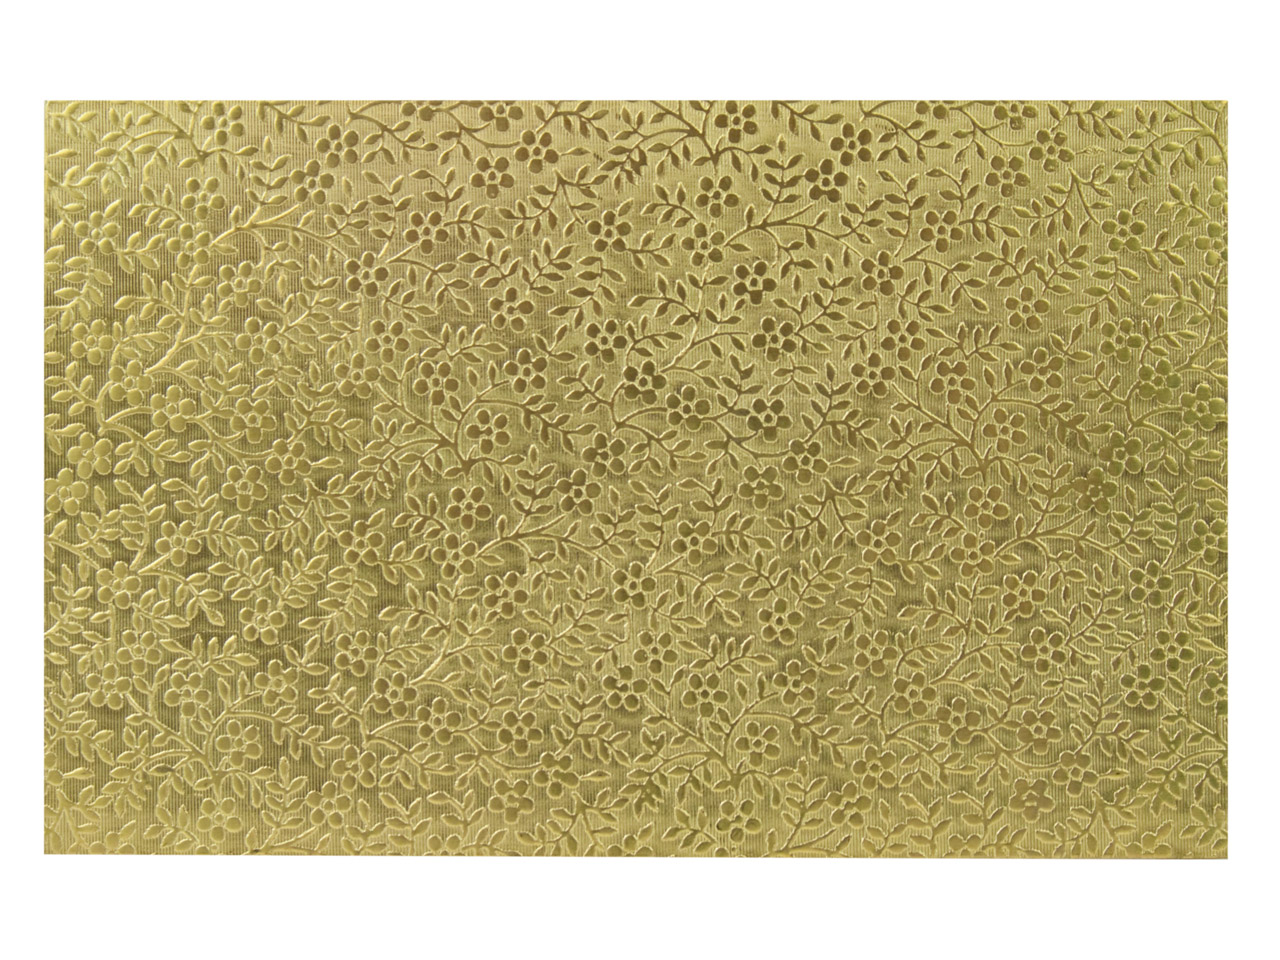 relatively fresh and malleable. You’ll need to leave a very deep impression at this point to account for the shrinkage that will occur during the firing process.
- Place your texture sheet below or above the metal clay you’re working with.
- Make sure you use your height guides either side of the clay so that the clay is even all the way across when you roll.
- Firmly roll from the bottom to the top of the clay in one fell swoop. Only making one pass with your roller will ensure that the texture sheet has not moved, and your imprint will not double up.
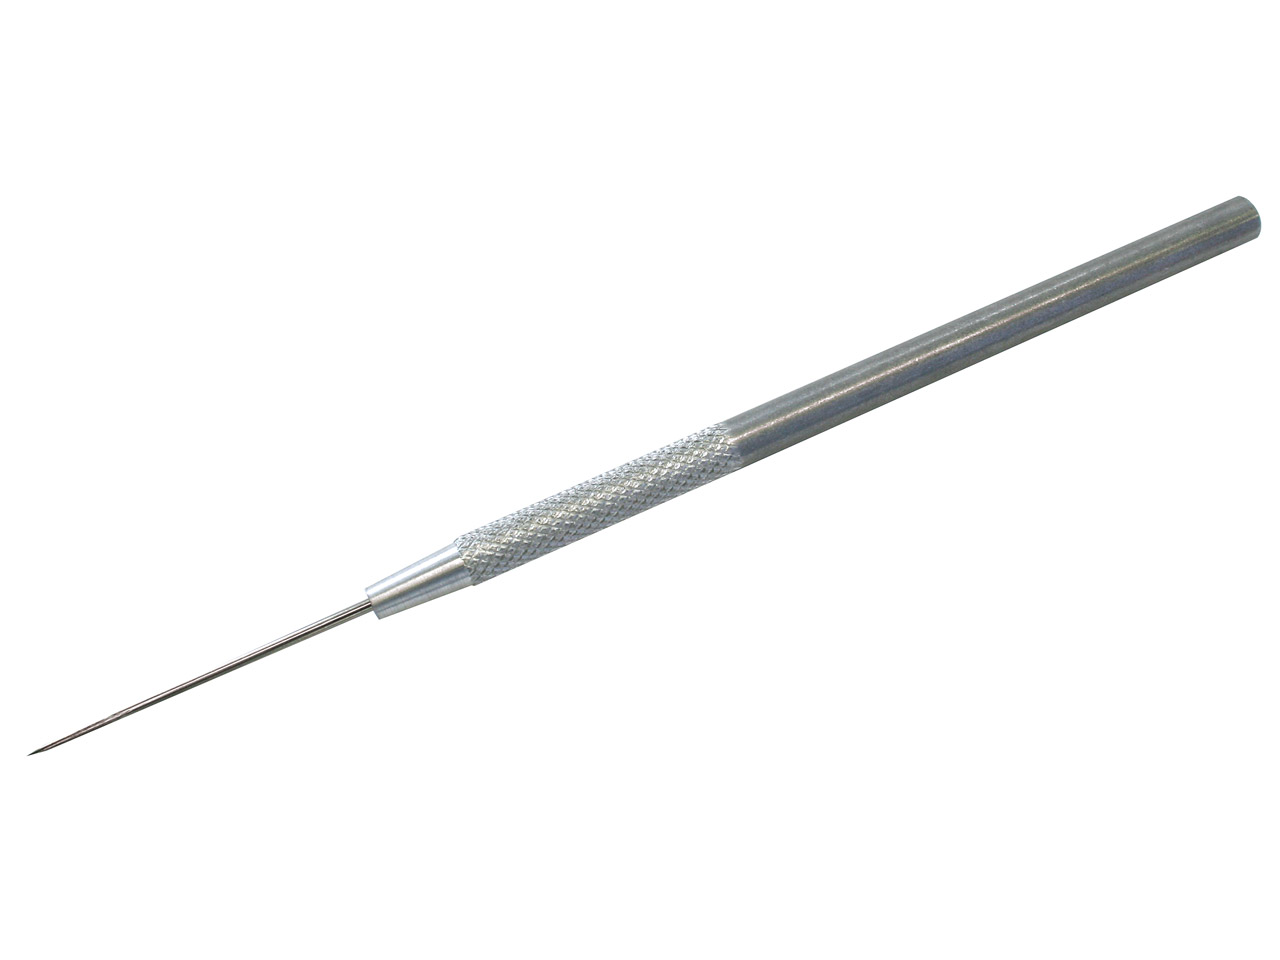
How to carve clay using files and needle tools
Carving metal clay can be a part of stage three in the drying process depending on what you are trying to achieve. Remember that dragging or pushing detailing tools at stage one in the drying process can leave you with messy edges of clay that get kicked up so at stage one in the drying process. But at stage three it’s easier to use tools for carving metal clay and creating more of an etched look in your jewellery pieces.
Working with dry precious metal clay
- Add detail with a needle tool using a gentle pushing motion. Try not to apply too much pressure as you make marks in your dry metal clay. Use a consistent and gentle pushing motion to achieve the depth you would like. This takes practice and patience but can leave you with a more
 organic effect instead of a uniform imprint with a texture sheet.
 - Make sure your metal clay jewellery piece is well supported as you carve it with sharp needle tools. This will help you avoid any cracks or breakage.
- Remember that you can also file your dry metal clay into your desired shape using traditional metalsmithing files. This works particularly well when making metal clay rings because you can form a very basic ring shape while the clay is still wet, in a similar way to forming a wax ring for casting, and then file it into your desired shape once it’s completely dry.
Now that you’re more familiar with the drying process of metal clay and specific clay carving techniques, you’re ready to take on some more ambitious metal clay crafts and projects. Just remember that when you work with this material all you need is a few metal clay tools and accessories, an imaginative approach and a lot of patience.
For more information on Precious Metal Clay, download your FREE silver clay Guide today.

Cooksongold