One of the most complex and time-consuming elements of jewellery making is buffing and polishing. This stage in the process is one that you want to get right, first time – so any way that you can speed it up is a bonus!
That’s why we’ve put together our top tips on how to polish metal jewellery with a Foredom pendant drill.

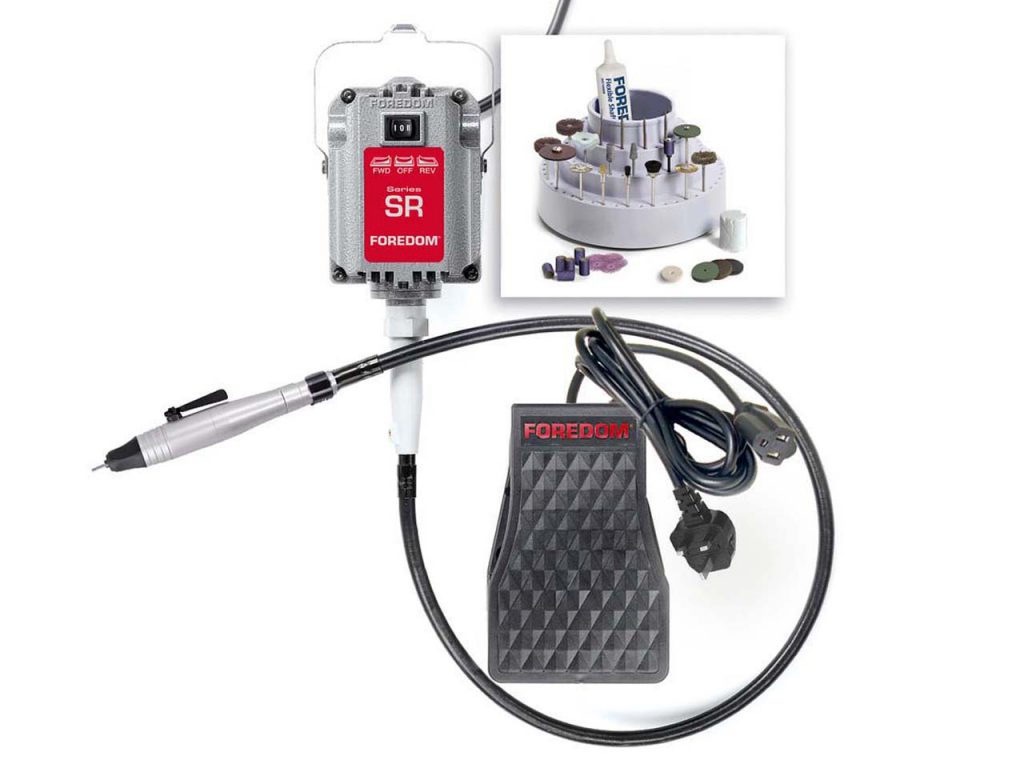
See our infographic above for 4 top tips on how to polish jewellery using your Foredom pendant drill.
Your Foredom drill is an incredibly versatile tool and when it’s used with the right bits, bobs and burrs, can become your most trusted buffing and polishing system for those smaller, more intricate pieces such as rings and charms.
Here’s how to polish metal with your Foredom drill along with:
Coarse Abrasives
Step one in the process of buffing and polishing means starting with the coarsest abrasive for the job at hand. Along with your Foredom pendant drill you’ll need to invest in a range of course wheels, including; rubber/silicone, paper discs and sander rolls for this stage in the buffing and polishing process. These come in a variety of shapes and grades of grit, and the choice that you make on which to invest in very much depends on the pieces that you’re creating.
You can expect to be presented with a choice of shapes:
- Wheel
- Cylinder
- Bullet
- Knife edge
- Pear
- Point
- Pin
For those items that are sold separately, you’ll also need to think about which mandrels you’ll need to attach the wheels to your Foredom pendant drill too. Make sure you check that the manufacturer, shank size and speed recommendation you’re looking at is compatible with your specific Foredom pendant drill model – there’s nothing worse than getting a new tool through the post and not being able to try it out straight away.
TOP TIP: If you’re just starting out and have just invested in a Foredom pendant drill we’d recommend picking up a polishing kit. This will eliminate any chance of you ordering any mandrels that don’t fit or mops that aren’t of any use to you.
What’s next?
Identified which bits you’ll need? Once you have your pendant drill bits all laid out in front of you, make sure you can easily identify which is the coarsest grit and which is the finest. If it helps, store them in this order and label them up too. This will help you remember which colour corresponds to which grit and you’ll soon figure out your own system of remembering to work through the grades.
Laid out your chosen polishers? Here’s what’s next:
Attach the coarsest polishing wheel to your Foredom pendant drill. Once it’s secured in place you can get started. Don’t forget your protective equipment! Goggles and face masks are recommended to avoid any injuries during this process. Polish the piece systematically to ensure you remove any surface scratches or dinks in the metal that were caused while creating the piece.
Consistently move the pendant drill over the entirety of the piece – it’s important to buff in the same direction and avoid concentrating on one area to ensure you don’t put any grooves or dents into your metal.
Now you’ve removed any sharp edges, scratches or small inaccuracies in your metal you can move onto the next grit. Think about this stage as removing any scratches that were put into the metal in this previous stage of buffing with the coarser grit. Repeat the process of moving consistently over the entire piece and once you’re happy that you’ve worked over the entire piece, give it a wipe to make sure you’re happy with it.
Mini pin polishers
Working on particularly small pieces, awkward corners or rings? Now is the time to switch to a small silicone pin polisher or cylindrical polisher to ensure you’re getting into all those hard-to-reach places before you move onto a finer grit.
Once you’ve got stuck into the more awkward corners of your piece using the pin polishers, you can then switch back to a fine grit wheel to bring out any fine scratches in your piece. Once this final stage of buffing is complete you can then move onto polishing.
Soft wheel polishing discs
Depending on the type of soft polishing wheels you choose to use with your Foredom pendant drill you may or may not need to add a little polishing compound. Some are already impregnated with the abrasive compound needed to bring your piece to a high shine, but always check this with the manufacturer that you choose to buy from.
A plain soft fabric mop will need a small amount of jeweller’s rouge added to it. To do this, add your soft polishing mop to your pendant drill and start the motor using your foot pedal. Take your rouge and touch it with the polishing mop while it is in motion – this will pick up a small amount of rouge ready for use with the metal you’re working on.
There’s no need to apply a lot of pressure to the metal. Remember that the rouge will do the cutting work for you, leaving you with a high shine finish that’s ready to go out to your customers.
Polishing with Foredom power tools
Interested to learn more about Foredom? Take a look at our entire range of Foredom power tools, including the handy pendant drill as well as additional accessories and other heavy duty metalsmithing supplies. Don’t forget to download our Foredom catalogue too, and for more information on choosing the right Foredom flex shaft tool for you, check out our handy guide.

Cooksongold