A ‘How To’ guide by guest blogger Lydia Niziblian.
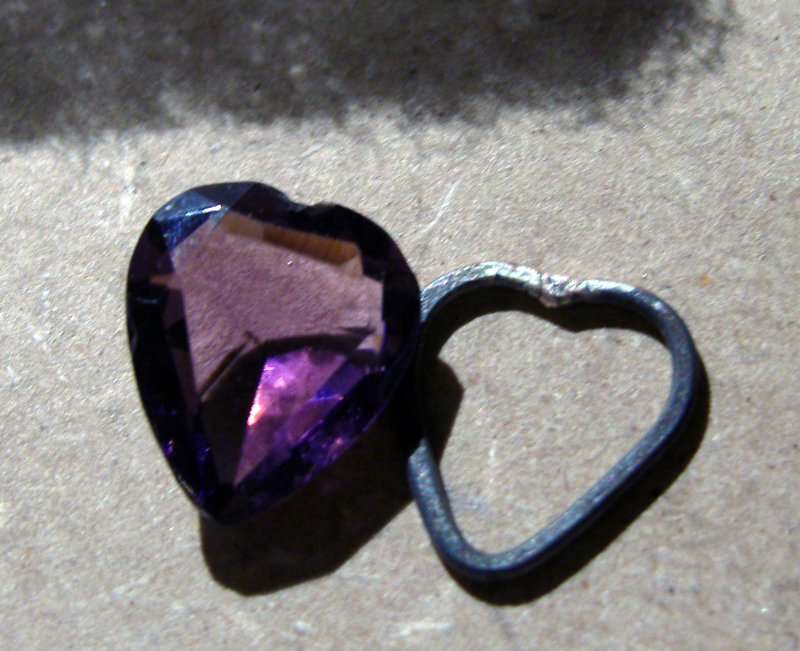
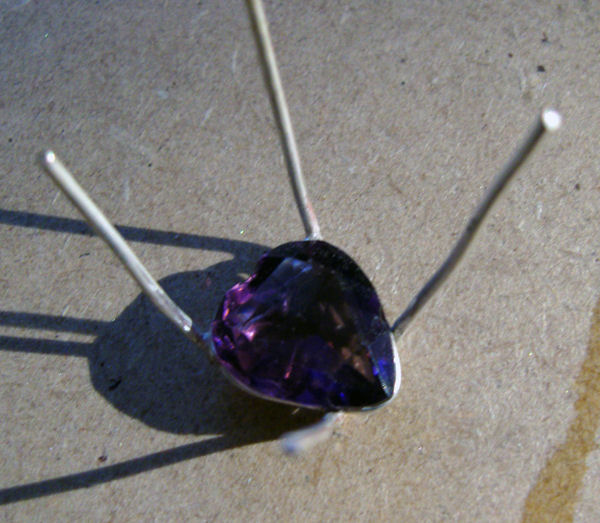
A lady came to me with an antique heart-shaped amethyst that had been cut by a relative who was an amateur faceter. It was very unevenly cut, but of great sentimental value. It needed a handmade setting, and I thought a double gallery setting would be perfect, as it would hold the deep stone, and make the most of its colour. Armed with some tips from the Cookson Gold forum, I was off!
Equipment: Torch, flux, brush, pickle, pliers, bench stake, hammer, piercing saw, needle files, emery paper.
Materials: Sterling silver wire, silver solder of varying grades.
Using 1.0mm sterling silver wire, I formed the first shape. This fit just under the girdle of the stone. When the stone is placed on top of the shape, it should sit neatly, with no gaps apparent between the edge of the stone and the silver.
When I was happy with the shape, I cut the wire. Then I double checked the seat of the stone before soldering with hard solder. I then hammered it flat on my bench stake to make it as even as possible.
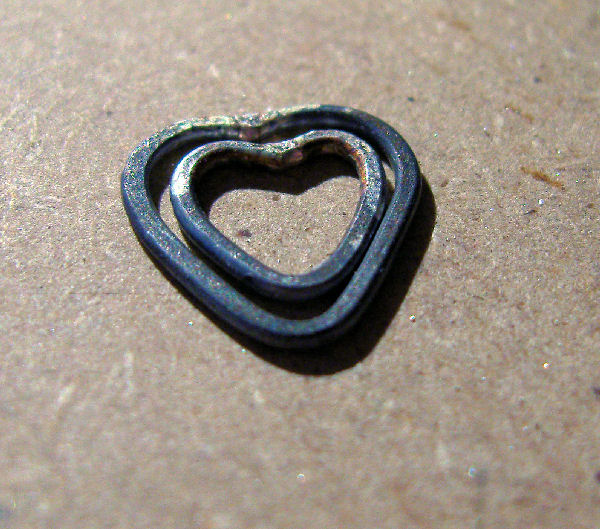
Now the smaller shaped heart needed to be made. I formed this for the lowermost point of the stone to sit in. If you sit the stone in the larger piece, make sure the smaller piece will seat the bottom of the stone, without the stone protruding through. As before, it was cut, soldered with hard solder, and hammered flat for as even a seat as possible.
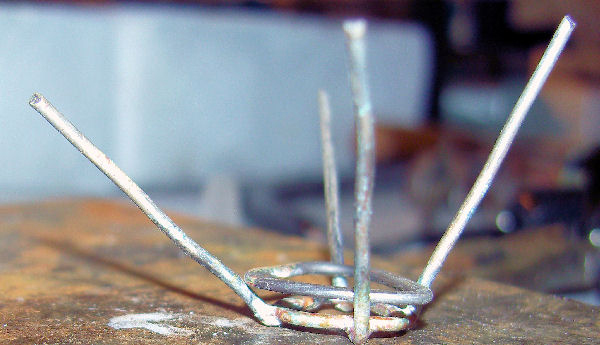
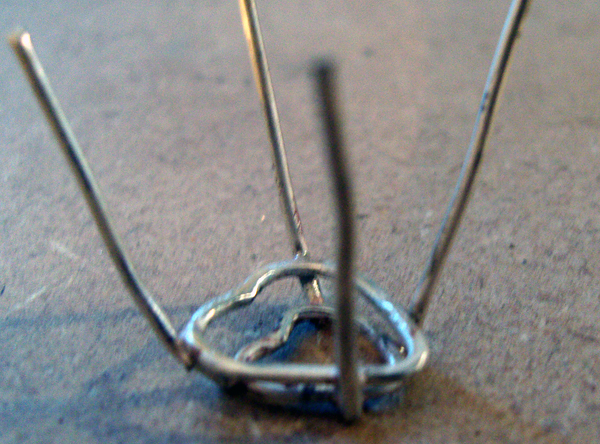
I then made a cross with two lengths of wire. I left plenty of length, as these were going to form the prongs that held the stone in place. I soldered them at the cross point. I then placed the smaller of the two hearts onto the cross. This was soldered into place using medium solder.
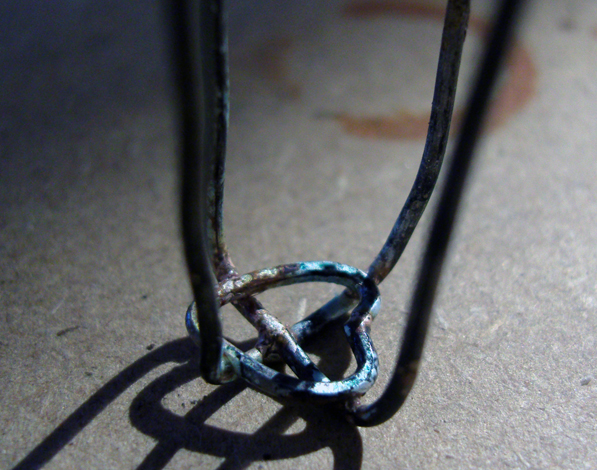
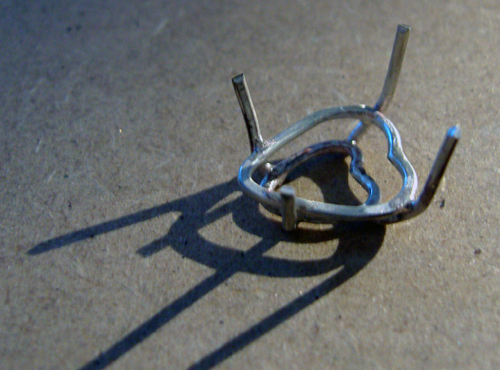
Using a piercing saw, I cut the cross away from the centre of the heart, and filed the edges smooth. Then it was time to place the second supporting heart. It was a little fiddly, but by angling the prong arms correctly, the heart sat neatly with even spacing below. I soldered it in place with medium solder. A little binding wire might be good insurance against any movement during soldering here!
Once the soldering was complete, I double checked the seat of the stone.
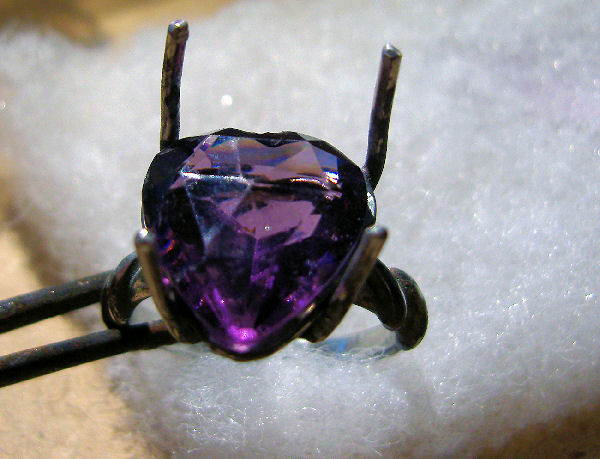
Once I had had a look at the stone in place, I could mark and trim the prongs to a more workable length.
I then used easy solder and soldered the setting onto the ring shank I had made.
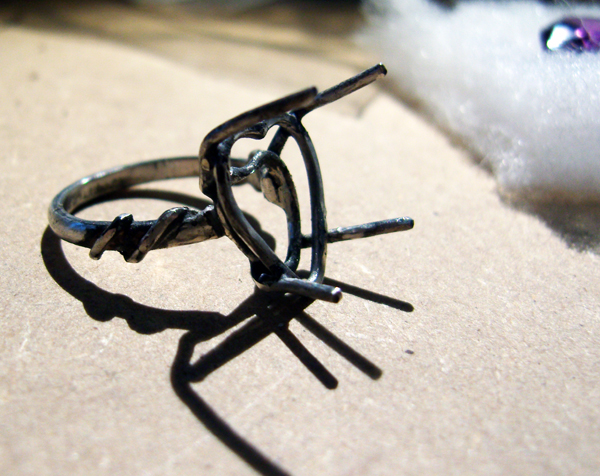
Again I tested the seat of the stone, before marking and trimming the prongs to my desired final length, and pickling the piece.
With a marker pen, I marked where the prongs needed to bend over the stone. With the stone out, I used a triangular needle file to carefully file a tiny notch at this point on each prong. Finally, the prong ends were shaped and filed smooth and the ring cleaned and polished thoroughly.
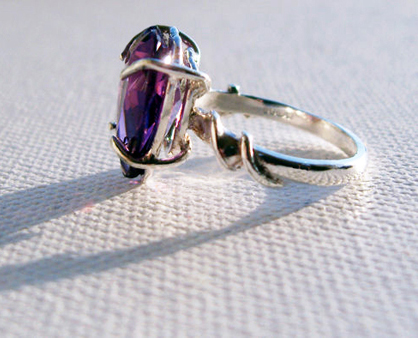
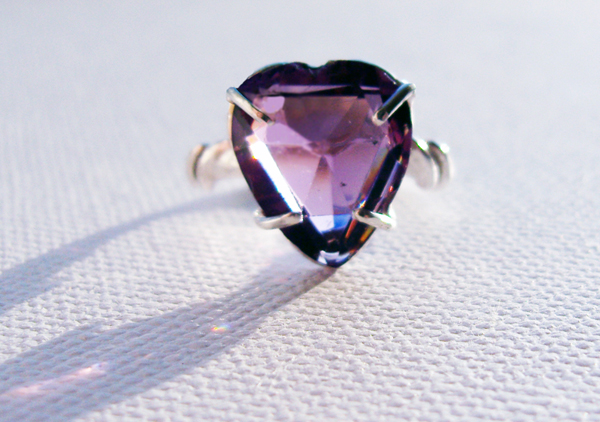
With the stone in position, and the ring held in a ring clamp, I carefully bent the prongs over.Moving each a little at a time ensures the stone stays tight and central throughout. You can see that despite the uneven cut of the stone’s girdle, it was seated firmly, and held securely.

Cooksongold